
Sidebar
magento_2:advanced_permissions
Table of Contents
For more details see how the Advanced Permissions for Magento 2 extension works.
Guide for Advanced Permissions for Magento 2
Provide limited access to your store management for different admin users. Benefit from advanced role permissions to let specific managers work with particular products, categories, product attributes, websites, and store views.
- Limit access by store view or website
- Control access to product and categories management
- Restrict access to product attributes
- Enable selective dashboard access
- Limit access to CMS pages
Visit our FAQ section to get even more valuable information and find out answers to popular questions about the configuration and features of the Magento 2 Advanced Permissions extension.
Creating Roles with Advanced Permissions
Please make sure you have created the required user before assigning a new role with advanced permissions. You can learn how to add new users here.
To create a new sub-admin role with advanced permissions, please navigate to Admin panel → System → Permissions → User Roles. Then, hit the Add New Role button.
Role Information and Resources
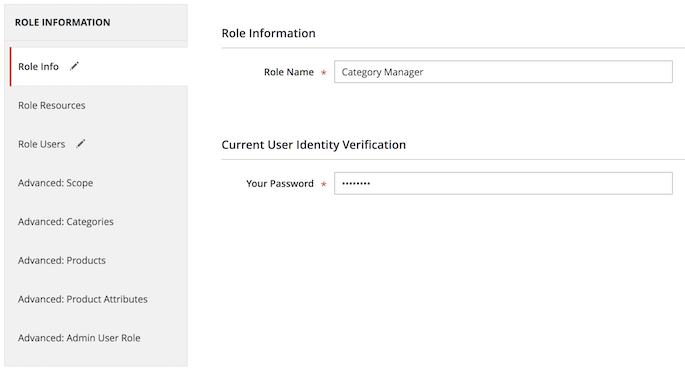
- Specify the Role Name;
- Switch to the Role Resources tab;
- Change the Resource Access option to Custom;
- Specify the resources this role will have access to.

You can provide user role with extra privileges under the System → Amasty Role Permissions branch of the tree.
Please hit the Save Role button and open this role again to have the ability to assign the new role to users.

Then, you can assign this role to certain users. Click the Role Users tab and flag the required users.
Setting Advanced Permissions
With the extension, you can set up advanced permissions to provide or limit access for your store managers to the certain parts of the admin panel. It is possible to restrict the access to a dashboard and CMS elements by limiting website/store view access.
Advanced: Scope
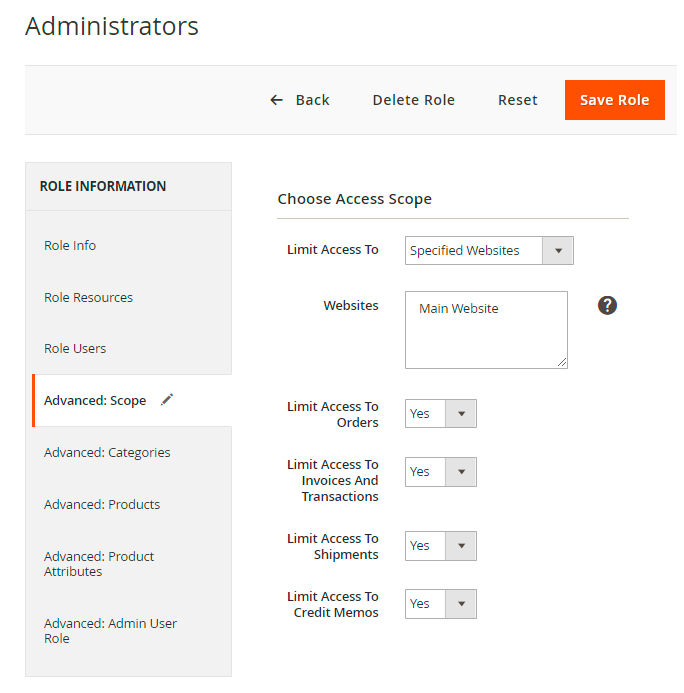
In this tab you can limit access to certain store views or websites. Modify the Limit Access To option to:
- Allow all stores;
- Limit certain websites;
- Limit certain store views.
For the websites and store views option you should specify the required ones.
If you limit user's access to a particular store view or a webstore, the access to a dashboard and CMS pages of this webstite/store view will be limited automatically as well.
For the website and store views options you can limit user role access to the following parts of your store:
- Orders;
- Invoices and Transactions;
- Shipments;
- Credit Memos.
Select between the Yes or No options.
Advanced: Categories
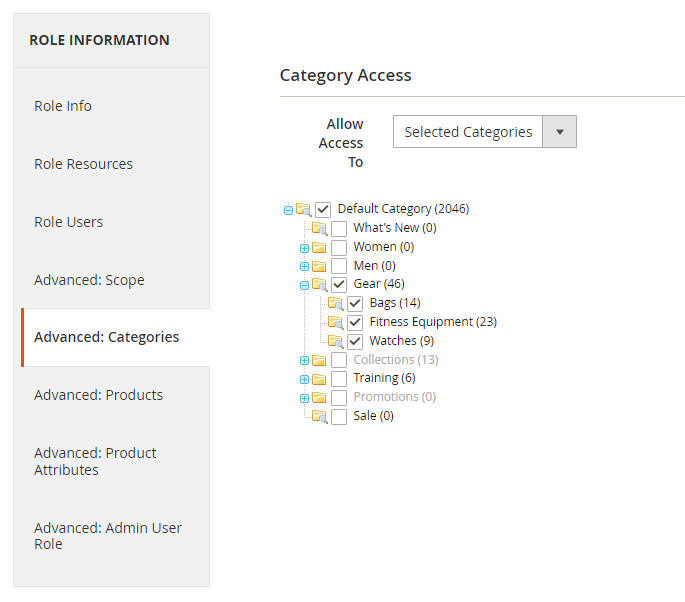
In the Categories tab you can provide this role with access to all product categories or limit to selected categories. Please tick the necessary categories or subcategories to allow access to them.
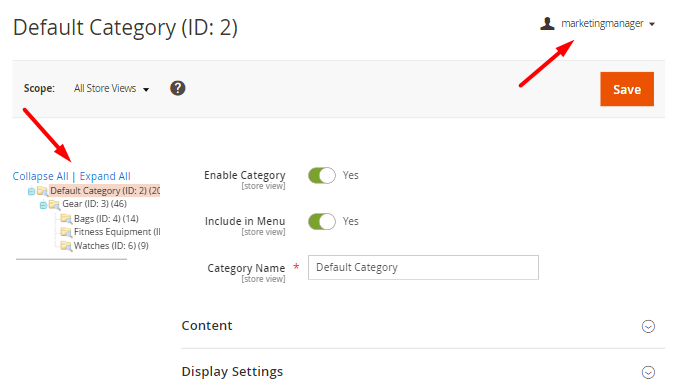
See how a user with a particular role sees a category tab:
Advanced: Products
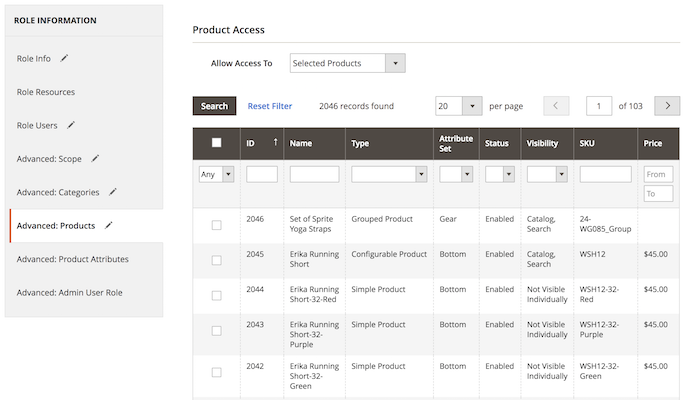
Next, the Products tab enables you to provide access to all, only selected, or own created products.
In second case you will need to flag the required product.
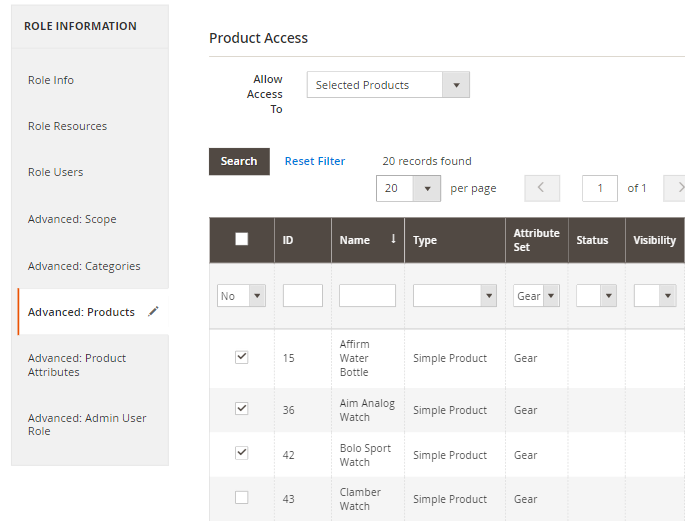
As a result, a particular user will get access to the selected products only.

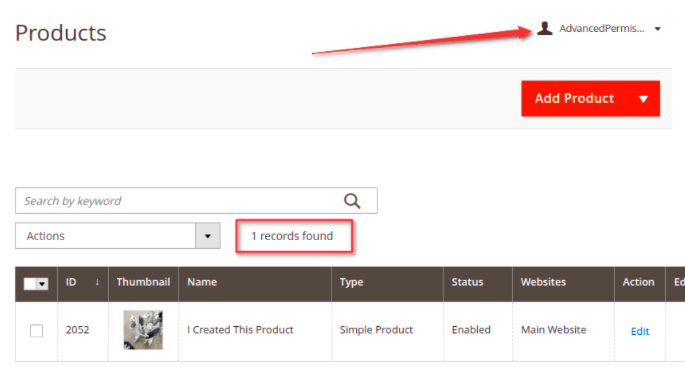
In third, you can make products accessible only for their owners that is convenient for the multi-vendor stores.
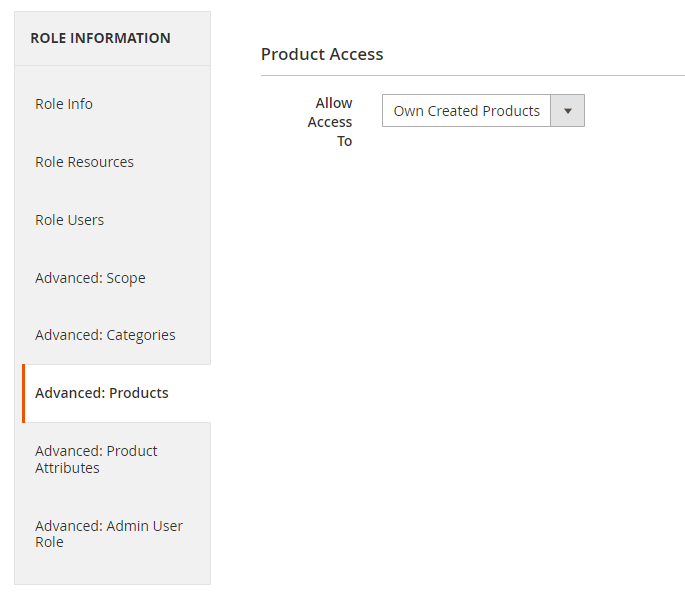
If the user hasn't created any products yet, the grid will remain empty.
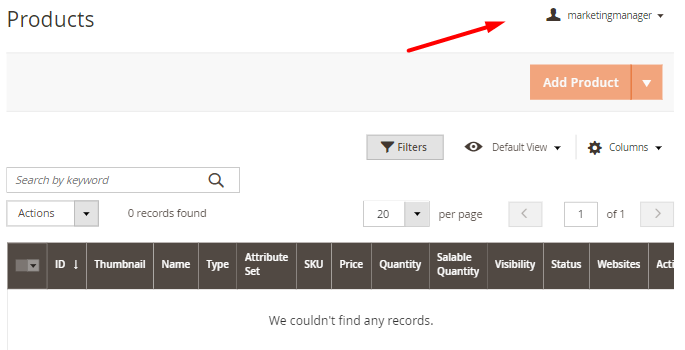
But, if the user creates a product, it becomes visible and available for editing.
Please see this part of the guide to know how to set product owners.
Advanced: Product Attributes
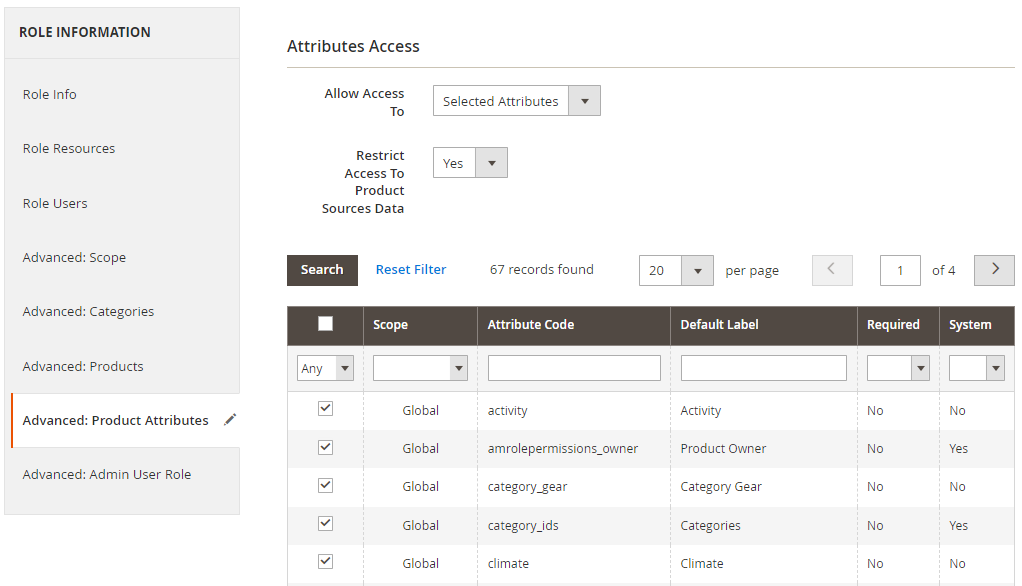
In the Product Attributes tab you can restrict access to certain product attributes. Set the Allow Access To option to Selected Attributes and specify the desired attributes for this user role.
The Restrict Access to Product Sources Data setting allows restricting access to the Sources tab on the product edit page. If the option is set to Yes, an admin user won’t be able to edit qty per source on the product page.
Advanced: Admin User Role
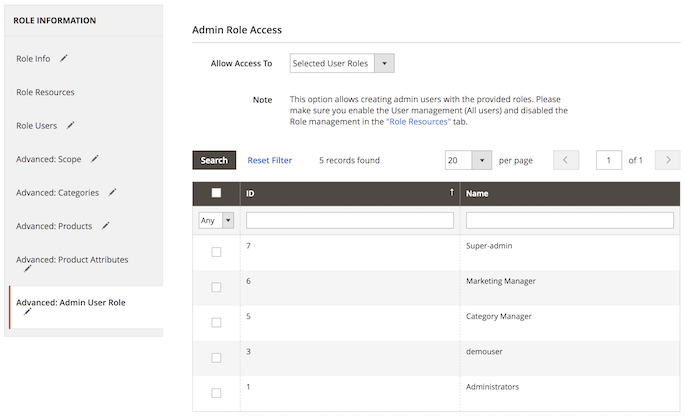
Finally, in the Admin User Role tab you can allow this user to create the new users with the selected roles. Choose the appropriate option from the dropdown menu and select the required roles.
Please make sure that you enabled the User management option and disabled the Role management option for this role in the Role Resources tab.
When the configuring of a certain user role is done, hit the Save Role button.
Creating Sub-Admin Users
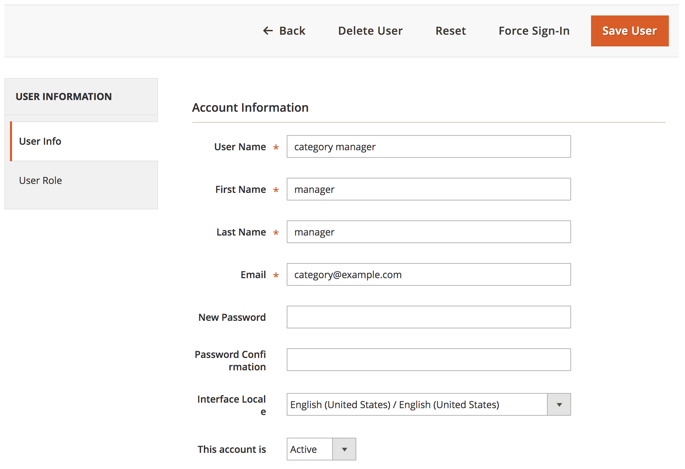
If you need to add extra users to your admin panel, please go to System → Permissions → All Users and hit the Add New User button.
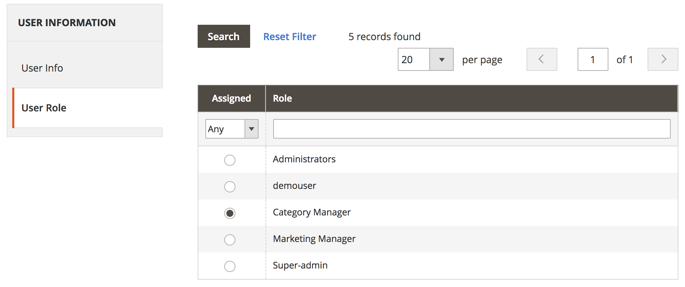
Specify account information and switch to the User Role tab. From here you can tick the desired radio-button to provide this user with certain administrative privileges. When done, hit the Save User button.
Return to the previous steps to know how to set up a user role with advanced permissions.
Changing Product Owner
To provide selective access to a certain product you can set up its owner.
- Go to Products → Catalog;
- Select the desired product;
- Specify product owner in the drop-down menu.

Make sure that you switched the Advanced: Products option to Own Product Only option.
FAQ
* Is it possible to create a user that can only see and edit one product attribute?
* Is it possible to only give a user access to specific customers/customer groups?
Find out how to install the Advanced Permissions extension via Composer.
magento_2/advanced_permissions.txt · Last modified: 2023/05/18 13:20 by kkondrateva