
Sidebar
magento_1:follow-up-email
Table of Contents
For more details see the Follow Up Email extension page.
Guide for Follow Up Email
Increase customers' loyalty with the flexible follow up emailing policy. Adjust the list of events to communicate your customers and boost the number of repeating sales.
- Generate emails for various order statuses
- Provide offers based on the previous orders or a wishlist
- Emails on the customers' activity
- Detailed campaigns statistics
Extension Configuration
To configure the extension, please, go to System → Configuration → Amasty Extensions → Follow Up Email.
Please, expand the General section:
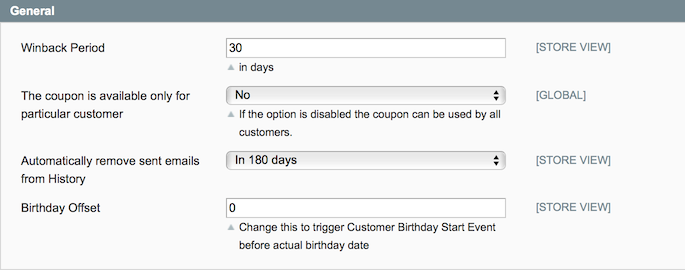
Winback Period — specify the time period of absence in days to send winback emails to customers who have not visited the store for some time;
The coupon is available only for particular customer — enable this option to make the coupon available only for the email recipient;
Automatically remove sent emails from History — specify the time period to delete the email from history;
Birthday Offset — define the start of the customer's birthday event before or after the actual date.
Then, proceed to the Order Statuses tab.

From here you can associate the order statuses with the real events to send promo follow up emails.
Next, expand the Sender Details tab:

Sender Name — fill in the sender name for the follow up email;
Sender Email — specify the sender email for replies;
Sends copy of emails to — fill in the additional email address to send the email copies.
Then, please, proceed to the Import Blacklist section:

Here, you can import the CSV file with the emails blacklist.
Next, expand the Testing section:
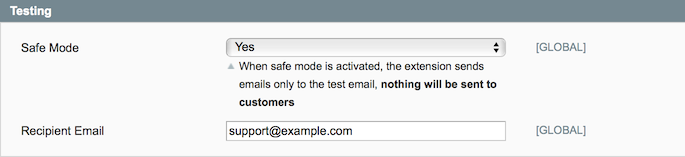
Safe Mode — enable this option to send email to the test address only;
Recipient Email — fill in the recipient for the test emails.
Rules Configuration
To create a new rule or view the existing ones, please, go to Promotions → Follow Up Email → Rules.
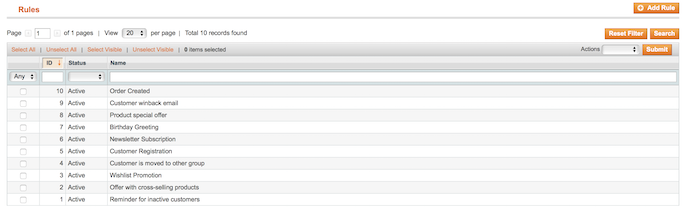
From the grid you can enable, disable or delete certain rules using the mass actions.
New Rule Creating
To create a new rule hit the Add Rule button.
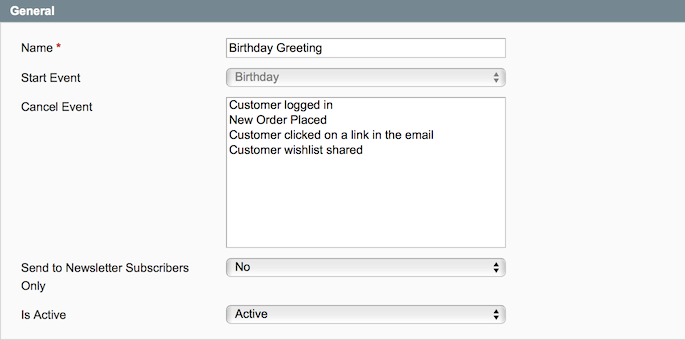
Name — fill in the name of the rule;
Start Event — select the event that will trigger the follow up email.
Next, please hit the Save and Continue Edit button to proceed with the configuration.
Cancel Event — select the trigger to cancel the email dispatch;
Send to Newsletter Subscribers Only — set this option to No if you want to send emails to all the registered customers;
Is Active — enable or disable the rule.
Please, proceed to the Stores & Customer Groups tab.
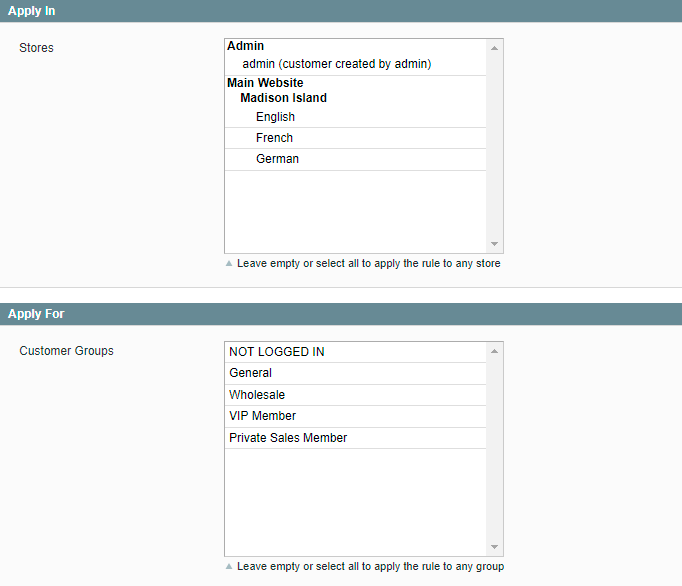
From here you can specify the store views and customer groups that will be available for a certain rule.
You can specify admin in Stores tab. It can be used for customers created in the admin area with the 'Admin“ option for 'Associate to Website' field.
Next, switch to the Sender Details tab and specify the information about the email sender for the rule.

On the Google Analytics tab you can specify values to track your email campaigns in Google Analytics.

The fields Campaign Source, Campaign Medium and Campaign Name are REQUIRED.
Then, click the Schedule tab.
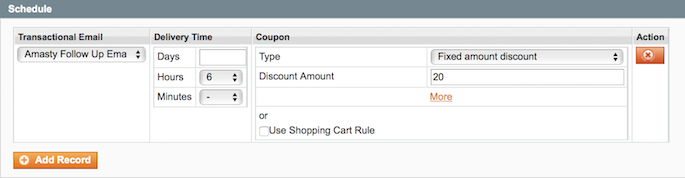
Use the Add Record button to add a new line to the schedule.
After that, specify the date and time for the follow up email delivery.
Next, you need to choose the coupon type:
- Percent of product price discount;
- Fixed amount discount;
- Fixed amount discount for whole cart.
And specify the discount amount.
Instead of specifying the multiple conditions for each coupon, you can use one of the shopping cart price rules. In this case the Follow Up Email module will create coupons and add them to the rule. Each customer will receive a coupon with your letter.
When you configure the rules regarding the order statuses you can see the additional Condition tab. At this tab can set up different conditions for the rule implementation (this is optional).
Now, you can switch to the Test tab.
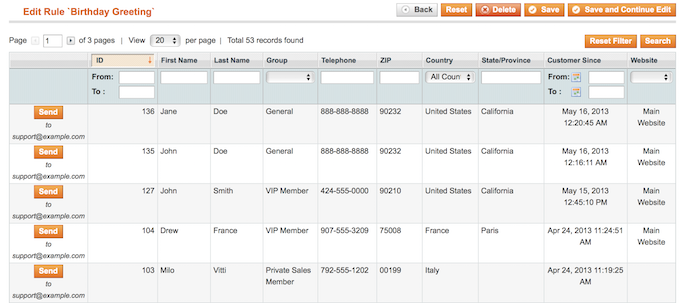
Click the Send button to send the test email. You can specify the test email recipient here.
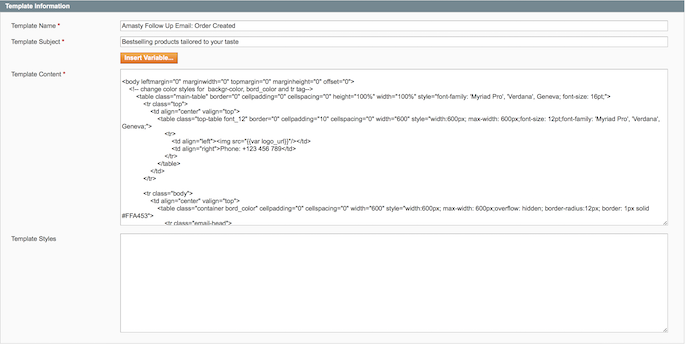
Follow Up Email Templates
To create an email template, please, go to System → Transactional Emails and click the Add New Template button.
Choose the type and language of the template. Then click the Load Template button.
Use format manager to choose how to display in the template:
- currency
- date
- price
- time
You can choose whether to use short/long or medium display type. Here you can see the example with date format.
Follow Up Emails History
To see the follow up email history, please, go to Promotions → Follow Up Email → History.
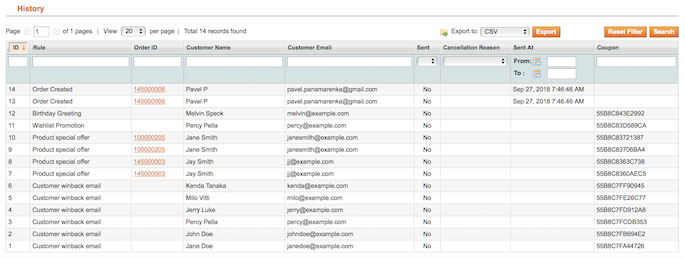
On the grid you can see if a customer didn’t receive the email and the reason. Also, you are able to see all the created coupon codes and customer accounts they are tied to.
magento_1/follow-up-email.txt · Last modified: 2019/07/30 10:59 by skudrov