
Sidebar
magento_1:order_attributes
Table of Contents
For more details see the Order Attributes extension page.
Guide for Order Attributes
Order Attributes extension allows you to collect additional order related information that may be important for shopping experience improvement. You can collect the required order data during checkout and speed up order processing.
- Collect extra information concerning orders
- Improve and speed up order processing
- Earn customer satisfaction with faster order completion
- Add the unlimited number of extra fields at checkout
- Show information on the order grid, order pages, emails, etc.
Order Attributes extension is read and write compatible with GraphQL. You can find the 'amasty/module-orderattr-graphql' package for installing in composer suggest (Note: the compatibility is available as part of an active product subscription or Support Subscription)
Extension Configuration
To configure the extension please go to System → Configuration → Order Attributes in the admin panel.

Use Datetime Format From Locale — enable this options to use the order attribute outputs will be affected by the datetime of the current locale;
Send Email Notification — enable this option to send email notifications. When the option is enabled please define the Email Recipient and Email Template;
When a customer is not satisfied with the order for some reason, provide them with the guest RMA option. Return products with no need to login.

Display attribute values in the progress sidebar — turn to Yes if you would like to display custom order attributes on the checkout progress bar;
Hide empty values in the progress sidebar — turn to Yes to hide attributes with empty values on the checkout progress sidebar;
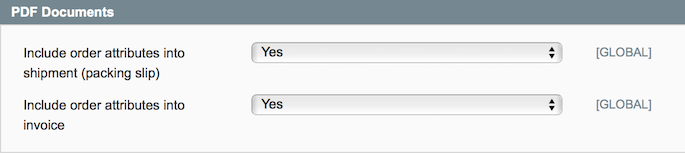
Include order attributes into shipment (packing slip) — enable this option to include order attributes into shipment as PDF;
Include order attributes into invoice — enable this option to include order attributes into invoice as PDF;
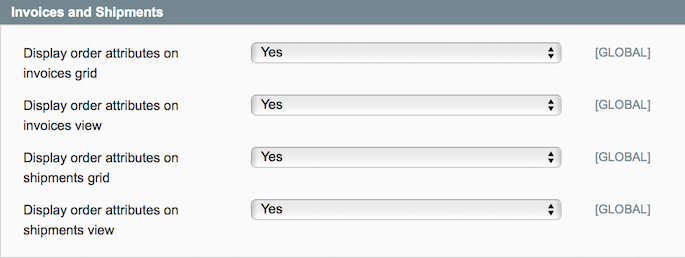
Display order attributes on invoices grid — define whether to include the order attributes on invoice grid;
Display order attributes on invoices view — define whether to include the order attributes on invoice view;
Display order attributes on shipments grid — define whether to include the order attributes on shipments grid;
Display order attributes on shipments view — define whether to include the order attributes on shipment view;

Use AJAX for dependent drop-downs — enable to use AJAX technology for dropdown menus at checkout.
Creating a New Attribute

To create a new order attribute please go to Sales → Manage Order Attributes and hit the Add New Attribute button.
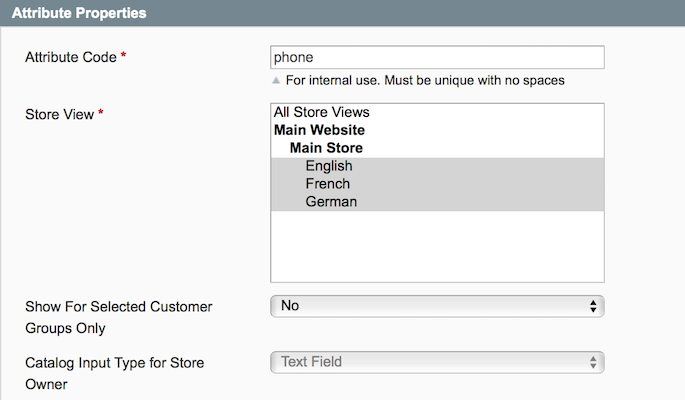
Attribute Code — fill in the unique attribute code for system purposes;
Store View — define the store view where the attribute will be available;
Catalog Input Type for Store Owner — define the input type for the order attribute.
It is possible to choose various input types depending on your specific needs:
- Text Field
- Text Area
- Date
- Date With Time
- Yes/No
- Dropdown
- Checkbox Group
- Radio Buttons
- Single File Upload
Then, switch to the Attribute Configuration section.
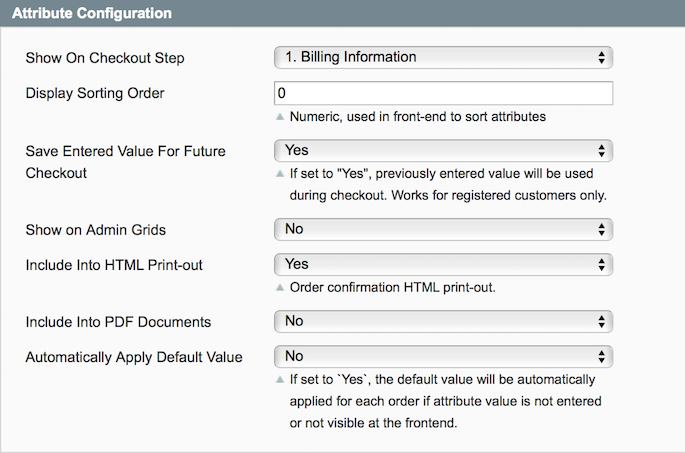
Show on Checkout Step — select to which step of checkout page to add the attribute, its sorting order, whether to add the attribute to the order grid;
Display Sorting Order — define the display sorting order when using multiple attributes;
Save Entered Value for Future Checkout — set the Save Entered Value For Future Checkout option to Yes, registered customers will need to fill in the field only once, after that the field will be auto-populated (with possibility to edit);
Show on Orders Grid — switch to Yes to display this attribute on the order grid.
Include into PDF Documents — set this option to Yes if you need to include this attribute in PDF documents (invoices and shipping slips). Configuration settings need to be turned to Yes for this to work;
Automatically Apply Default Value — when the option is set to Yes, the default value of the attribute is used for all cases, when the field was not filled in or if the attribute is set to be not visible on front end.

Next, please switch to the Manage Label / Options tab and indicate the attribute title (and options if applicable).
Creating Dependent Dropdown Menus
The extension enables you to create dependent dropdown fields. For example, you have 2 dropdown fields and you want the second field to display values depending on what has been chosen in the first field.
When creating the first dropdown (parent one), please set the Parent Drop-Down Element option to Do not use related drop- downs. Also, set this option to Do not use related drop-downs when you create regular dropdowns (independent).
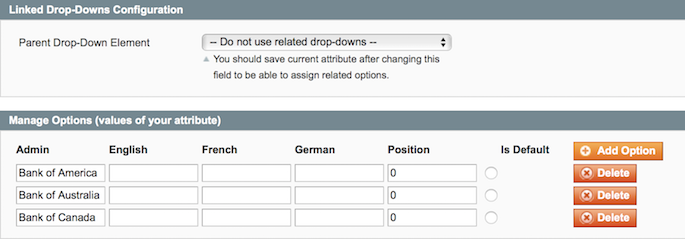
Specify options for the dropdown and save the field.
When creating the second dropdown (child one), please select the first dropdown in the Parent Drop-Down Element setting.
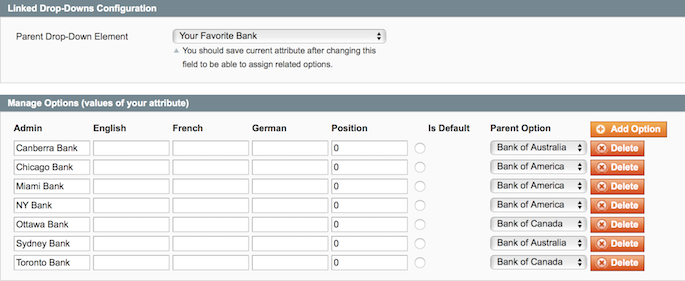
Then, specify options for the dropdown and click the Save and Continue Edit button.
After saving, you will see that dropdown with values of parent field appears next to each value. Nowб you can assign values of the child dropdown to values of the parent dropdown. Once you finish the assignment, save the attribute.
Editing Order Attributes in the Admin Panel

Please go to Sales → Orders and select one of the available order. Find the Custom Attributes section and click Edit.
Adding Order Attributes to Emails
By default custom order attributes are included in the order email that is sent to customers. To remove the attributes from the email browse to System → Configuration → Sales Emails and set Include Amasty Order Attributes into confirmation e-mail option to No.
It is possible to add any order attribute created with our extension to an email template that has order object (for example, order confirmation email). Let’s say you have an attribute with code social_number. To add this attribute to an email use this variable:
{{var order.custom('social_number')}}
Also it is possible to process this value by a function, for example htmlescape:
{{htmlescape var=$order.custom('social_number')}}
Magento API Support
With the extension, you can get the order attributes values using the sales_order.info method via SOAP API v1. You can find the available values using the salesOrderEntity = custom key. E.g. the sales_order.info request returns the key/value array for the entire order, where using the custom key you can get the key/value array including the order attributes. The key is the order attribute code, while the value is the particular value for the order.
More information you can find in the official Magento development documentation.
magento_1/order_attributes.txt · Last modified: 2023/05/23 13:20 by azolotorevich