
Sidebar
magento_2:follow-up-email
Table of Contents
For more details see how the Follow Up Email for Magento 2 extension works.
Guide for Follow Up Email for Magento 2
Follow up orders with discount coupon for next purchase, send Birthday greetings and nay more!
- Send a message on order status change
- Greet new customers with encouraging discounts
- Do special occasion email campaigns, like Christmas or customer birtdays
- Create unique template for each email sent by extension
- Send multiple emails with different delay intervals
Troubleshooting checklist
Emails are not being sent automatically
Extension is working with Magento cron jobs to schedule and send emails. If Magento cron is not configured or configured incorrectly the extension won't be sending any emails.
To solve this, please check this article to see how Maganto cron is configured.
Allow guest RMA requests to manage product returns and exchanges in the most efficient way.
Can't use email template in the rule
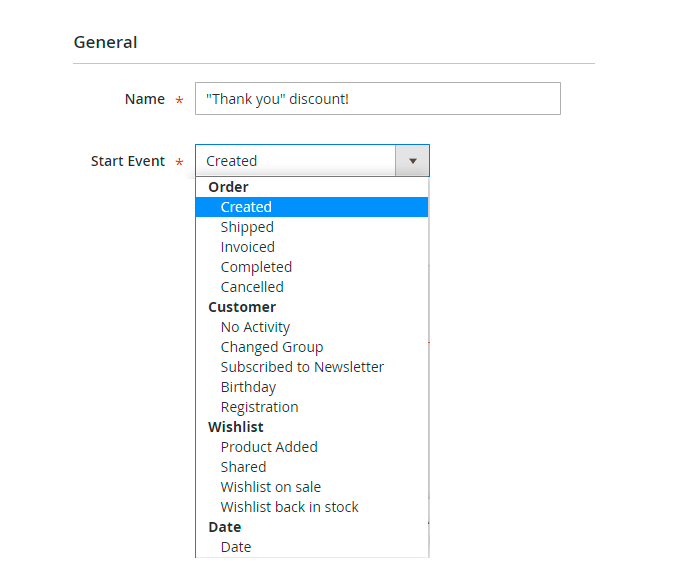
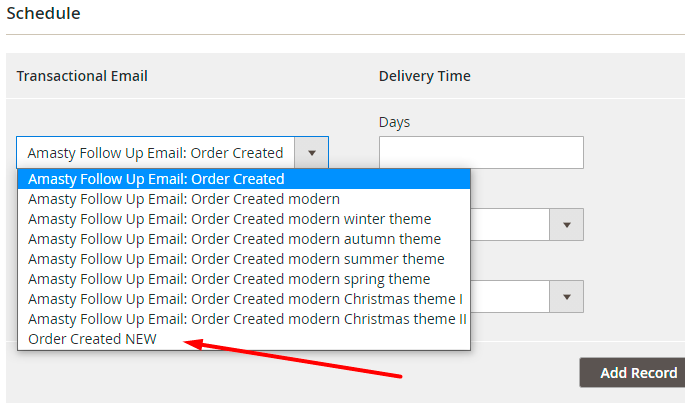
Available templates in the Schedule are being filtered by the Start Event you have selected in the rule. In the list of templates you will see only emails created based on default Follow Up template for corresponding start event.
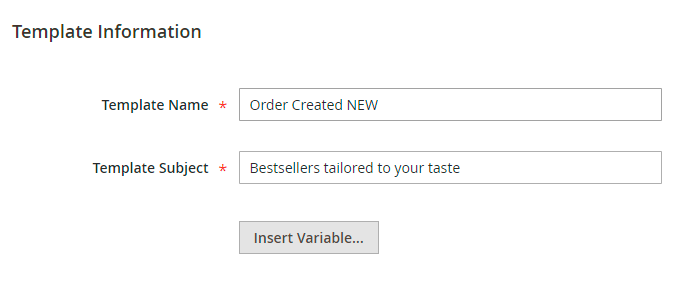
In the following guide we'll be creating new template for “Order Created” Start Event:
This is how the new template is created:
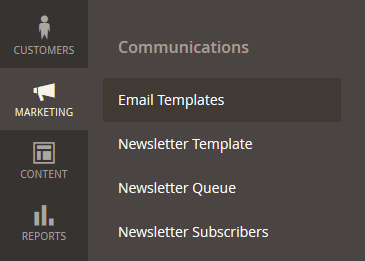
- Navigate to Marketing - Communications - Email Template menu
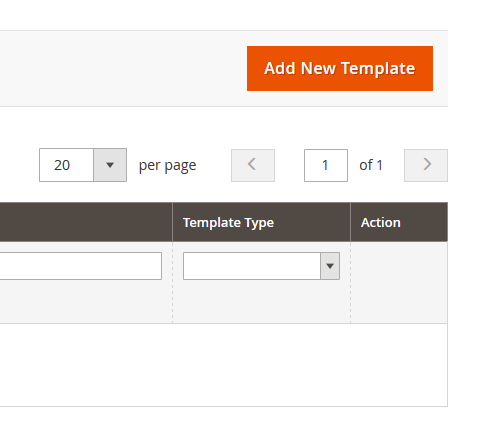
- Being in Email Templates menu hit Hit Add New Template button
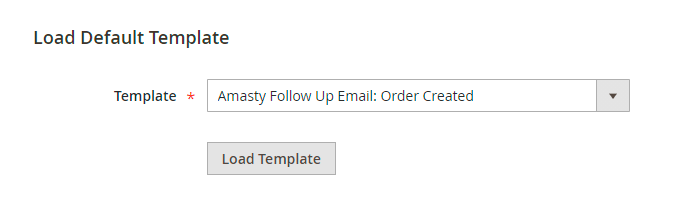
- In Load default template - Template find Amasty Follow Up Email: Order Created, select it and hit Load Template
- Specify the new template's name and make the changes you want
- Save it. Now you can use newly created template in your Follow Up rules
Configuration
Extension configuration is located at Stores → Configuration → Amasty Extensions → Follow Up Email
General
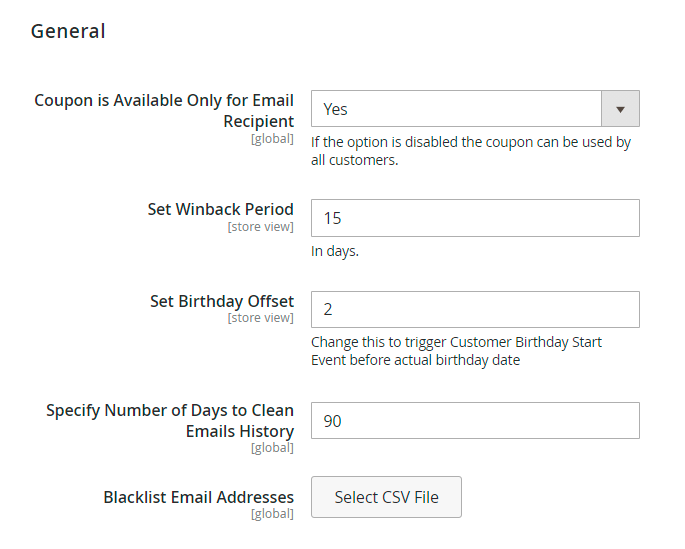
- Coupon is Available Only for Email Recipient - when enabled, only the customer who received the email will be able to apply the coupon on the cart. If the option is set to No, the coupon can be used by all customers.
- Set Winback Period - specidy the period in days after which customer will be considered not active. Used for Customer - No Activity start event.
- Set Birthday Offset - if you want to trigger Birthday start event before the actual birthday date, you can set the offset in days in this setting.
- Specify Number of Days to Clean Emails History - enable the option to automatically remove records from the 'history' table, which are older then the number of days specified.
- Blacklist Email Addresses - here you can import CSV with blacklisted email addresses.
Email Templates
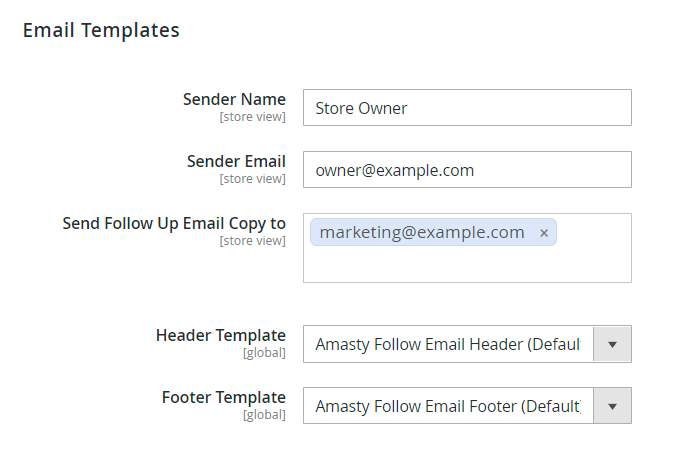
- Sender Name - value provided here will be inserted in From - Name field of the follow up email.
- Sender Email - same as the setting above, but for From - Email field.
- Send Follow Up Email Copy to - a copy of every follow up email will be sent to the addressees provided here.
- Header/Footer Template - templates for header and footer parts of follow up emails.
Testing
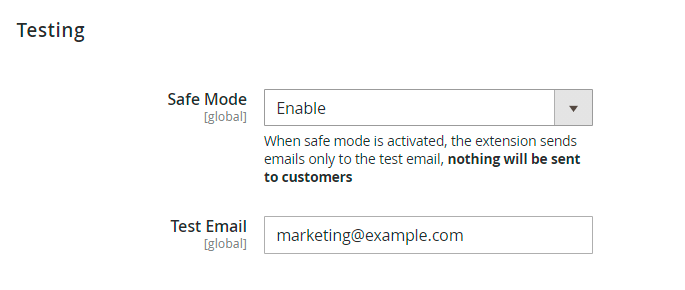
- Safe Mode - when enabled, all emails will be sent to address provided in the setting below. Nothing will be sent to customers.
- Test Email - email address for send test emails to.
Cronjob Information
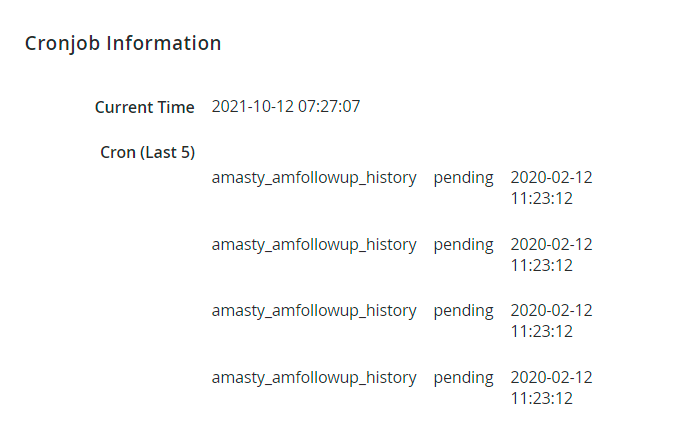
Cronjob information - see the information on the 5 latest cron jobs.
How to create Rules for the Follow Up emails
Rules can be created at Marketing → Follow Up Email → Rules → hit the button 'Create New Rule'
Here we should name our rule and select one of the available events which would trigger the rule.
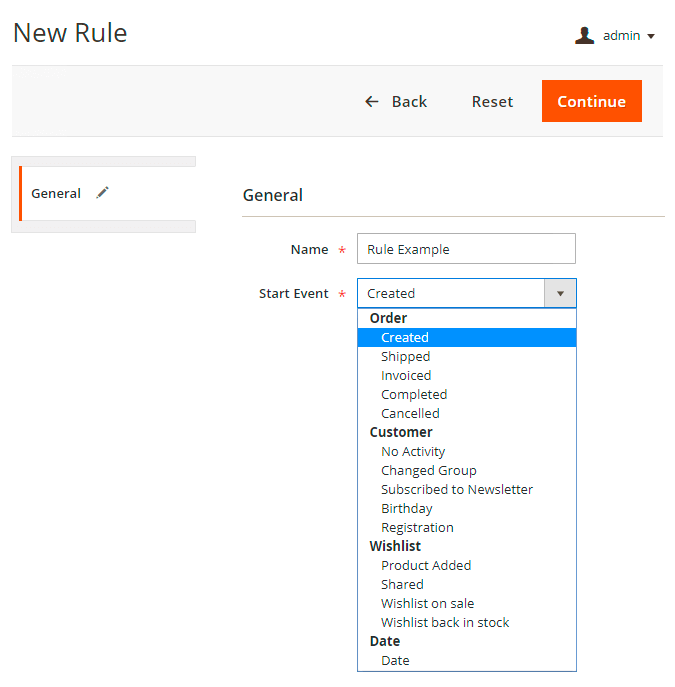
General

- Name - name of the Follow Up rule.
- Start Event - event which starts email sending routine.
- Cancel Event - here you can set the event which will cancel further emails from being sent to a customer. For example, with Order Becomes: Canceled Cancel Event enabled, if rule is configured to send three emails but if order was cancelled after the customer got the first email, two other emails will not be sent to a customer anymore.
Please note that list of available Cancel Events depends on Start Event you are using. For example, order status related Cancel Events will be available only for order status related Start Events.
- Send to Newsletter Subscribers Only - when enabled, Follow Up rule will work only for customers who subscribed to newsletter email.
- Status - enables and disables the rule.
Stores & Customer Groups
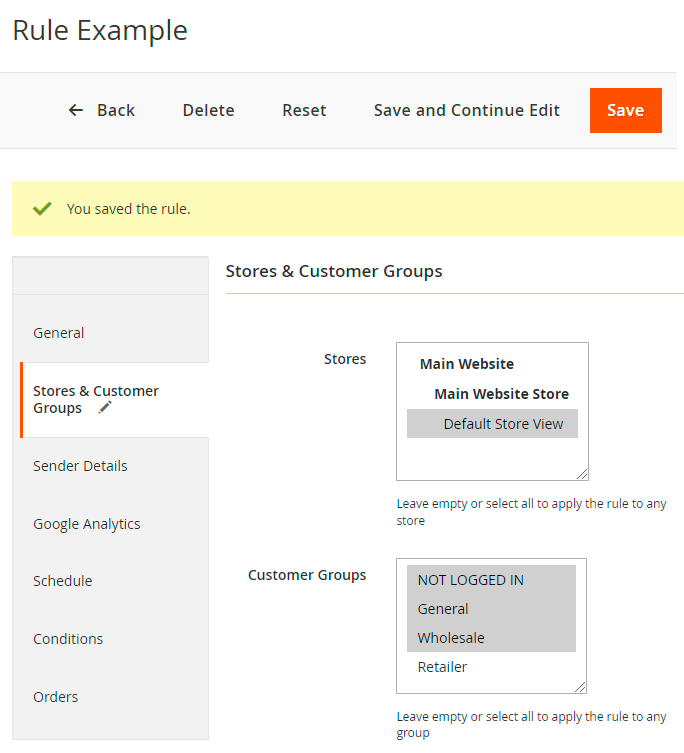
- Stores - limits the stores where the rule will be applied. If nothing is selected, rule will be applied to all stores.
- Customer Groups - controls on which customer groups the rule will be applied. If nothing is selected, rule will be applied to all groups.
Sender Details
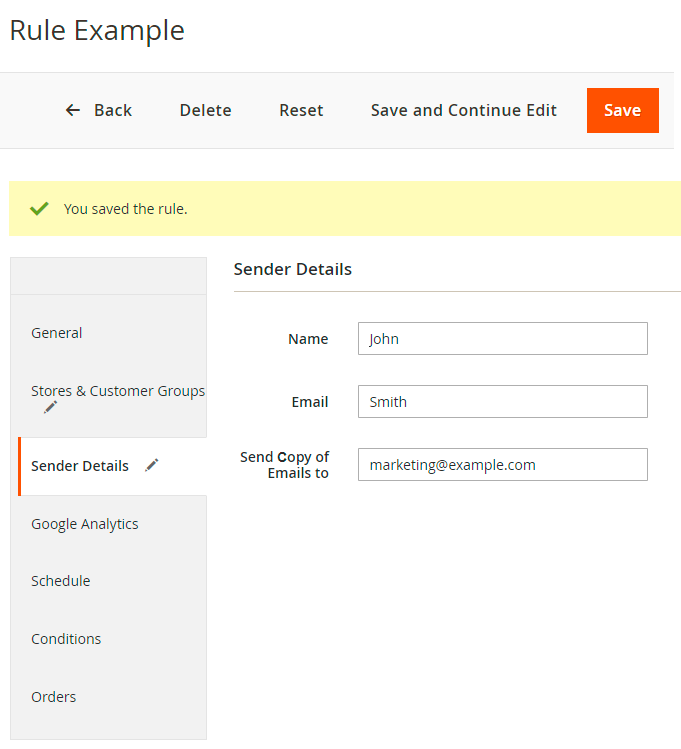
Here you can set the details which will be put into 'From' fields of the email. These settings when set will overwrite same general settings of the extension.
Google Analytics
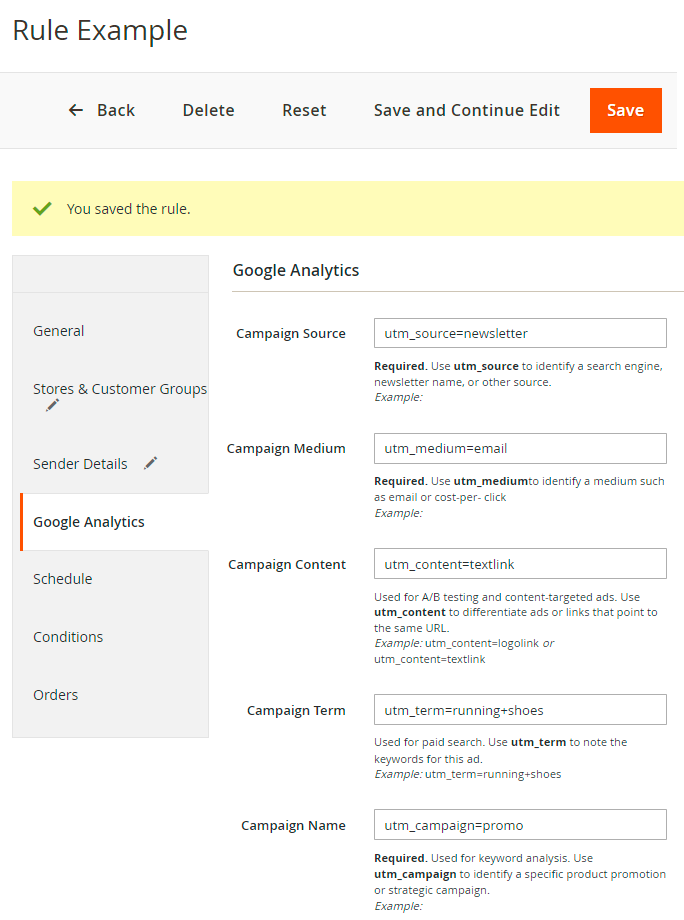
Here you can set Google Analytics parameters which will be added to the links in your follow up emails. Please check the Google Analytics help articles for more details.
Schedule

- Transactional Email - email template used. If you want to add your own template please check here how it can be done.
- Delivery Time - determines the interval between the event you've selected for this rule and the email to be sent.
- Coupon - here you can configure the promotion for the follow-up emails. When an email is sent, a new promotion rule with coupon code will be generated in the Cart Price Rules menu, and the coupon from this rule will be put into an email.
- Use Shopping Cart Rule - works similarly to the setting above, but instead of creating a new promo rule for each coupon it will put the coupon in the existing rule. With this feature, you can configure a rule with complex conditions and use it for your abandoned cart promotions.
Please note that the 'Use Auto Generation' option in the promotion rule has to be enabled for this rule to appear in the list.
Conditions
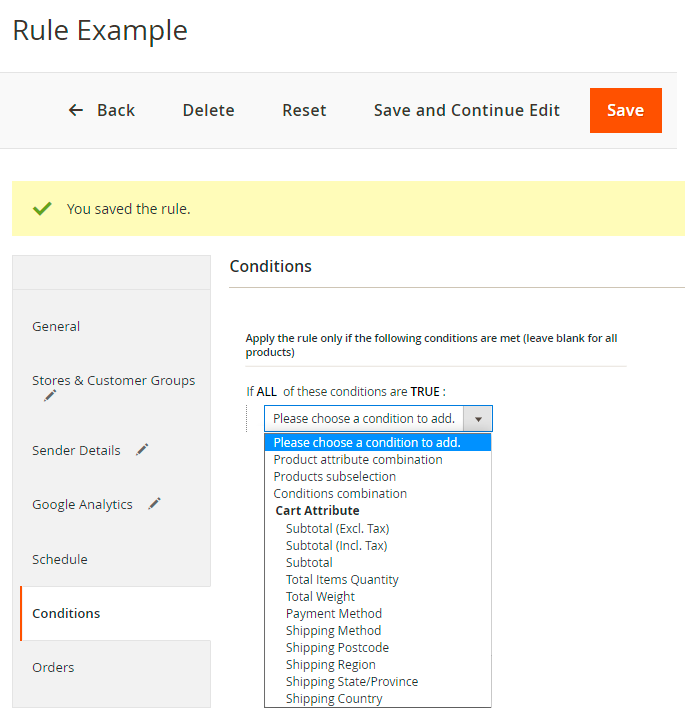
- Condition tree - if there are some conditions, the rule will activate only when conditions are met. Of there are no conditions set, the rule will be active all the time.
Please note that Conditions tab will be available only for order-related Start Events like Order Created
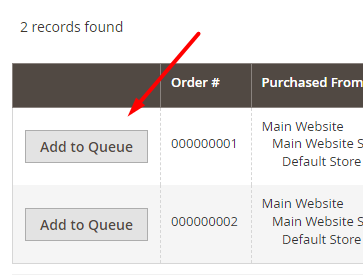
Orders/Customers
In this tab, all matched orders or customers (depending on the start event chosen) are shown. You can send test emails if needed.

Keep in mind, that test emails work only in case the Safe Mode in enabled and a test email is provided. If no, you'll be able to add emails to queue only.
Campaigns Statistics
You can track the performance of each campaign in a separate grid. Navigate to Marketing → Follow Up Email → Follow Up Campaigns Statistics.
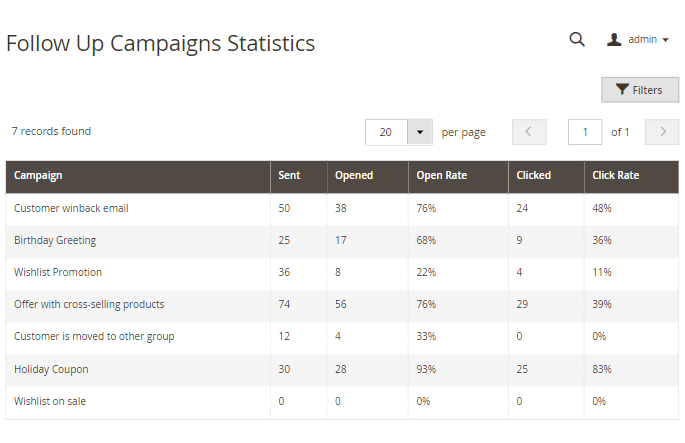
Here you can see the statistics of sent, opened and clicked emails for all campaigns.
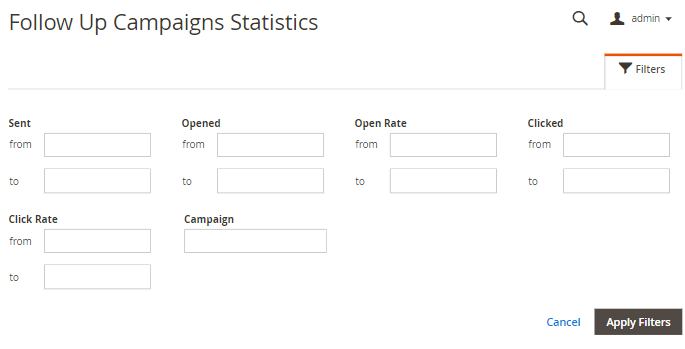
Additionally, filter the campaigns by any of the available parameters.
Usage examples
Christmas sale
Imagine the situation that you are going to hold a great Christmas sale. To keep more customers informed about the event, you can send them follow up emails, containing the corresponding information.
To make this happen we will have to complete two steps:
- to create the follow up email template;
- to set up a follow up rule with the template created.
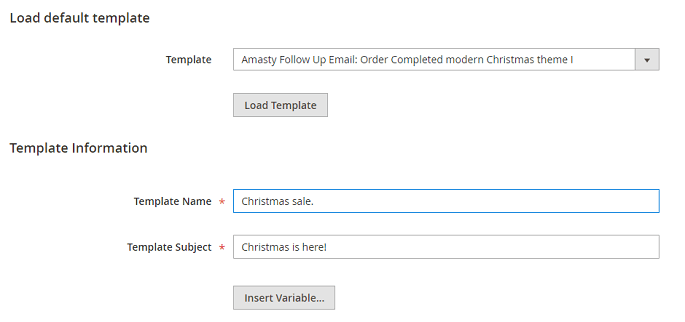
Step 1. To create the mentioned email template, go to Marketing > Communications > Email Templates > Add New Template button.
Considering that we’re going to send notifications about the upcoming Christmas sale to those customers, who will complete orders, during the specified period, load order-related template 'Amasty Follow Up Email: Order Completed modern Christmas theme I' and specify its name and subject in the corresponding fields:
In the Template Content field, you can make adjustments to the text and style of the email template.Find the code starting with “layout”.
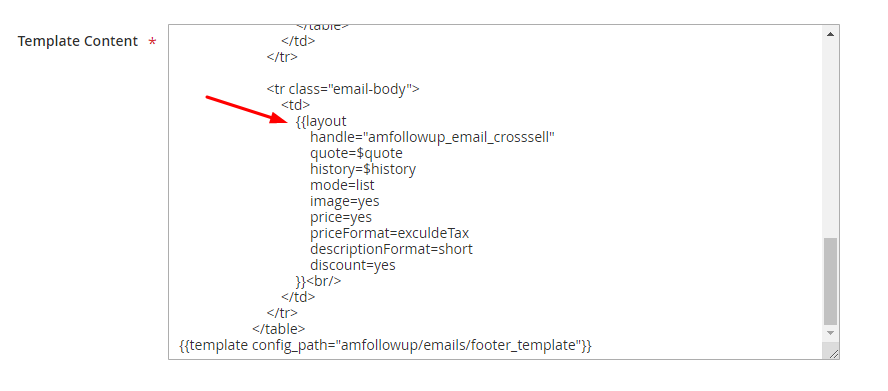
In the layout settings, you can configure the content and style of the product list that is included in the follow-up email.
The handle setting can have one of the following values:
- amfollowup_email_quote helps to show the list of ordered items;
- amfollowup_email_crosssell includes cross-sell products related to those ordered;
- amfollowup_email_upsell displays relevant upsell products;
- amfollowup_email_related is used to show Related products.
The mode defines the appearance of the product list. Starting version 1.2.0, this setting has 4 possible configurations:
- table;
- list;
- table_modern;
- list_modern.
The image in its turn adds pictures to products. Choose:
- yes to include images;
- no to omit them.
The priceFormat is used to show either prices with taxes (=includeTax) or excluding taxes (=exculdeTax).
The descriptionFormat is responsible for the format of the product description. Type in:
- short to display a Short description;
- full to show a full Description;
- no to provide no description at all.
The discount deals with prices in the follow-up email. Here, use:
- yes to include both prices with and without discounts;
- no to show only prices without discounts.
Step 2. To create a rule, go to Marketing > Follow Up > Rules and hit the Create New Rule button.
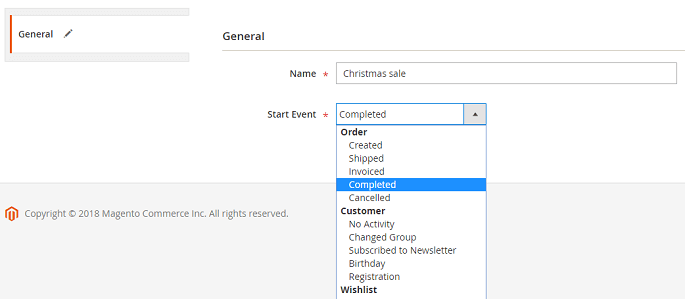
Specify the name of the rule in the Name field and choose the necessary start event in the Start Event field.
To send emails to the customers, who have completed orders, select the Order Completed start event:
You can also set up one or more Cancel Conditions on the General tab, that will block the emails sending (if several notifications are going to be sent to customers). Since we're not going to barrage customers with emails and send only one notification, there is no need to set up Cancel Condition.
The last action to do is to define the schedule of emails sending:
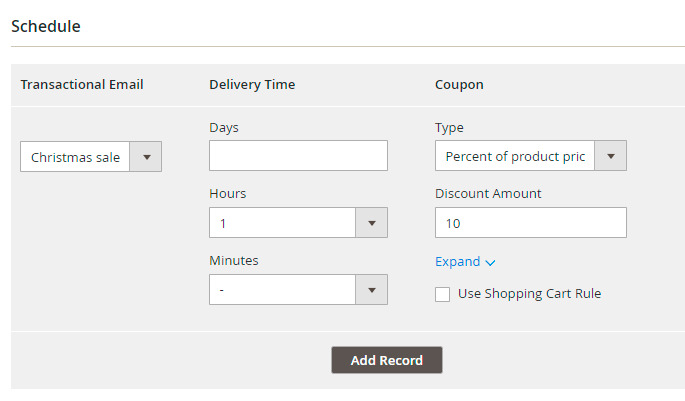
Choose the template’s name you’ve created on the first step in the Transactional Email field, specify the exact Delivery Time and determine the kind of discount to be applied to the products in the list, if needed.
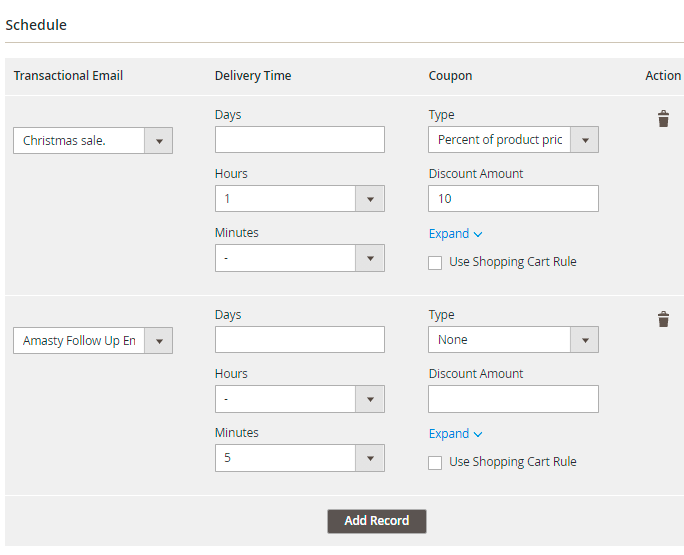
If you want to send more notifications, click to the Add Record button and specify the necessary details for each additional notification to be sent. As a result, the number of specified notifications will be sent to relevant customers according to the schedule.
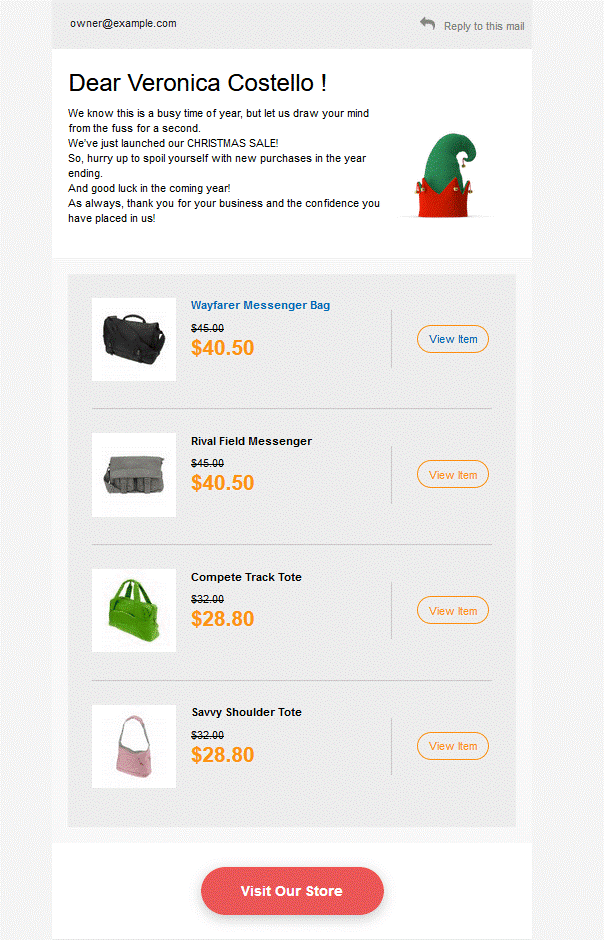
Here’s the sample of a letter the customers will receive:
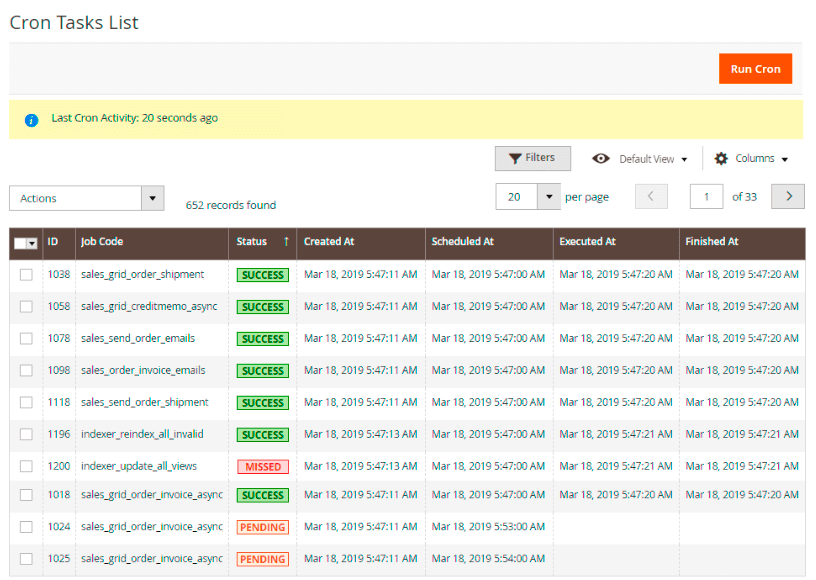
Cron Tasks List
Magento 2 Follow Up Email extension is preintegrated with Cron Tasks List to provide store owners with an opportunity to track and manage all cron tasks running in the website background.
To view all scheduled and executed cron tasks, go to System → Cron Tasks List
Run all cron tasks and generate their schedule by clicking the ‘Run Cron’ button. Also you can delete separate tasks in bulk, apply filtering and sorting options when it is needed.
Find out how to install the Follow Up Email extension via Composer.
magento_2/follow-up-email.txt · Last modified: 2022/02/04 12:48 by tihomirova