
Sidebar
magento_2:instagram_feed
Table of Contents
See the way the Instagram Feed for Magento 2 extension works.
Guide for Instagram Feed for Magento 2
Make your store trendy and increase your traffic with Instagram Feed extension for Magento 2. Display catchy Instagram content to visualize your store even more.
- Automatically display engaging Instagram content with a widget
- Add widgets to any webstore pages
- Set flexible pictures sorting options
- Choose the most apposite layout
- Display the number of likes and comments right in the widget
- Fetch posts by hashtags
- Display video posts in widgets
- The extension is compatible with GraphQL
- ADA & WCAG compliant (for Hyva Theme)
For the proper functioning of the Instagram Feed extension, make sure you have HTTPS connection configured and your Magento is an “Open Magento”, with no htaccess permission limitations. This means that the functionality might not work to the fullest if you installed the module on a local environment or with restricted htaccess permissions. It is required by the Instagram API.
The extension is compatible with Hyvä Theme. You can find the 'amasty/module-instagram-feed-hyva' package for installing in composer suggest. The compatibility is available as a part of an active product subscription or support subscription.
The extension is ADA & WCAG compliant for Hyva Theme.
Exception: Currently it is impossible to add a Title for iframe when using Single Post Widget. The issue stems from the fact that iframe is a part of an external script, and its attributes can only be controlled by Instagram. Consequently, we are unable to rectify this non-compliance with WCAG guidelines for this specific case.
In Instagram Feed FAQ you can find answers to the most popular questions about the extension functionality.
Configuration
To configure the extension, go to Stores → Configuration → Amasty Extensions → Instagram Feed.
Due to certain limitations in sessions for our Demo routers, the General Settings and Generate Access Token tabs are closed for public access in our demo. At the moment, we are working on the workaround to provide you with full access to our module functionality. All other features that are listed on the product page are absolutely available for you to explore. After installation to your Magento 2 store, the functionality of the Instagram Feed extension will work as described in the User Guide.
Expand the General tab.
General
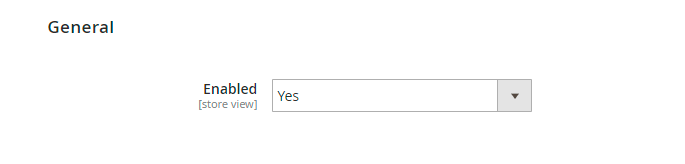
Enabled - set to Yes to activate the extension.
Video
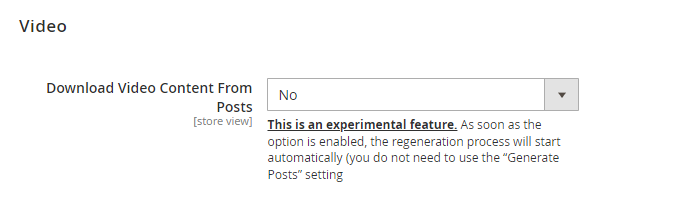
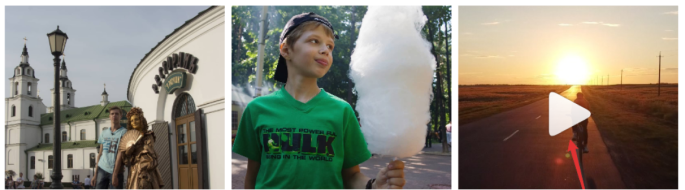
Download Video Content From Posts - if set to 'No', post videos will not play directly on the page. Instead, a video thumbnail with a 'Play' button will be displayed on the front-end. When clicked, depending on the widget setting, a popup or a separate tab will appear where the video can be viewed.
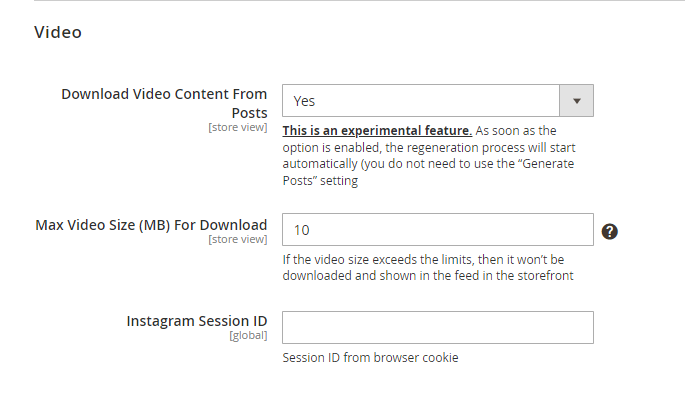
If this setting is set to 'Yes', videos will be downloaded into the client's Magento when regenerated (this is done due to Instagram's limitations on playing videos directly from Instagram). As soon as the option is enabled, the regeneration process will start automatically (you do not need to use the “Generate Posts” setting). The downloaded videos are always kept up to date, and outdated videos are removed to avoid cluttering the memory. Videos in this format do not work in hashtag mode due to API limitations. Only downloaded videos work in hashtags.
Max Video Size (MB) For Download - here you can set the limit for video size, ranging from 1 to 100 MB. If the video size exceeds the limits, then it won’t be downloaded and shown in the feed in the storefront.
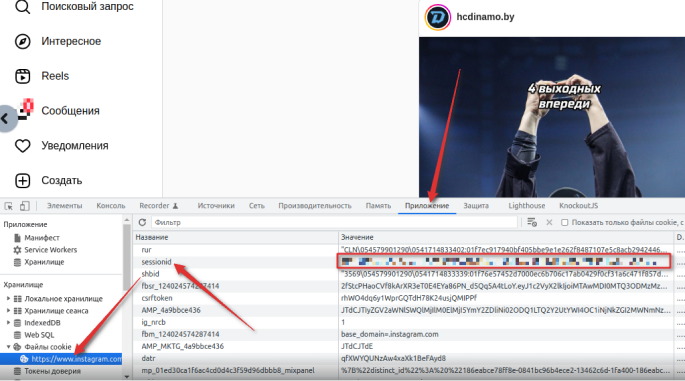
Instagram Session ID - for the correct display of video posts, you should log in with your Instagram account on the official website instagram.com. Then, open the developer panel (F12), navigate to cookie files, copy the value of the “sessionid” cookie, and paste it into the 'Instagram Session ID' field.
Hashtags
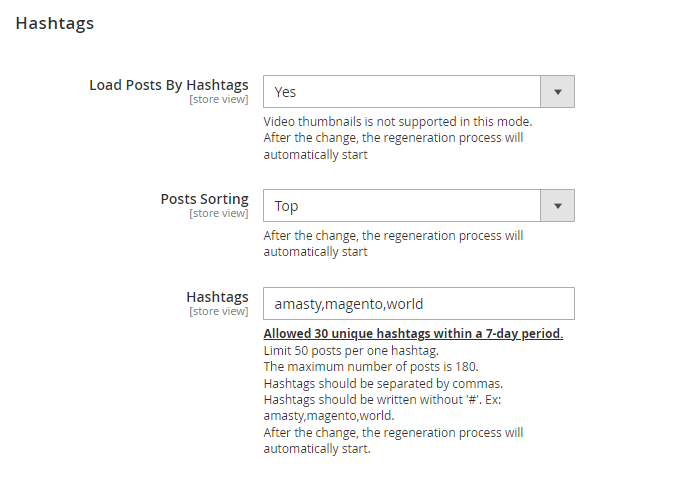
Load Posts By Hashtags - set to 'Yes' to enable the posts loading by hashtags. If this setting is enabled, the module displays the posts on the specified hashtags from all public accounts, but the posts from your connected personal account are ignored and not displayed. If this setting is disabled, the module will display the posts from your personal connected account.
Video thumbnails is not supported in this mode.
After the change, the regeneration process will automatically start
Posts Sorting - works on the algorithm of instagram.
- Recent - the most recent posts by hashtags will be displayed first.
- Top - the most popular posts by hashtags will be displayed first (Instagram itself ranks these posts, not only by the number of likes and comments, but also by its internal algorithms).
Hashtags - here you can enter comma separated hashtags to fetch Instagram posts. Hashtags should be written without '#'. Ex: amasty,magento,world. After the change, the regeneration process automatically starts.
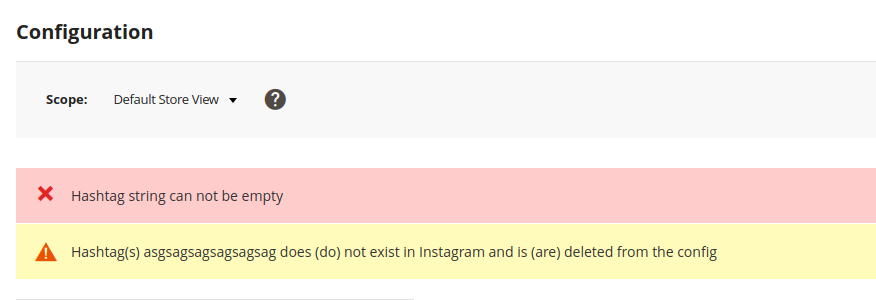
If you enter unexisting hashtag, the following error will bw displayed:
Instagram has the following limits:
- Allowed 30 unique hashtags within a 7-day period.
- Limit 50 posts per one hashtag.
- The maximum number of posts is 180.
If you will try to add hashtags after the limit is reached, the error message will be shown indicating the earliest date when the new hashtags can be added.
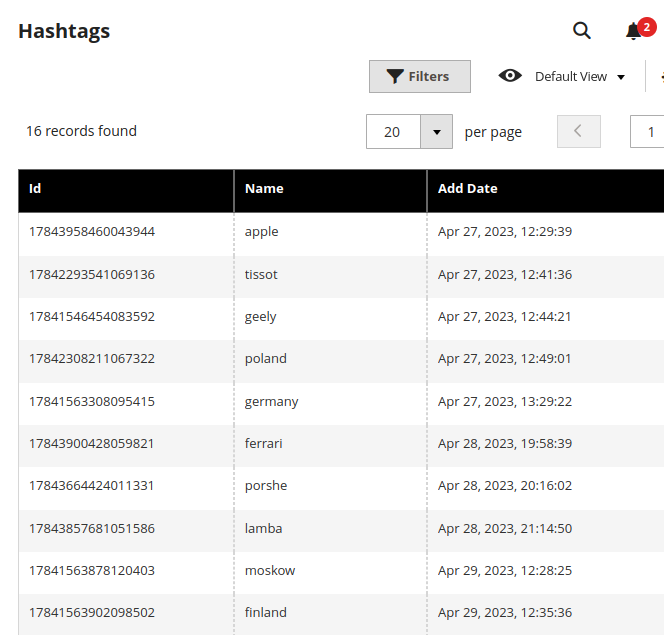
To avoid the inconvenience of this limit, our extension provides a storage for previously entered hashtags so that you can easily use them even if you have reached the limit of 30 unique hashtags in the last 7 days.
To view your saved hashtags, please go to Content → Amasty InstagramFeed → Hashtags:
Instagram Settings
In this tab, you need to link your Instagram account to your Magento 2 store.
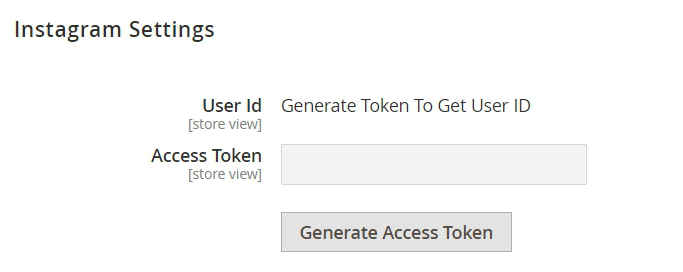
Press the Generate Access Token button to create your Access Token, that is required for proper extension functioning.
Quick extension integration
Our Instagram Feed extension does not require creating a Facebook application and going through its validation. All that is needed to get started is to configure our module through the admin panel and generate a token.
To generate an Access Token, your account needs to be either a Business Account or Creator Account. We recommend choosing Business Account type if possible. To sync your Facebook Page and Instagram account please follow these steps:
- From your News Feed, click Pages in the left menu.
- Go to your Page and click Page Settings in the bottom left.
- Click Instagram in the left column.
- Click Connect Account.
- Follow the prompts on the screen.
Also, make sure you have your Instagram account connected to Facebook in the Instagram mobile app via Settings → Account → Linked Accounts. After clicking on the Generate Access Token button, a pop-up window from Facebook will appear.
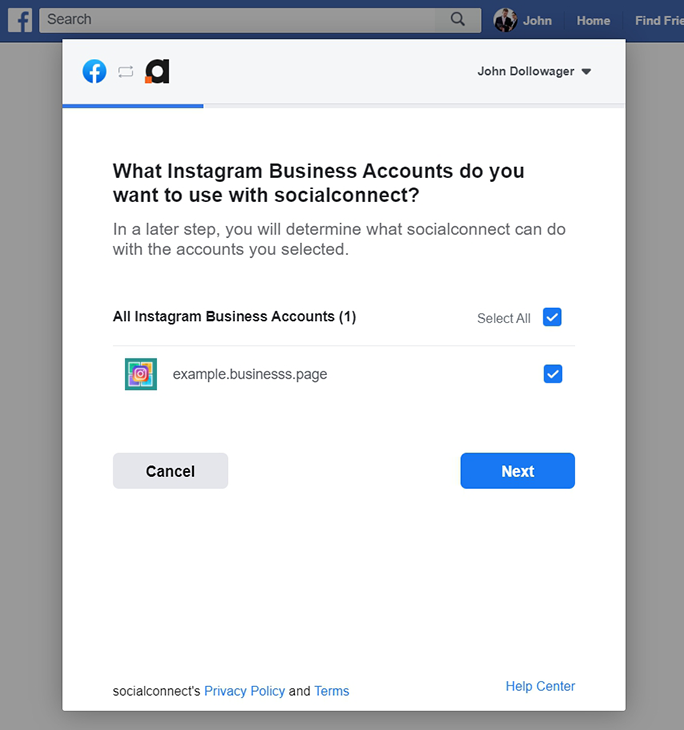
Choose the account that represents your store's business account. Then, proceed to set up what Facebook Page you want to be connected.
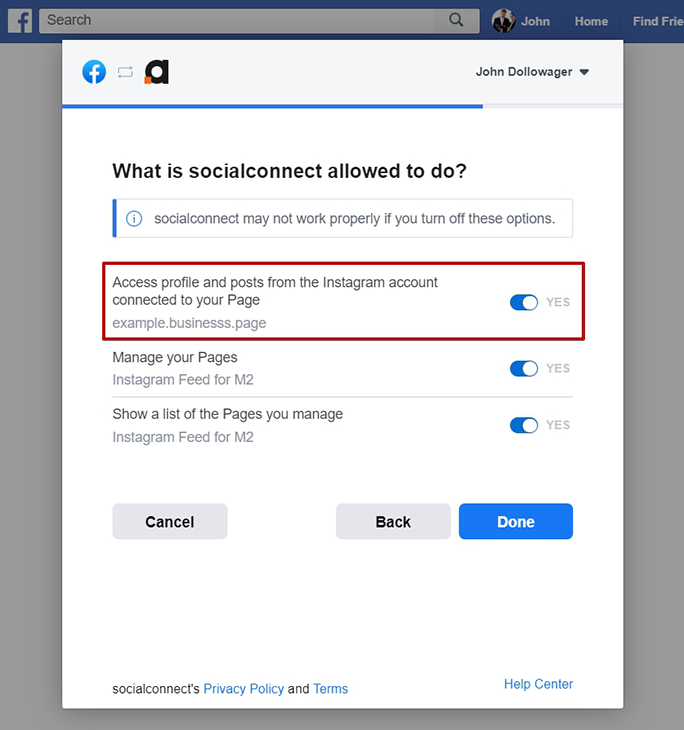
At the last step, please make sure that the setting named Access profile and posts from the Instagram account connected to your page is set to Yes. As for the rest of the settings, it is recommended to set them to Yes for proper performance.
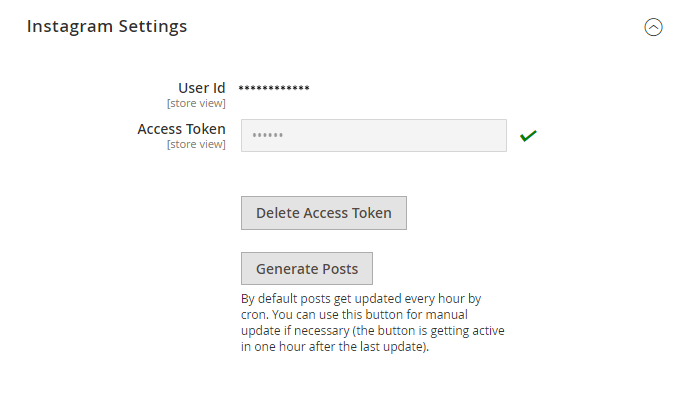
After a successful connection, you'll see a filled-in Access Token field.
You can connect different accounts to different store views. For example, you can add Instagrams @brand_example_de to German store view, and add @brand_example_us for Worldwide and US store views.
If you see the following pop-up with a warning when configuring the extension:
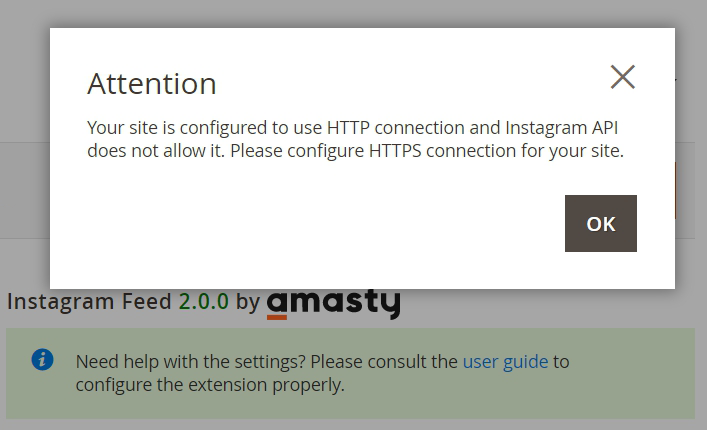
It occurs if your website is configured to use the HTTP connection. To resolve the issue, you need to configure the HTTPS connection for your site. Instagram API doesn't allow the HTTP connection, so you can't generate an Access Token if you use the HTTP protocol.
Delete Access Token - with the extension you can also delete access token from the admin area if needed.
Generate Posts - by default posts get updated every hour by cron. You can use this button for manual update if necessary (the button is getting active in one hour after the last update).
If you are using CloudFlare and experience a timeout when generating posts, please run the console command 'amasty:instafeed:update' to initiate image generation.
Widget Creation
The extension allows to create flexible Instagram widgets and add them to any store page. To create a widget, navigate to Content → Widgets.
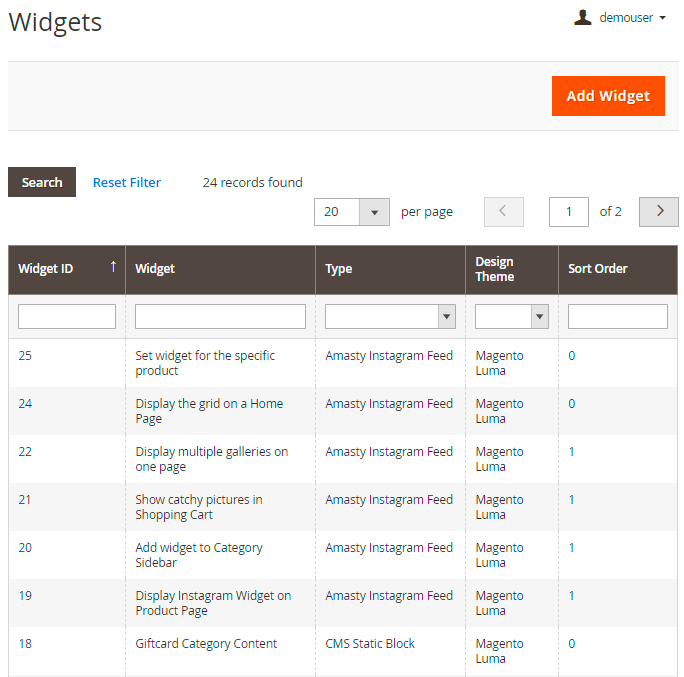
You can view and edit all existing widgets in a handy grid. To create a new one, hit the Add Widget button.
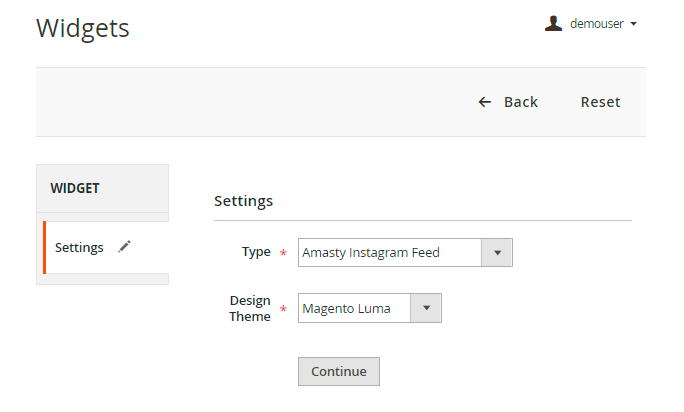
In the Type field choose Amasty Instagram Feed.
Set the necessary Design Theme and click Continue.
Storefront Properties
In this tab, you can adjust widget display on the frontend.

Widget Title - set the title for the widget that will be displayed in the backend and in the widget grid.
Assign to Store Views - specify the store views to which Instagram widget will be added.
Sort Order - set widget position among the other widgets within the same container.
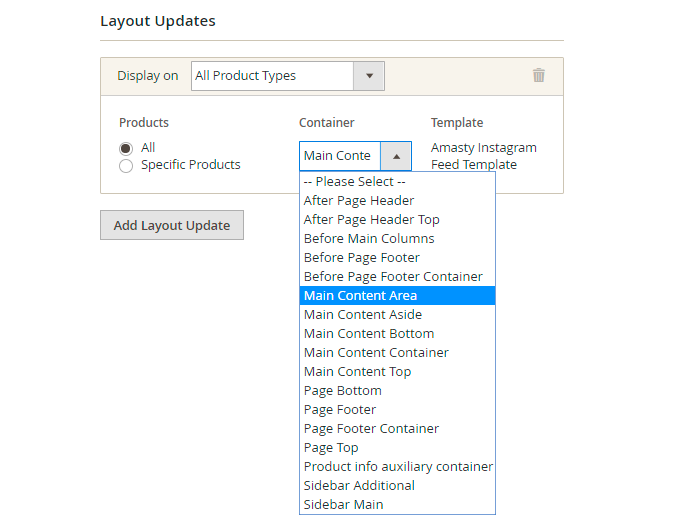
Layout Updates - assign the widget to the category, product or generic pages.
If you select category or product pages, you may specify the particular ones to which the widget will be added.
In the Container dropdown select the position where the Instagram widget will be displayed.
Widget Options
Go to this tab to configure the widget layout.

Title - set a catchy title for the block that will be displayed on the frontend. Leave empty if no title needed.
Widget Type - choose one of the available widget types:
- Grid
- Slider
- Single Post
- Collage (was deprecated recently, now you can use the Slider instead, with the approapriate settings)
Grid
If the Grid Widget Type is selected, it will have the following layout:
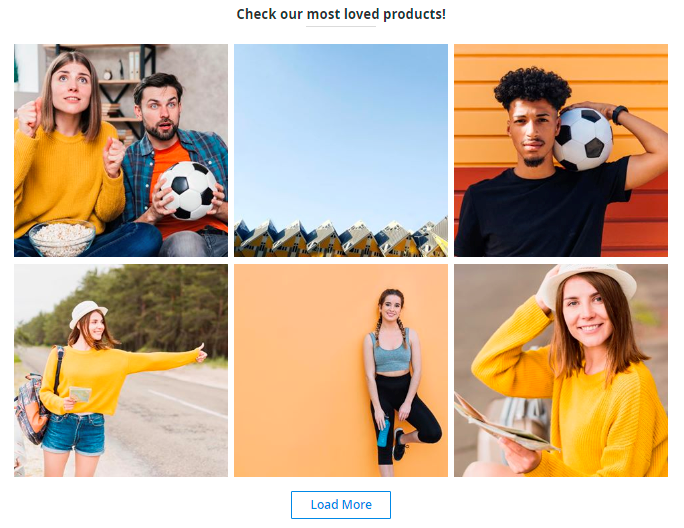
You may customize it according to your webstore design.
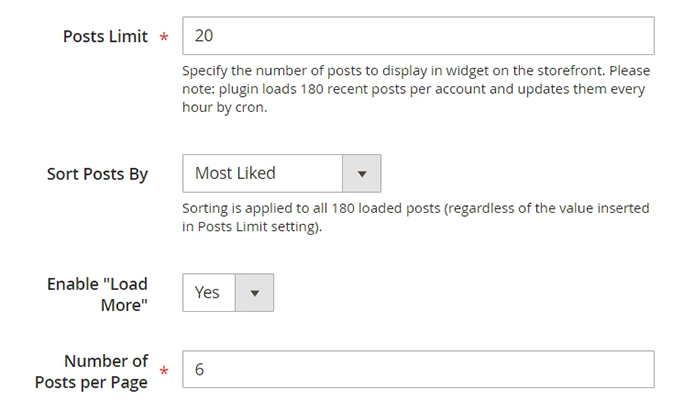
Posts Limit - set the maximum number of images to add.
Sort Posts By - choose the algorithm according to which posts will be sorted:
- Newest
- Most Liked
- Most Commented
- Random
Enable “Load More” - set to Yes if you want to show the “Load More” button.
Number of Posts per Page - specify the limit of the posts that will be displayed on one page.
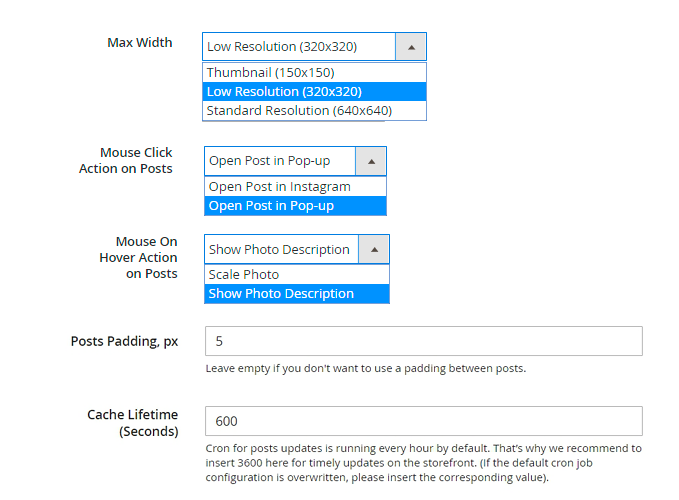
Max Width - choose the resolution suitable for your store.
Mouse Click Action on Posts - select the action that will be performed if a customer clicks a post: Open Post in Pop-up or Open Post in Instagram.
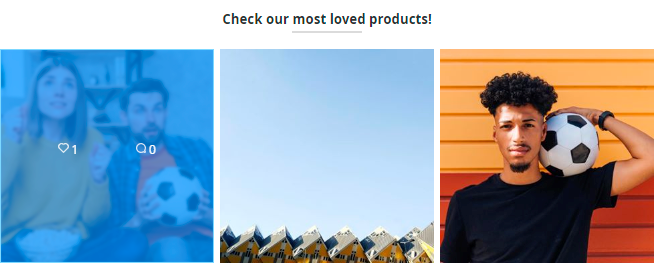
Mouse On Hover Action on Posts - specify the action that will be performed if a customer hovers a post: Scale Photo or Show Photo Description.
Description is shown in the following way:
Posts Padding, px - adjust the padding if you want to add some space between pictures. Leave empty if you don't want to use padding between posts.
Cache Lifetime (Seconds) - specify the time in seconds between the widget updates. If not set, equals to 3600 seconds (1 hour).
To update widget instantly, go to Cache Management and clear Blocks HTML Output cache.
The Instagram pictures in your widgets are indexed and updated via Cron job. We choose this implementation, as the Instagram API has strict limitations on the number of requests per hour. That's why now we can't instantly update information in real-time.
Slider
If the Slider Widget Type is set, it will be displayed in the following way:
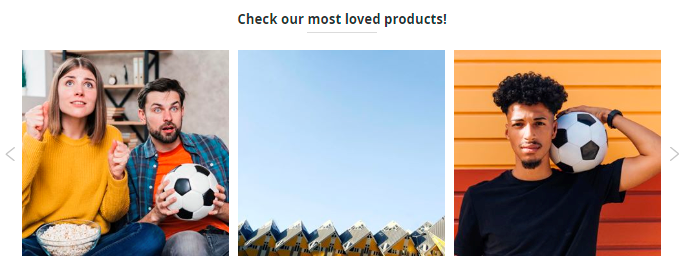
You can adjust the number of Columns and Rows in the slider.
Although the 'Collage' widget type has been deprecated, you can still achieve a similar functionality by using the 'Slider' type. Simply set the 'Number of Rows' parameter to a value greater than one.
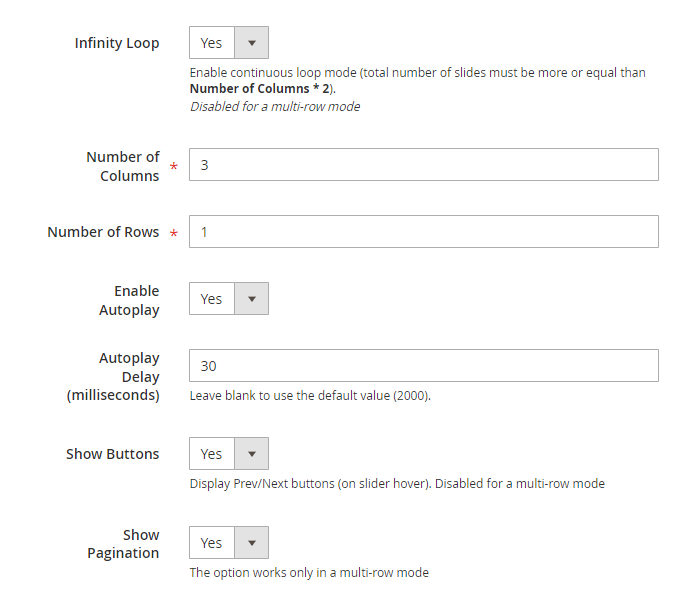
Infinity Loop - enable this setting for continuous loop mode (total number of slides must be more or equal than Number of Columns * 2). Disabled for a multi-row mode.
Enable Autoplay - set to Yes if you want the slider to flip automatically.
Autoplay Delay (milliseconds) - adjust the speed of the autoplay. Leave blank to use the default value.
Show Buttons - set to 'Yes' to display Prev/Next buttons on slider hover. Disabled for a multi-row mode.
Show Pagination - enable this option to display pagination buttons at the bottom of the slides. The option works only in a multi-row mode
The other settings are configured similar to the Grid Widget Type.
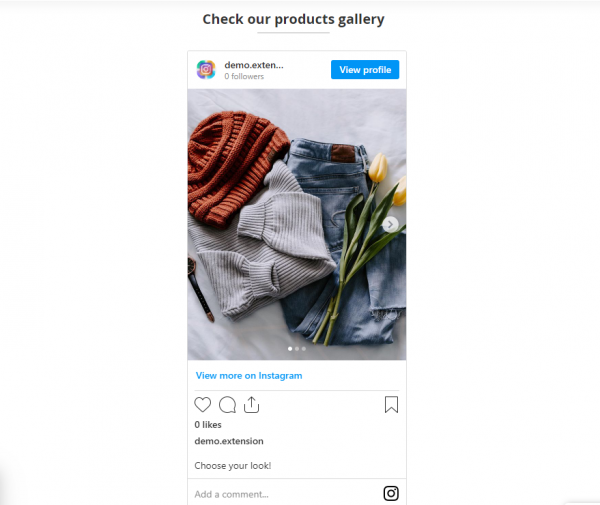
Single Post
In the Single Post Widget Type, only one particular post is displayed.
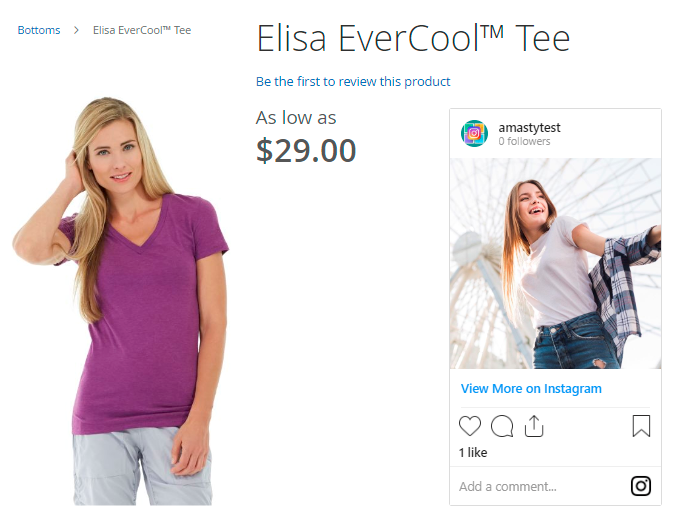
It is possible to configure the following options:
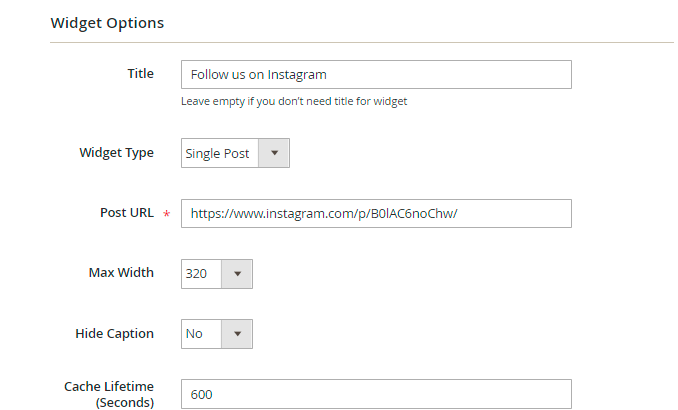
Post URL - fill in the URL of the post that you want to show on your store page.
Max Width - adjust widget width according to your webstore style.
Hide Caption - you may hide photo caption or display it.
Adding Widget to a Page
Instagram feed lets you show posts on any page of your store. You may also add widgets using WYSIWYG editor.
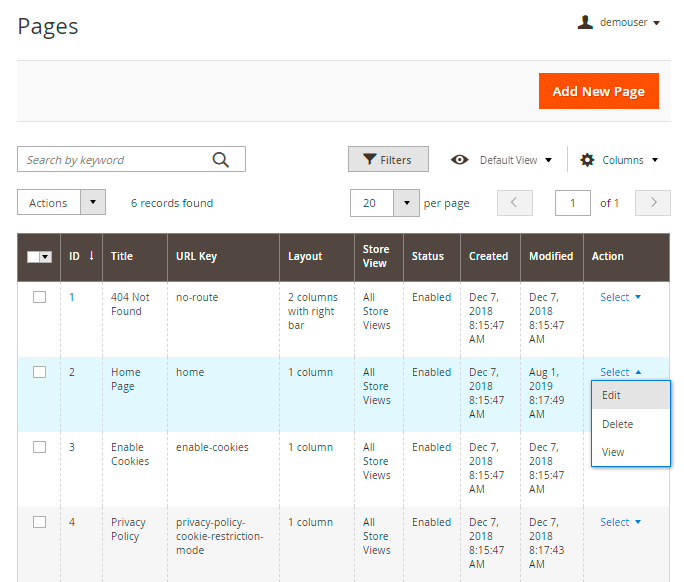
To do this, go to Content → Pages. Choose the page to which you want to add a widget. In the Action column click Edit.
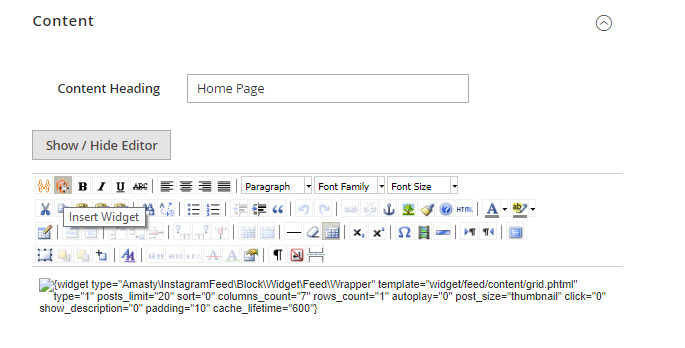
Expand the Content tab and click Insert Widget in the WYSIWYG editor.
Choose Amasty Instagram Feed type and configure the widget according to your needs.
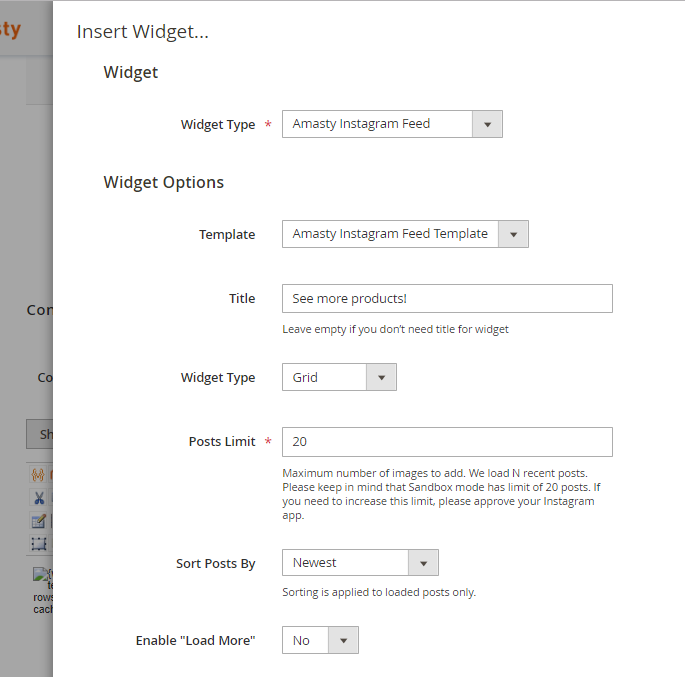
Click Insert.
Post&Product Linking
By adding a link to an Instagram post, you can navigate users to a Product Page to make a purchase. To add the Post&Product Link, please go to Content → Post&Product Linking.
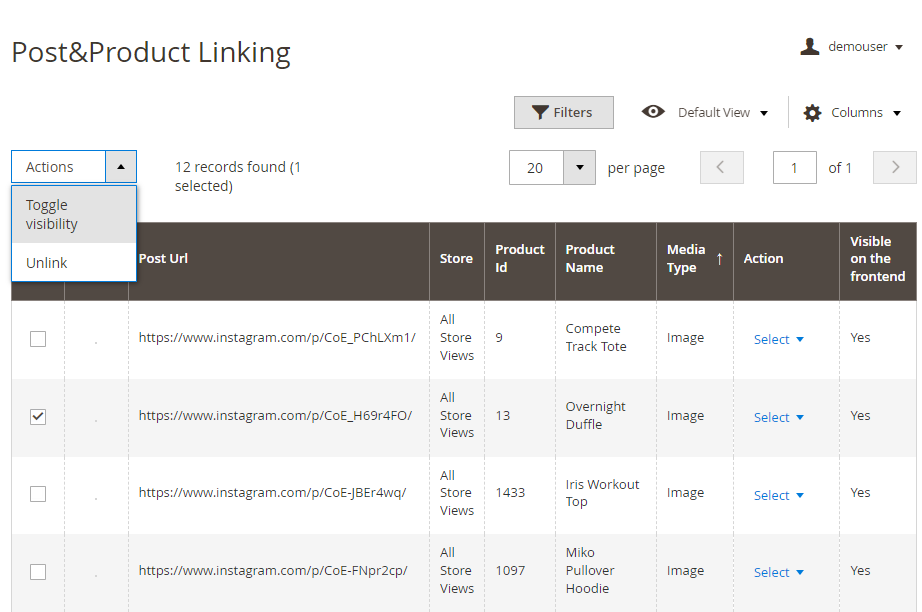
On a grid, you'll see a list of all imported Instagram posts you have in your store. Right from the grid you can turn on or turn off the visibility for any post: just select the needed posts via checkboxes and apply the action 'Toggle visibility' to them - and the posts status will be changed.
We add the Media Type column to the Post&Product Linking grid to provide you with the opportunity to see the type of the Instagram post that is linked to the specific product.
Now the Instagram Feed for Magento 2 extension supports Carousel Album type of Instagram post.
Choose the post you'd like to connect with a product and press Select → Edit.
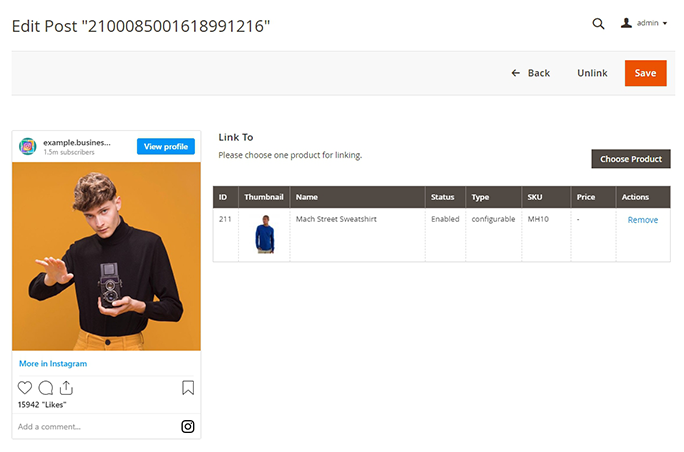
Press the Choose Product button. Then, in a dropdown tab, select the product you'd like to add. Hit the Save button.
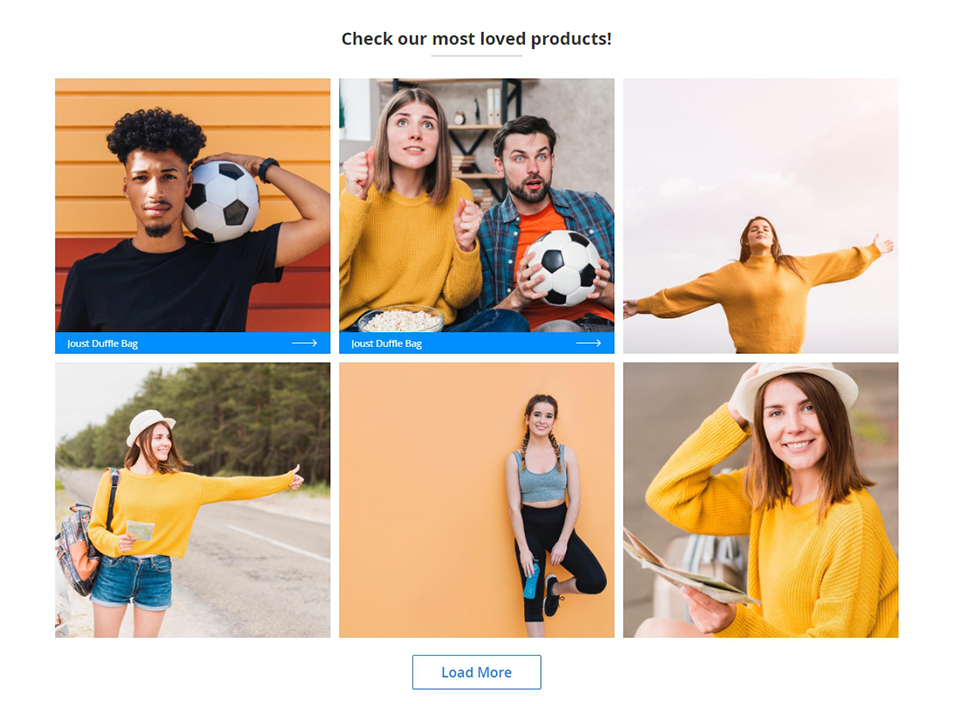
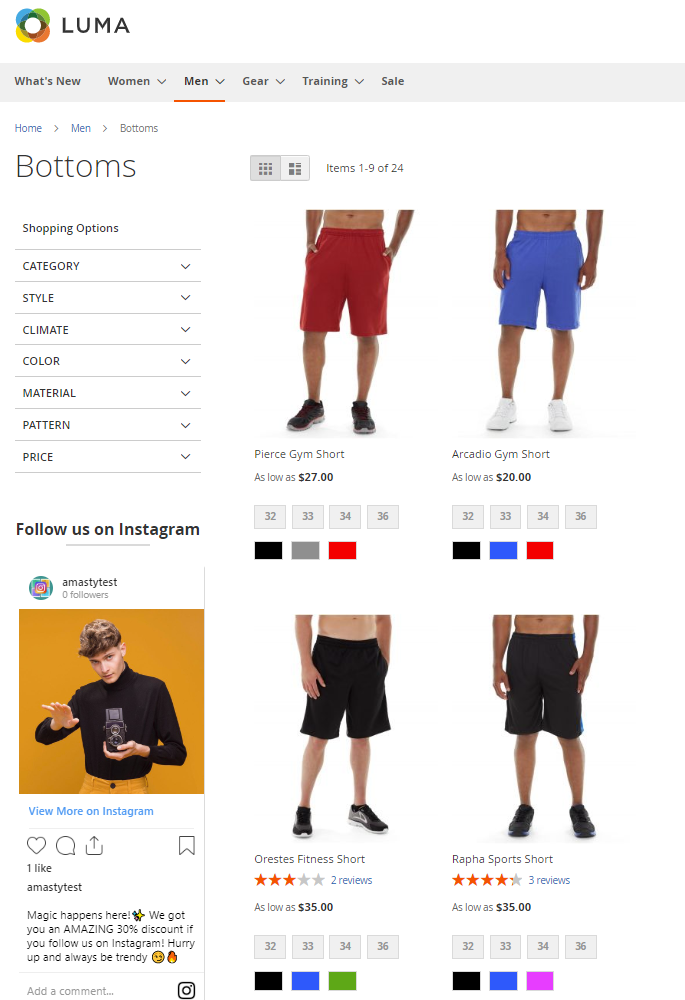
This is an example of how the Product Page link looks on the frontend (Upper row, first two pictures from the left. The rest of the posts have no linked product).
Frontend Examples
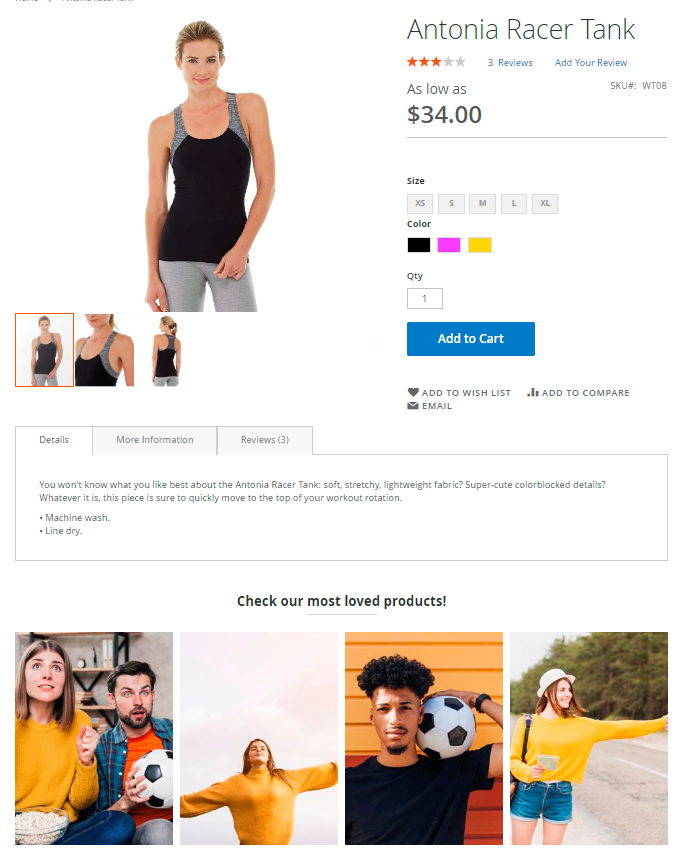
Add widgets to promote your Instagram account right on product pages.
Make your category pages look stylish.
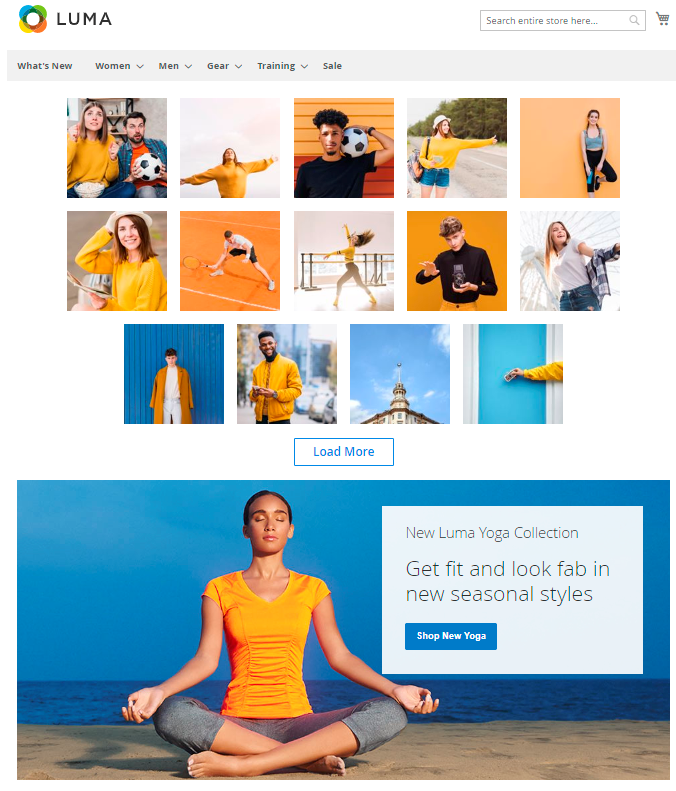
Show catchy pictures on CMS pages.
Apply one-click login and speed us shopping process with Magento 2 Social Login.
Boost your Instagram effectiveness
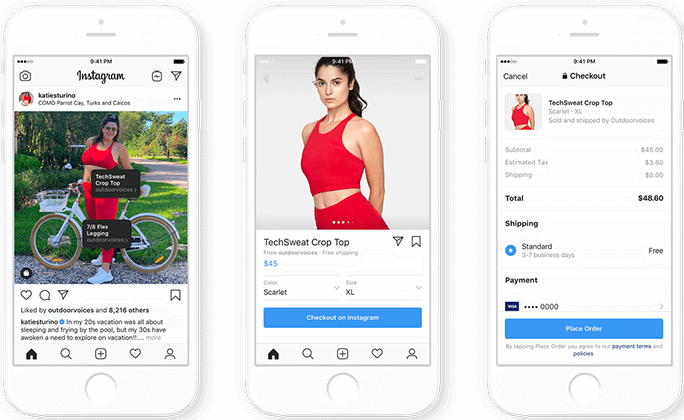
Maximize the benefits of a growing user base on your Instagram account. Oftentimes, users will click on posts that are featured in the Instagram Feed widgets and visit the original page. To not lose potential sales, store admins can set up Instagram Shopping. Instagram Shopping is an original Instagram feature that perfectly complements the Amasty extension.
To implement this feature, you need to be compliant with commerce policies and:
- Be located in a supported market — check the list on an official Instagram page;
- Sell physical goods, example — clothing, jewelry, etc.;
- Have a business Instagram account and connect it to a Facebook page.
After you complete the necessary requirements, you can start tagging goods on organic posts. These tags will also be visible on the post featured in the Instagram Feed for Magento 2 widgets and are a great tool to boost sales.
Find out how to install the Instagram Feed extension for Magento 2 via Composer.
magento_2/instagram_feed.txt · Last modified: 2024/05/06 10:06 by asemenova