
Sidebar
magento_1:quick_ajax_login
Table of Contents
For more details see the Quick Ajax Login extension page.
Quick Ajax Login
Fast and easy login is a working solution to increase the number of registered customers and improve their experience.
- Reduces customers' registration time
- Provides possibility to log in through social accounts
- Lets customers easily recover passwords
- Allows authorization without visiting the registration page
- Allows redirecting customers to any page
General Settings
To configure general extension settings, please, go to Admin Panel → System → Configuration → Amasty Ajax Login → General Settings tab.
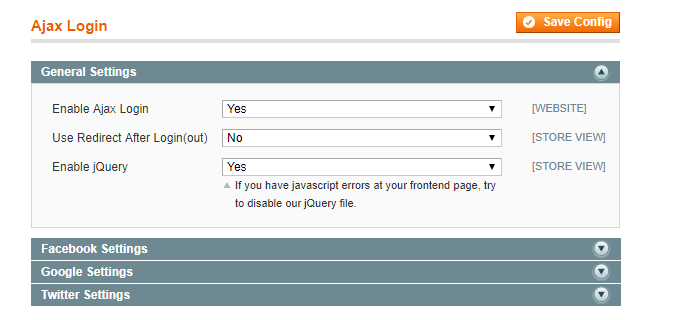
Enable Ajax Login - enable or disable the extension in this field.
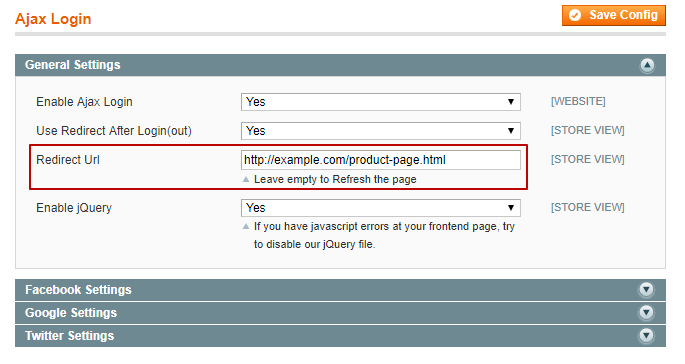
Use Redirect After Login (out) - choose whether to redirect customers after successful login. If set to No, customers will stay on their current page after they log in. Switch the value to Yes to redirect customers to a particular page after successful login. Insert the page URL to which you want to redirect customers after they log in to the Redirect Url field.
Enable jQuery - set to Yes to enable jQuery. In case you already have the jQuery plugin installed, you can disable this one when facing javascript errors at your frontend.
Choose which social buttons to enable on your pop-up login window and switch them to Yes on according tabs (Facebook, Google and Twitter Settings).
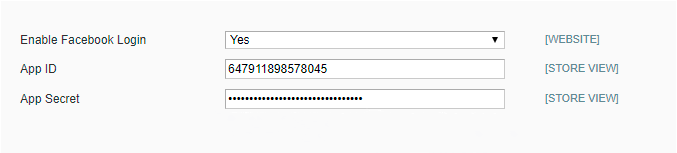
Specify the App ID and the App Secret fields for each social button you want to add to the pop-up window.
Please, carefully inspect the user guide to find out how to make appropriate settings on social networks’ pages to create the apps.
Facebook Settings
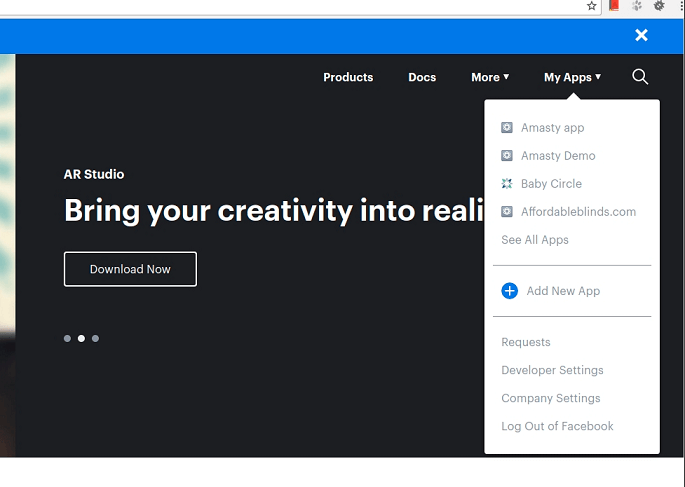
To create a Facebook app, please, go to http://developers.facebook.com/apps.
Register as a developer and choose Add New App in the My Apps drop-down.
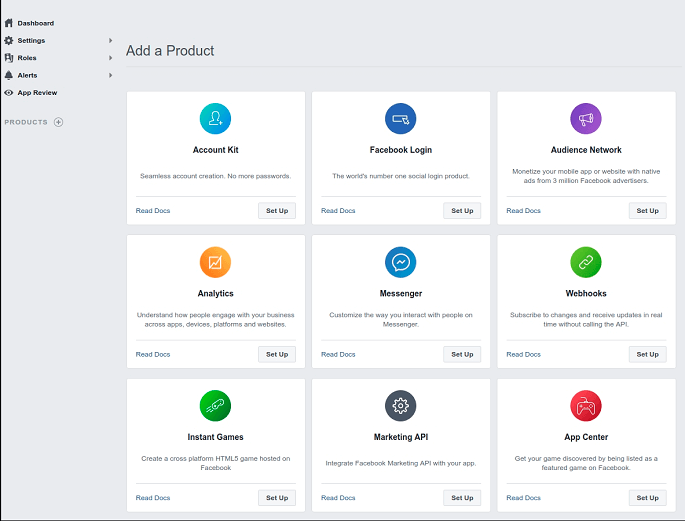
Choose Facebook Login among the products available for adding.
Specify the Display Name and Contact Email for your app. After that, click the Create App ID button.

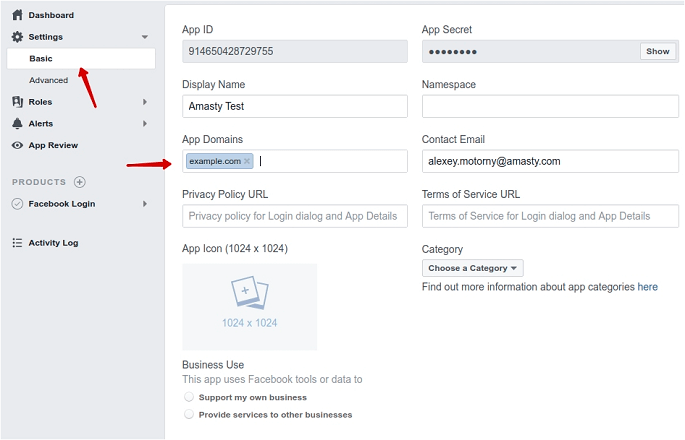
Then, go to the Settings → Basic tab to configure your app.
The App ID and App Secret will be generated automatically. Fill in the App Domains field and choose your app category.
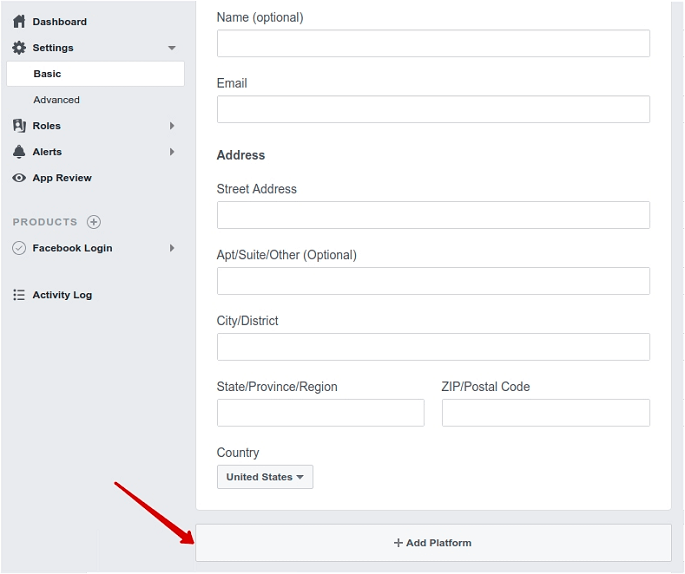
Click on the Add Platform button to choose the platform for your social apps.
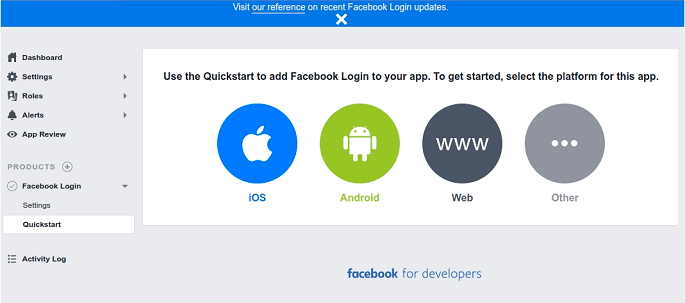
After clicking on the Add Platform button you’ll see the grid with various platform types. Please select Web.
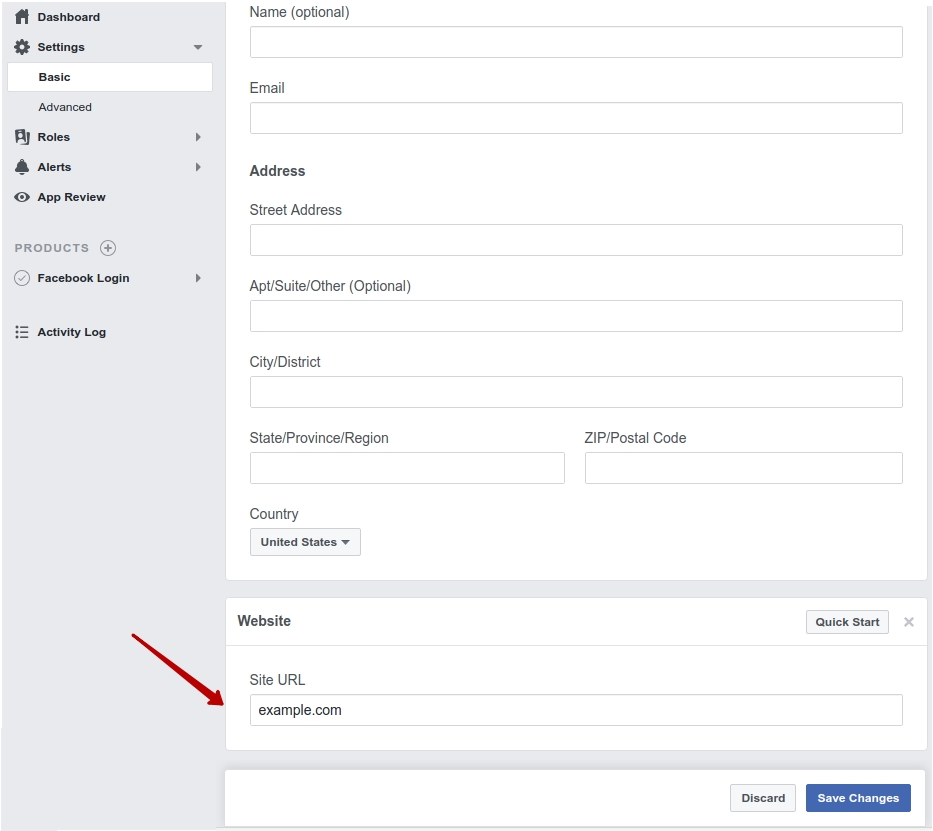
After specifying the platform type, insert your website URL here and click on the Save Changes button.
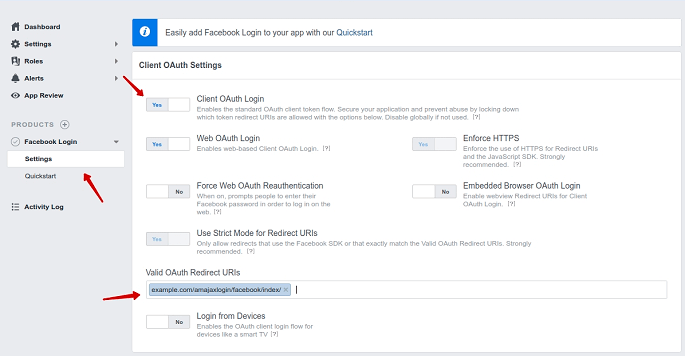
Enable the Client OAuth Login and fill in the Valid OAuth redirect URIs on the Facebook Login → Settings tab.
Insert your App ID and App Secret in general extension settings and save the configuration.
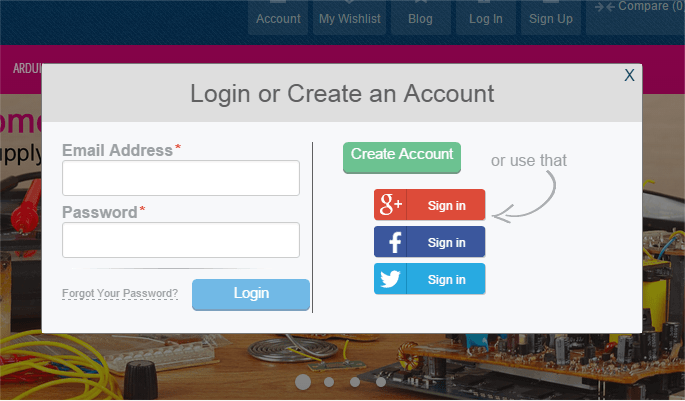
As soon as the App ID and App Secret are saved, you’ll see the Facebook social button placed on your login pop-up window.
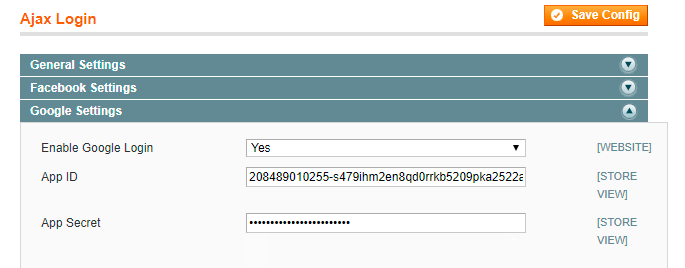
Google Settings
To create Google App, please, go to https://cloud.google.com/console/project.
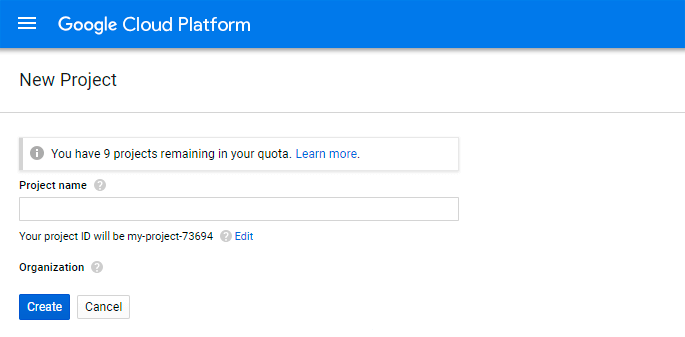
Click on the CREATE PROJECT button and configure your app settings.
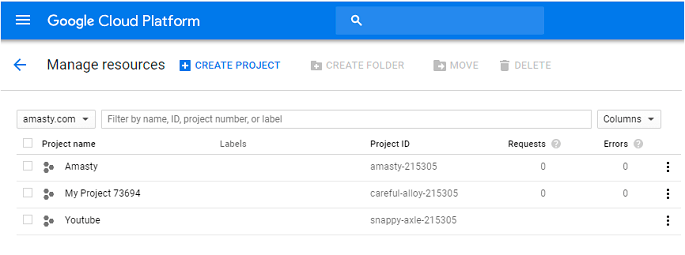
Specify your project name. The project ID will be generated automatically.
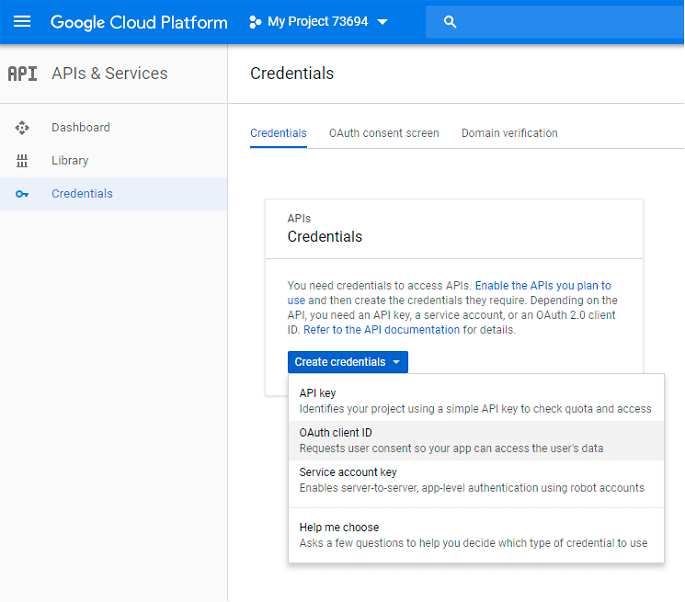
Go to the Credentials tab and create a client ID to integrate your website with Google.
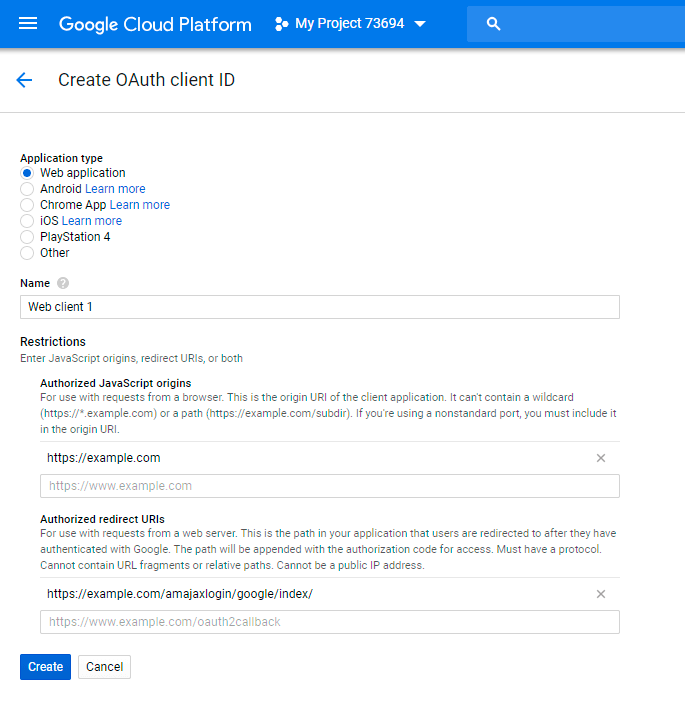
Insert your website URL in the required field. In the field Authorized Redirect URLs add /amajaxlogin/google/index/ to your website URL. Then, press the Create button.
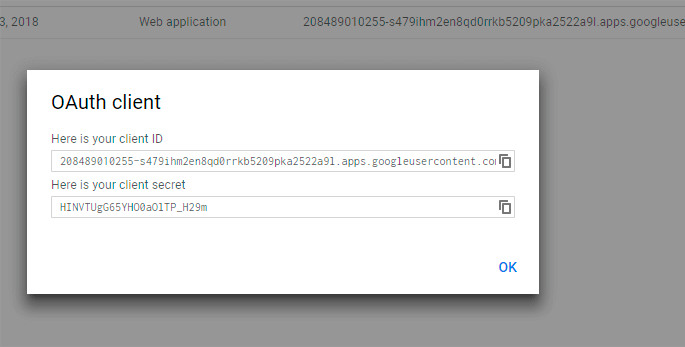
Please copy the Client ID and Client Secret, and paste them to the appropriate fields in your backend.
Insert your App ID and App Secret in the appropriate fields in the backend and save the configuration.

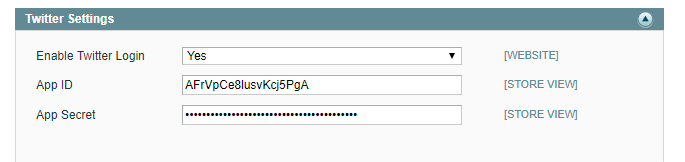
Twitter Settings
To create a Twitter App, please, go to https://apps.twitter.com/.
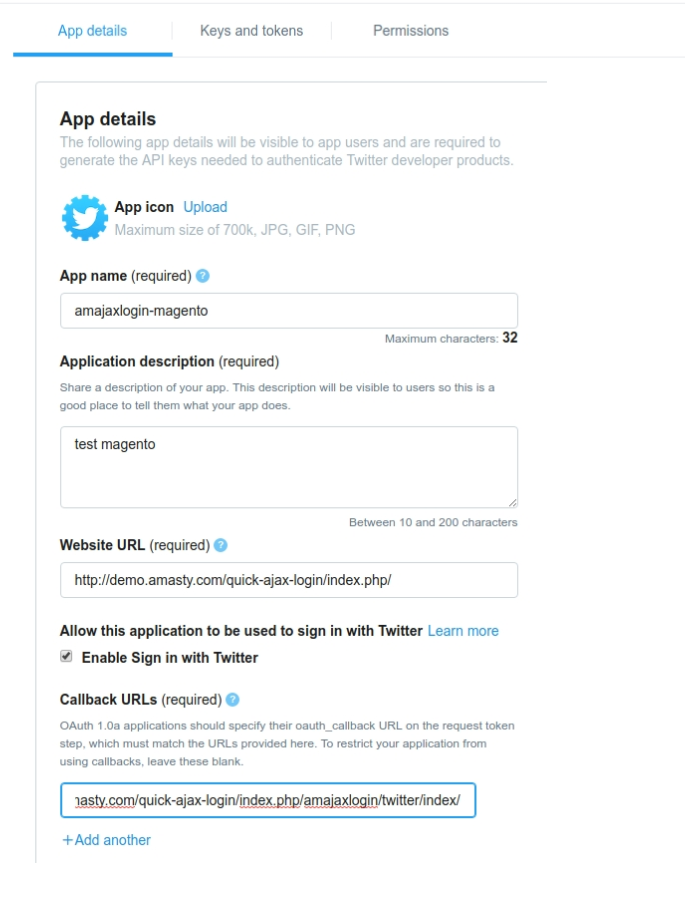
Click to the Create New App button to create a new Twitter app.
Specify your App name and give a detailed description of the application in App name and Application Description fields. Then, specify your website URL in the Website URL field. In the Callback URLs field specify your website URL and add /amajaxlogin/twitter/ to it.
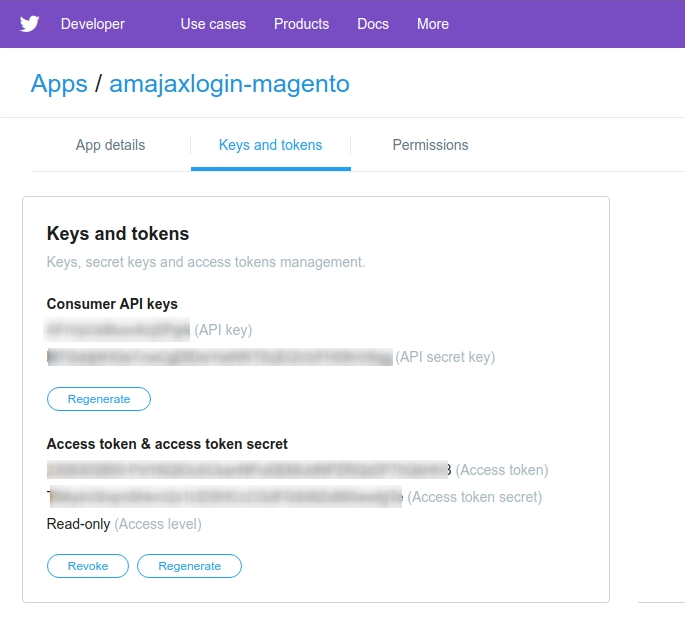
Go to the Keys and tokens tab and copy the API key and the API secret key.
Specify the necessary access and additional permissions on the Permissions tab.

Insert the API key and the API secret key, obtained from the Keys and tokens tab, to the fields in the backend (the App ID and App Secret fields).
magento_1/quick_ajax_login.txt · Last modified: 2019/02/25 10:13 by tihomirova