Sidebar
magento_2:meta_tags_templates
Table of Contents
For more details see how Meta Tags Templates for Magento 2 extension works.
Guide for Meta Tags Templates for Magento 2
With Meta Tags Templates extension you can automatically generate meta tags as well as descriptions for:
- Product pages
- Category pages
- Any site page by URL
Functionality has hierarchical structure. That means you can choose the category and specify all the tags for:
- Current category
- Sub categories
- Products in current category
- Products in subcategory
A range of complex variables can be used in tags and descriptions.
General Settings
To specify general extension settings, go to Stores → Configuration → Amasty Extensions → SEO Meta Tags Templates
Max Title/Description Length - Specify the SEO appropriate length.

It’s recommended to make the title not longer than 65 characters; the description shouldn’t exceed 160 symbols.
To add meta tags to product pages, expand the Product Page tab.
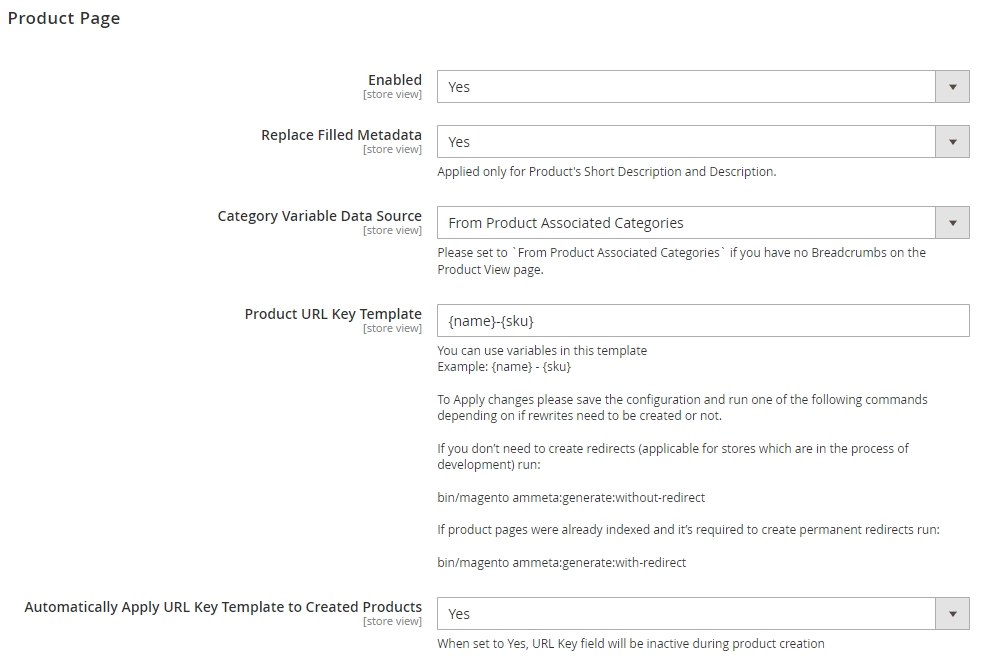
Enabled - set to Yes to apply the extension for product pages.
Replaced Filled Metadata - If you set the option to No all previously created meta tags won’t be replaced except for empty ones. In case you set the option to Yes you’ll replace all meta information.
Category Variable Data Source - set to `From Product Associated Categories` if you have no Breadcrumbs on the Product View page.
Product URL Key Template - specify the rules to create SEO-friendly URLs of your products pages. You can use variables in Product URL Key Template.
To Apply changes in the 'Product URL Key Template' setting please save the configuration and run one of the following commands depending on if rewrites need to be created or not.
If you don’t need to create redirects (applicable for stores which are in the process of development) run:
bin/magento ammeta:generate:without-redirect
If product pages were already indexed and it’s required to create permanent redirects run:
bin/magento ammeta:generate:with-redirect
Make sure that such rewriting of your product pages URLs is necessary. Because after running these commands, not only the URLs but also the IDs in the url_rewrite and catalog_product_entity_varchar tables are overwritten, which makes it impossible to change the URL Key through the product page in the admin panel.
Automatically Apply URL Key Template to Created Products - set to ‘Yes’ to automatically apply URL Key Template for all new products after they are created
To apply the settings for categories, go to Category Page tab and set the Enabled option to Yes.
Category Page - You can disable meta tags functionality for category pages.

Category-based templates
To create product meta tags templates by category please go to Content→ Meta Tags by Category.
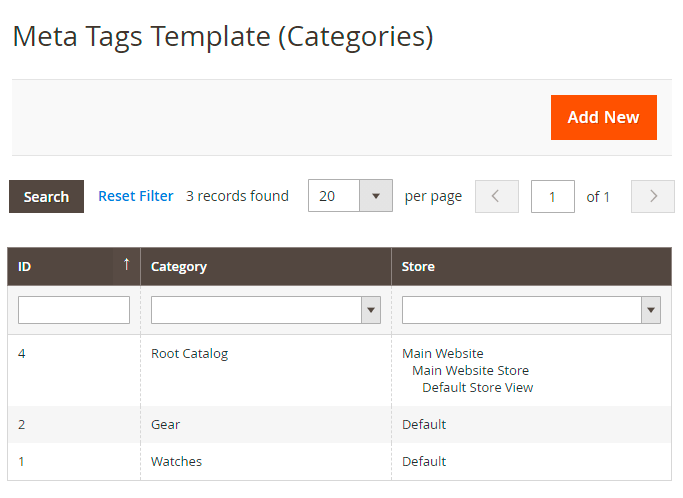
Hit the Add New button.
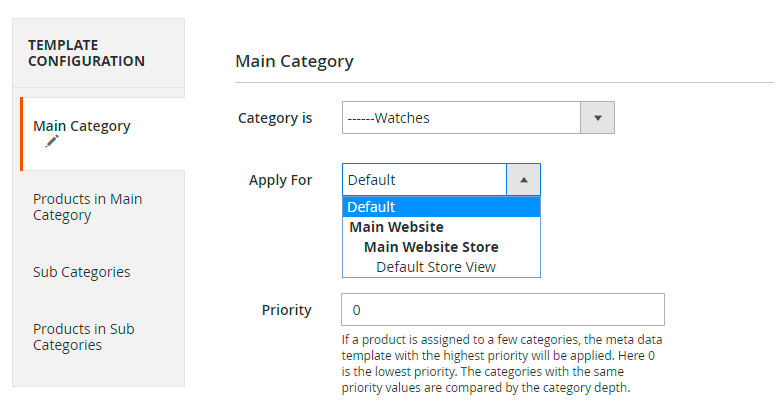
Main Category
Category is - Select the category to which the template should apply.
Apply for - Select store views to which the template will apply.
Priority - specify the priority for main category. If a product is assigned to a few categories, the meta data template with the highest priority will be applied. Here 0 is the lowest priority. The categories with the same priority values are compared by the category depth.
Products in Main Category
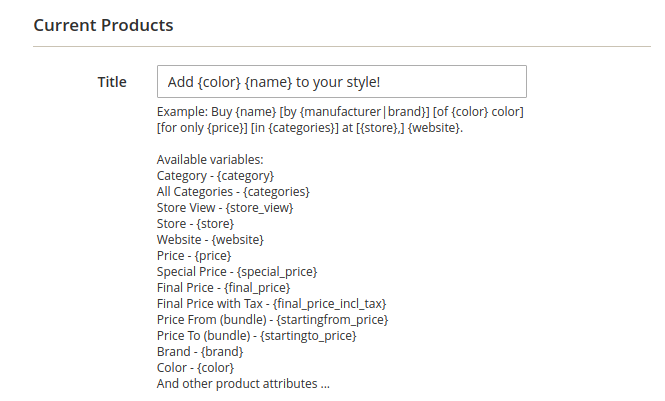
Title - create a template for meta title tag.
You can also use complex variables like {brand|manufacturer|provider}. In that case, for products with brand attribute, brand value will be used for meta tags; for products with manufacturer attribute, manufacturer value will become a meta tag and so on.
Meta Description - create a template for meta description tag. You can use the same variables as for meta title tag.
Keywords - create a template for product keywords.
H1 Tag - will be used as a name of the product on the product page.
Short Description create a template for short product description.

You can also use complex variables like {brand|manufacturer|provider}.
Product Full Description - create a template for full product description.
Use all the variables as well as complex ones in category tags and descriptions.
Sub Categories
Title, meta description, keywords, H1 tag and description are specified similarly to the product tags.
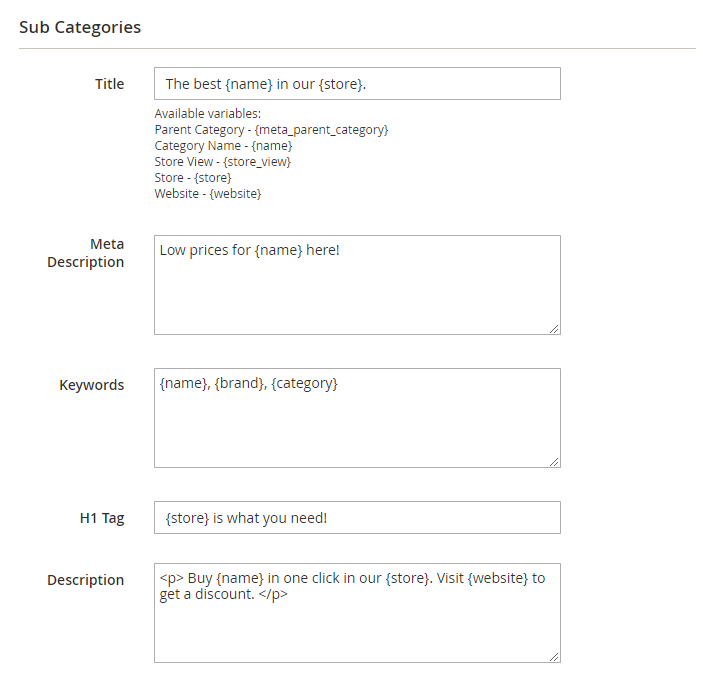
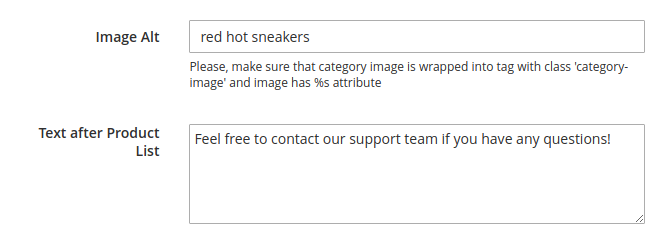
For subcategory pages you can also specify Image Alt.
Text after product list - Write the text which will be displayed after product list on category page.
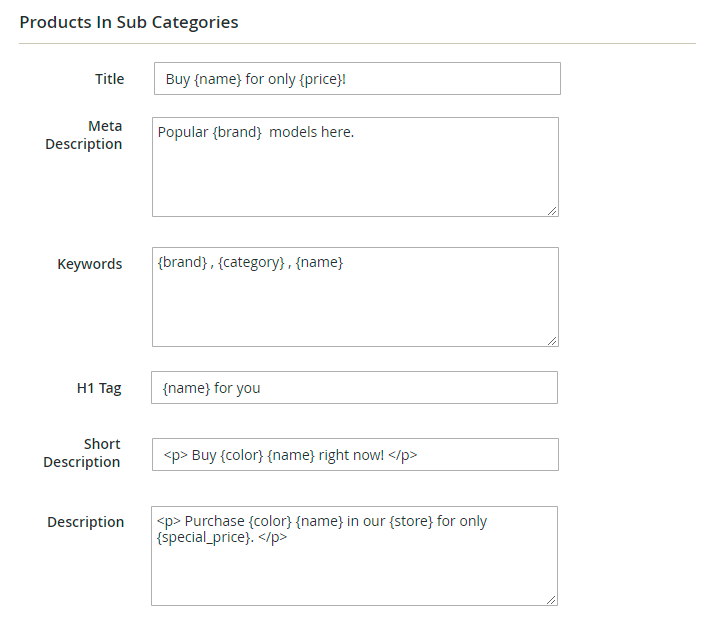
Products in Sub Categories
You can add meta information for Products in Sub Categories similarly to the Products in main category.
Brands Meta Templates
This functionality works only with the Shop by Brand extension installed.
With this option, you will be able to configure a uniform meta template for all Brand Pages. Note that this option overrides meta templates set in the 'Shop by Brand' mod's configurations.
If the Category is setting is set to Default Category, a new Brands dropdown appears.
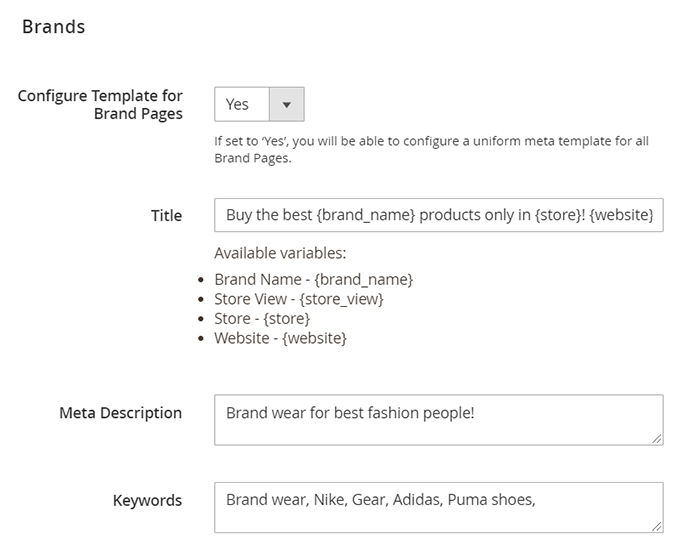
Configure Template for Brand Pages - set to Yes to configure the uniform template that will override brands' pages meta tags settings.
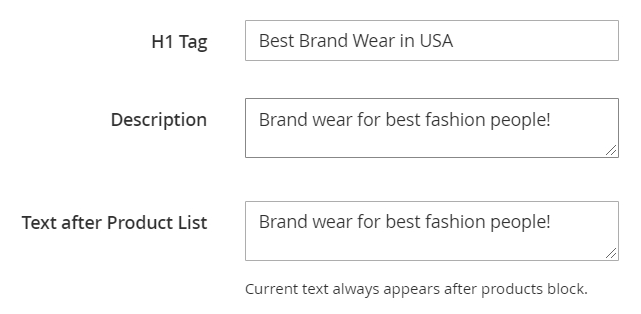
Similarly to other configs in Product Category Meta Tags, you can adjust the following:
- Title
- Meta Description
- Keywords
- H1 tag
- Description
- Text after Products List
URL-based templates
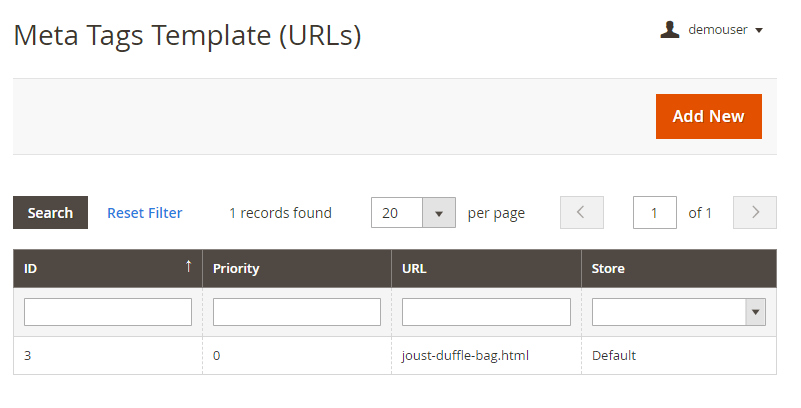
To create URL-based template go to Content → Amasty Meta section→ Meta tags by Custom URLs.
On the grid you will see all the templates and track them by ID, Priority, URL and Store.
Click the Add New button.
Specify URL of the page you want to create a template for.
Then fill in the priority for the template and select the store to apply for.
General

You can specify meta tags, title, etc. for any page on site, e.g. Contact Us, Partnership, etc. It’s very useful for SEO to specify meta tags for the pages when attribute is chosen - i.e.
www.example.com/tshirts?color=blue
Also, you can create it for any product page. In such a way all the settings specified in Category-based template will not affect the product.
Page Content
Specify Meta Title and Meta Description for a page content.
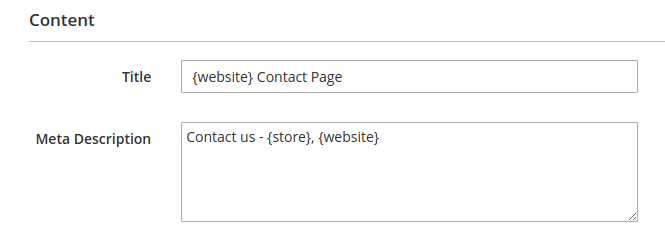
Specify Keywords and Canonical URL for the page.

Robots - make the page ‘no follow’ and ‘no index’ by search engines.
H1 Tag - specify H1 tag. This value will override any H1 tag even it is not empty.

How to insert Emojis
To make your snippets more appealing and increase the CTR, you can add Emojis to Meta Title, Meta Description or H1 tag.
This is how it will look like in Google search:
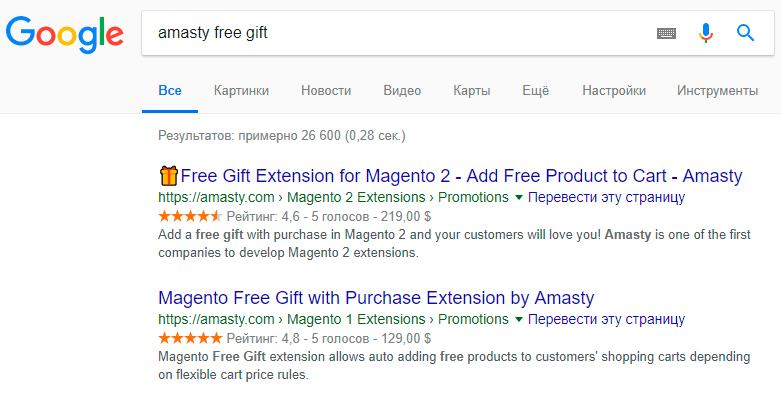
Insert Emojis right in the code or through the extension's admin panel. We advise you to use the next format: &#dec;.
Here's the example of how to insert Emoji in the backend (pay attention to the Title and Meta Description fields):
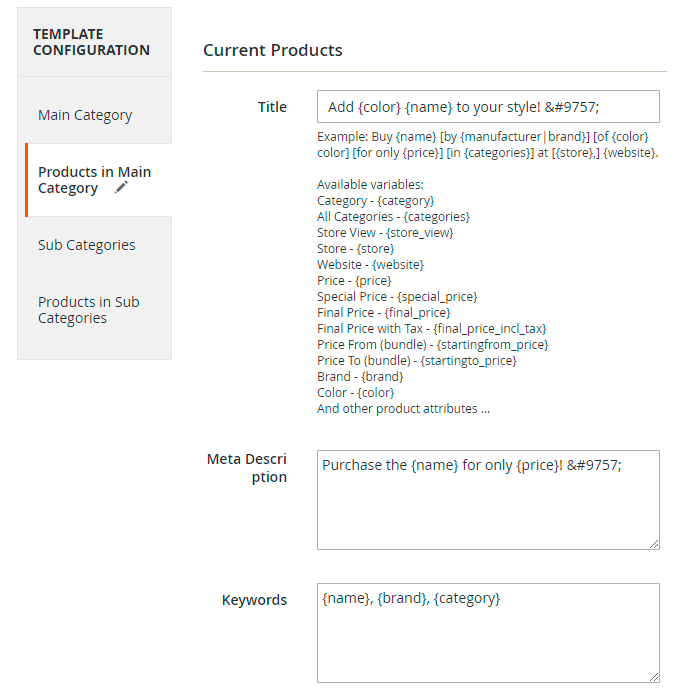
Check an example where you can find the decimal (dec) value. You can use the HTML entity as well. See the list of additional Emojis to use here.
Check the code to see if Emoji displays:

Front-end
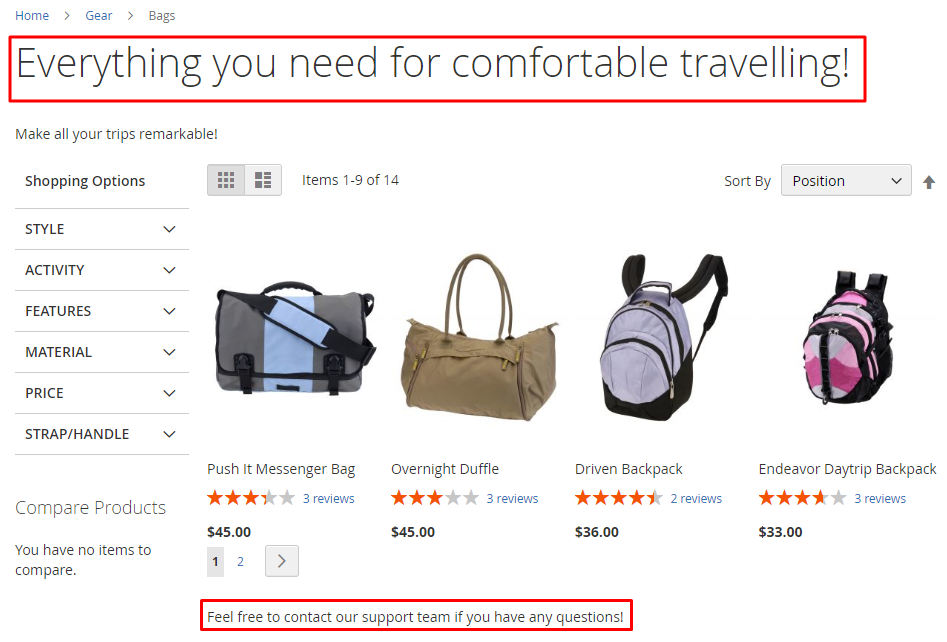
This is an example of the title and the text after product list .
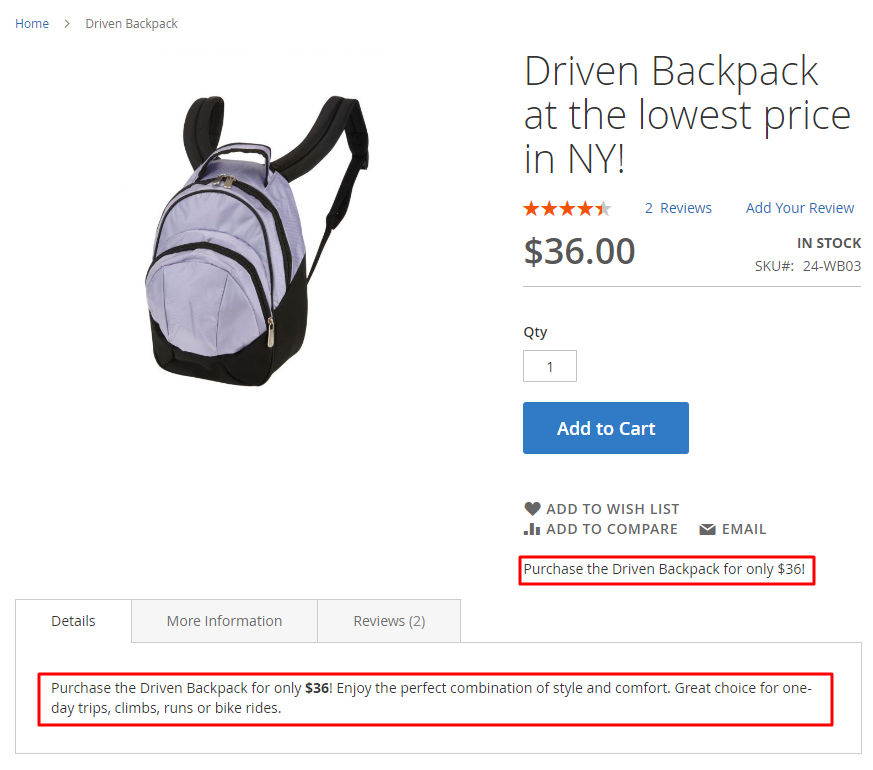
Here’s short description generated according to the template. The full description for this product was also generated according to the template.
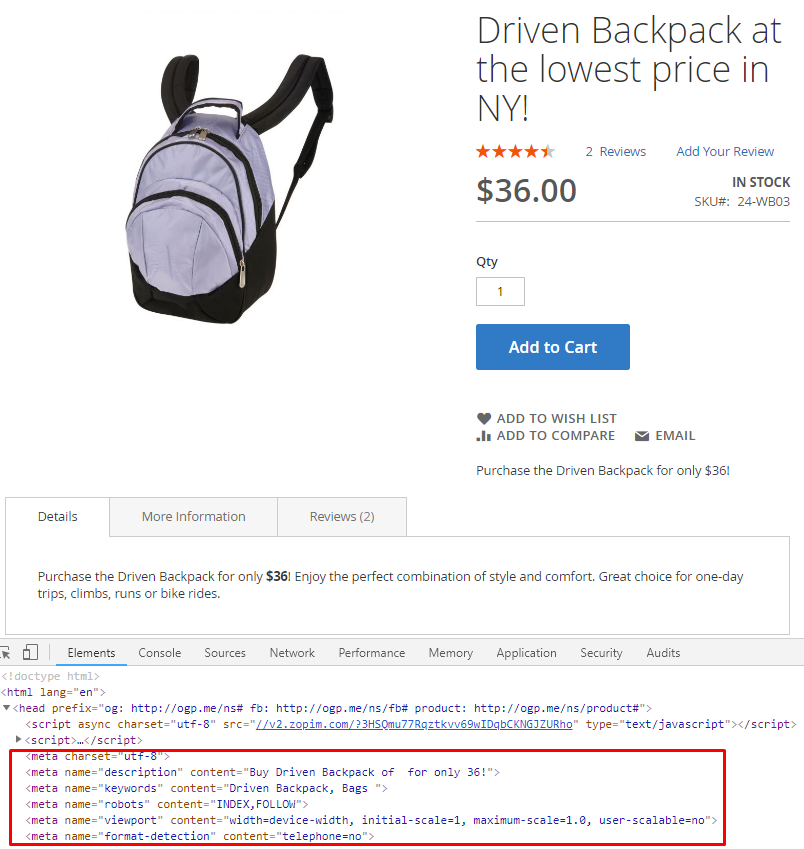
As you can see in the source code, the meta title for the product page was generated according to the template.
Find out how to install the Meta Tags Templates extension for Magento 2 via Composer.
magento_2/meta_tags_templates.txt · Last modified: 2024/03/20 14:30 by asemenova

