
Sidebar
magento_2:thank_you_page
Table of Contents
See the way the Thank You Page for Magento 2 extension works.
Guide for Thank You Page for Magento 2
Boost sales and increase customers base with an optimized order success page by Magento 2 Thank You Page extension. Motivate your customers to make repeat purchases and build their loyalty by creating a smart shopping experience.
- Register newcomers right on the Thank You page
- Display order review and cross-sells blocks
- Provide customers with coupons for future purchases
- Easily add custom CMS blocks
- Strengthen the retention with newsletter subscription
- Hyva-ready storefront
- Compliance with Hyvä & Hyvä Checkout CSP
See how to build a profitable Thank You Page

This extension is compatible with Hyvä Theme for Thank You Page. You can find the 'amasty/module-thank-you-page-hyva' package for installing in composer suggest. The compatibility is available as a part of an active product subscription or support subscription.
General Settings
To configure the extension, go to Stores → Configuration → Amasty Extensions → Thank You Page.
Expand the General Settings tab.
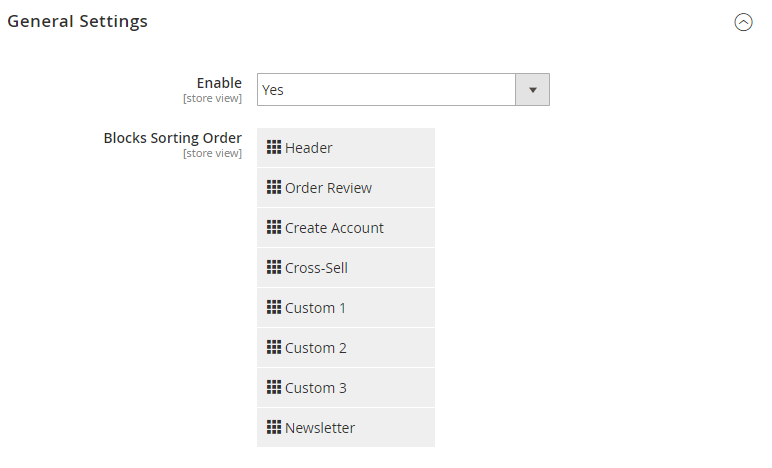
Enable - set to Yes to enable the extension.
Block Sorting Order - sort all order success page blocks via handy ‘drag-and-drop’ function.
Coupons
The extension allows to thank customers with coupons for completed purchases.
After you generate a coupon, you can paste it to titles, subtitles and texts of all the blocks.

For example, you've generated a coupon DSCNT10 and decided to add it to the Header title and text.
Title: Thank You! Here's your coupon: {coupon}
Text: Here's your personal 10% discount for the next purchase: {coupon}.
A customer will see:
Title: Thank You! Here's your coupon: DSCNT10
Text: Here's your personal 10% discount for the next purchase: DSCNT10.
Make sure you use coupon tag with double {}.
Search for Rule - select a shopping cart rule to add the coupon to.
To generate a rule, go to Marketing → Cart Price Rules. The rule should be set to “Use Auto Generation=Yes”
Preview your Thank You page
To preview your Thank You Page from admin go to the 'Preview Settings' tab and set 'Test Order ID'.
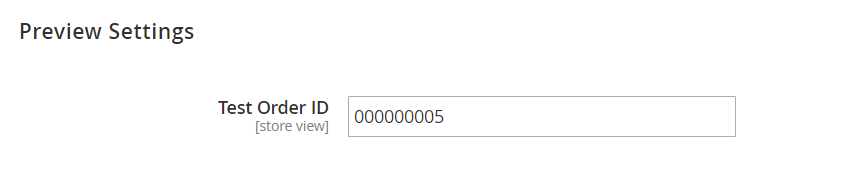
Preview will be generated based on the provided order ID or, if left empty, the most recent order in the system. If there are no orders or if the provided ID is incorrect, the page will be blank. Remember to save your configuration first to see a relevant preview of Thank You page.
Blocks Configuration
With the extension you are able to add blocks with relevant information, videos, photos and articles, etc. Customize the CMS blocks and choose flexible layout positions without studying CSS.
Header

Display - choose Yes to enable the block on the order success page.
Use CMS Block - if Yes, choose CMS block you want to add to the header. Set to No for custom configuration.
Title - specify the title of the header.
Sub Title - fill in some additional information you want to be displayed.
Text - provide your customers with important details or coupons created here.
Background Image - upload the image to add a custom background to the block. Allowed file types: png, jpg, jpe, jpeg, gif.
Order Review

Display - enable this block to show an order review once a customer completes a purchase.
Display Product List - Displays a table of purchased products on the order success page. There are three options for this setting:
- No – do not display the table;
- Yes, built-in – show the table using the Thank You Page module;
- Yes, One Step Checkout – show the table using the Amasty One Step Checkout module.
The table will not be displayed if multi-shipping is used.
Please note that in case you're using Amasty One Step Checkout Pro/Premium extension, its 'Custom Order Success Page' setting will be frozen, and the feature of displaying product list on the order success page will be controlled via the 'Display Product List' setting. If you'd like to use the 'Custom Order Success Page' display from One Step Checkout extension, please, select the 'Yes, Prefer One Step Checkout' option in the 'Display Product List' setting.
Custom Blocks
Thank You Page extension makes it possible to create up to 3 custom blocks for the order success page.
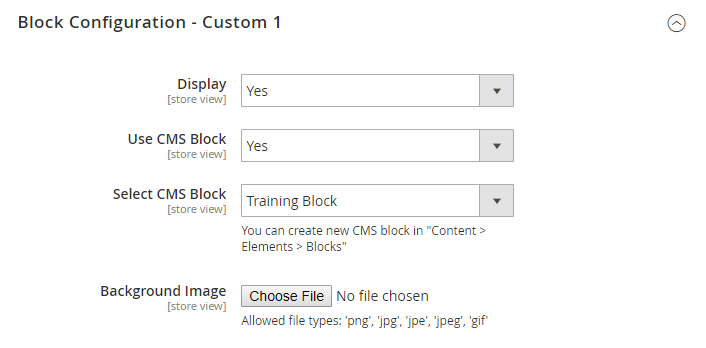
Display - choose Yes to enable the block on the success page.
Use CMS Block - set to Yes if you want to add a CMS block to the page.
Select CMS Block - choose the block to be displayed on the frontend.
You can create a new CMS block in Content > Elements > Blocks.
Background Image - upload the image to add a custom background to a CMS block.
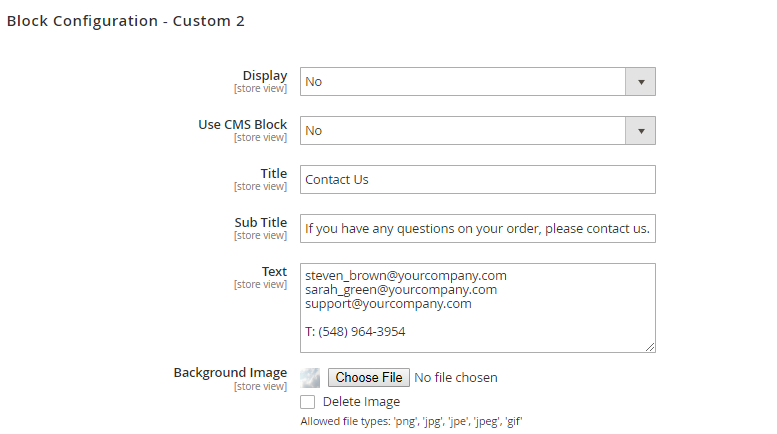
If your custom block doesn’t contain CMS block, specify the Title, Sub Title,Text and upload a Background Image if needed.
Newsletter
You can enable newsletter subscription block on the Thank You page to let your customers know about bargains, discounts and other limited-time offers.
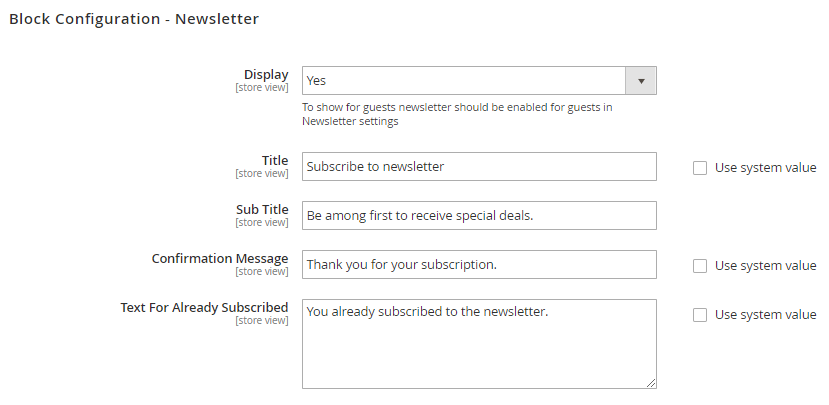
Display - choose Yes to display newsletter block on the order success page.
To show for newcomers, newsletter should be enabled for guests in Newsletter settings.
Title - specify the title for the block.
Sub Title - add a catchy text to ensure customers for subscription.
Confirmation Message - specify the text of the message that will appear in case a customer subscribes.
Text For Already Subscribed - fill in the text that will be displayed if a customer is already subscribed.
Cross-Sell
Display this block to increase revenue by showing cross-sell products to customers.
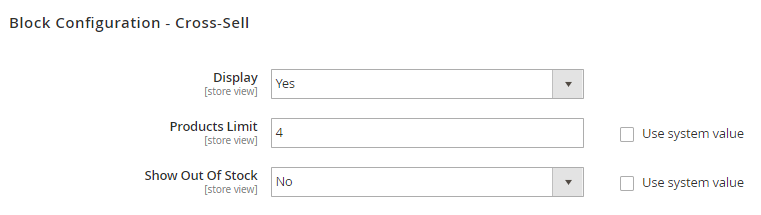
Products Limit - specify the limit of products to show.
Show Out Of Stock - set to No to show the products in stock only.
Create Account
Enable this block to let your random customers create accounts in a few clicks at the moment they feel the highest satisfaction after the completed order.
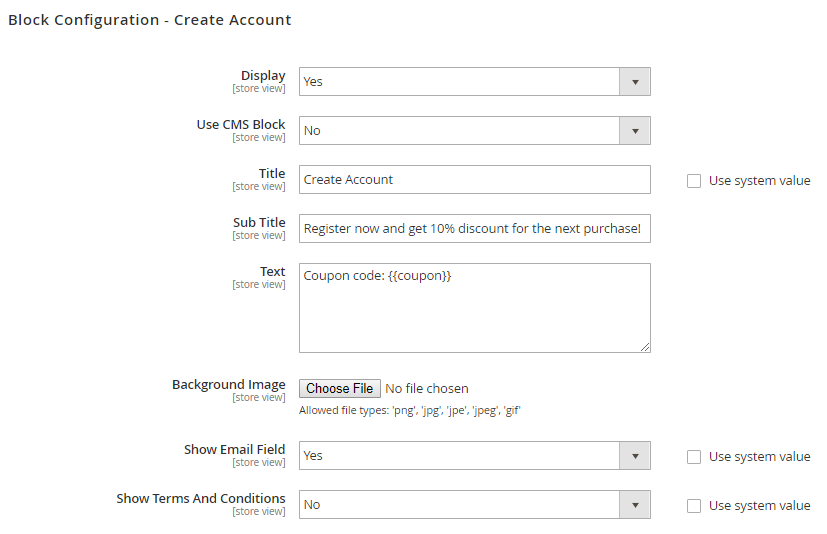
Set Use CMS Block option to Yes if you want to add a CMS block. If enabled, choose the CMS block. If No, specify the Title, Sub Title and Text for ‘Create Account’ block. Upload Background Image to customize block background.
Show Email Field - set Yes to show email field or No to hide it.
Show Terms And Conditions - choose Yes to provide customers with Terms And Conditions agreement right on the block.
Advanced Layout Management
Advanced Layout Management enables positioning your Thank You page blocks not only in a single column but in various ways using markup language and text editor.
Go to the 'Advanced Layout Management' tab and enable 'Thank You Page Markup Editor'. Enabling this option overrides blocks sorting order set in General Settings.
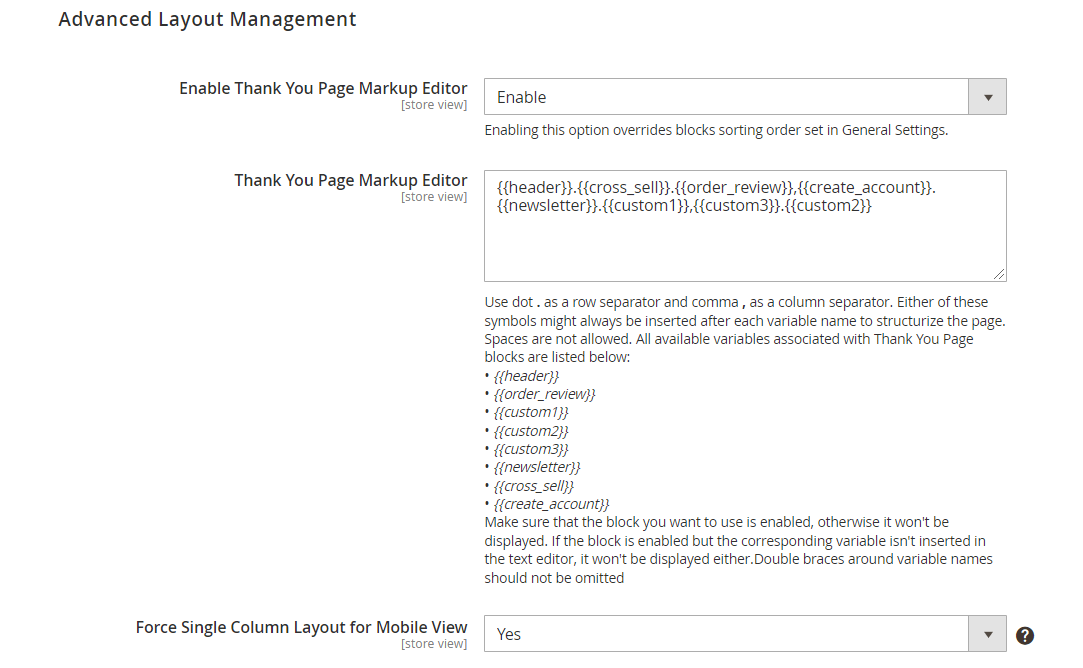
Use dots '.' as row separator and commas ',' as column separators. Either of these symbols might always be inserted after each variable name to structurize the page. Spaces are not allowed. All available variables associated with Thank You Page blocks are listed below:
- header
- order_review
- custom1
- custom2
- custom3
- newsletter
- cross_sell
- create_account
Double braces around variable names should not be omitted.
Make sure that the block you want to use is enabled, otherwise it won't be displayed. If the block is enabled but the corresponding variable isn't inserted in the text editor, it won't be displayed either.
Force Single Column Layout for Mobile View - Set 'Yes' to keep compact design (single column layout) for Mobile while using wide blocks placed side by side for Desktop.
Additional packages (provided in composer suggestions)
To make additional functionality available, please install the suggested packages you may need.
Available as a part of an active product subscription or support subscription:
amasty/module-thank-you-page-hyva- Install this package to ensure the Thank You Page extension works with Hyva Theme.
amasty/module-thank-you-page-subscription-functionality- Install this package to add information about the purchased products on the order success page.
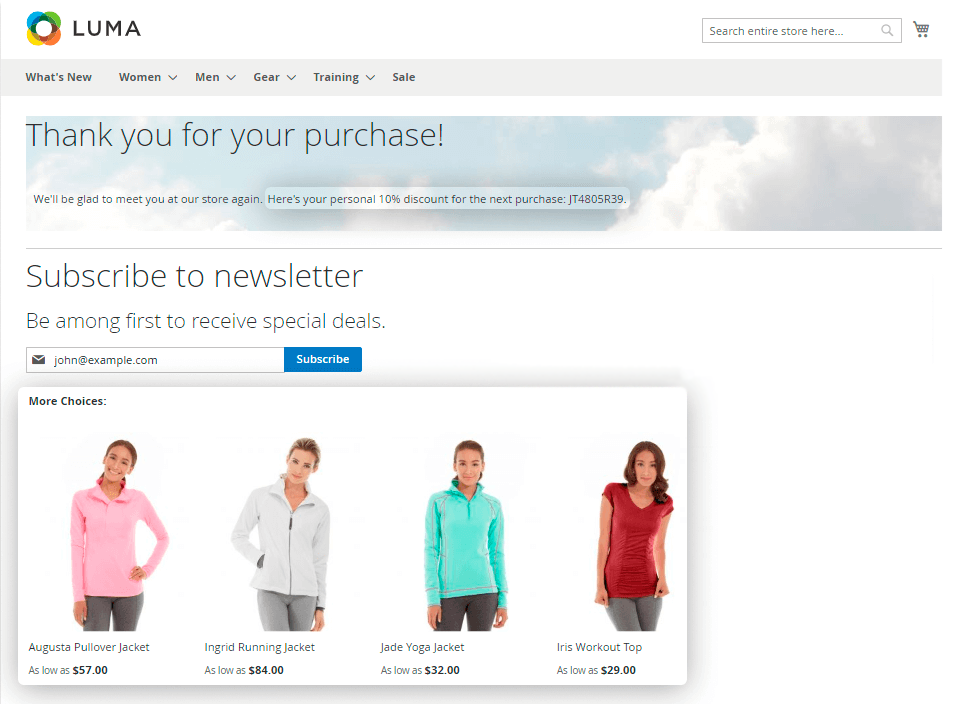
Frontend examples
Motivate your customers to return to the store and buy more by offering coupons, subscribing to newsletter and displaying a cross-sell block on a Thank You page.
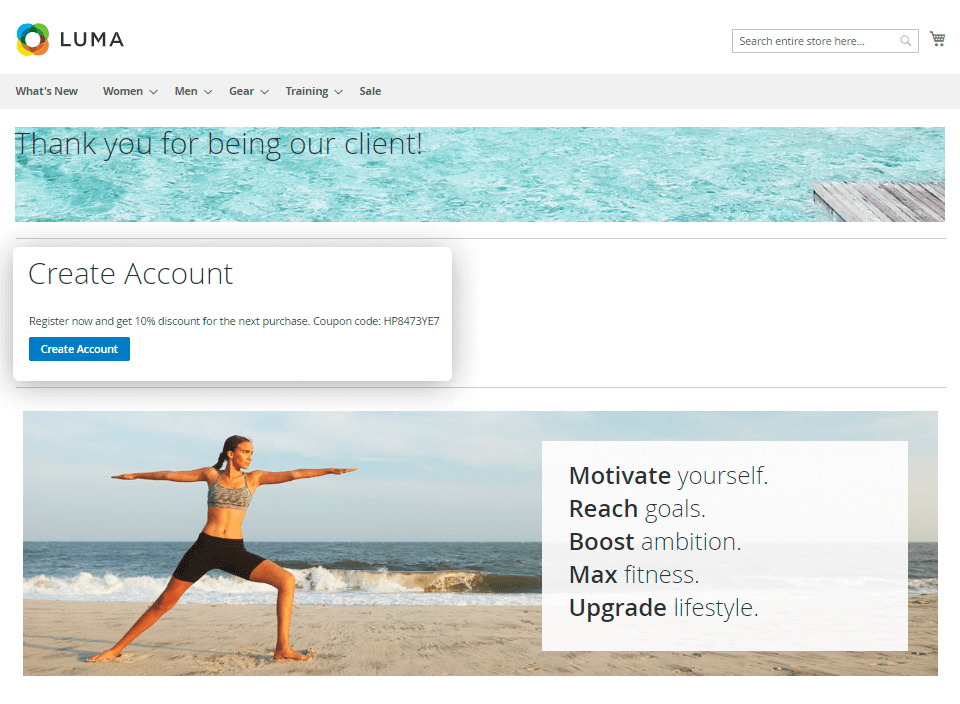
Increase your customers base by motivating users create accounts right on the order success page.
Easily add any CMS blocks to the order success page to make it more appealing.

Power up your order success page with Special Promotions and cross-sells.
Find out how to install Thank You Page for Magento 2 via Composer.
magento_2/thank_you_page.txt · Last modified: 2025/05/19 12:40 by avronskaya