
Sidebar
magento_1:gdpr
Table of Contents
For more details see the GDPR extension page.
Guide for GDPR
Make your store compliant with the latest EU's GDPR and other legislative requirements. Create and manage privacy policy documentation, add consent checkbox to the registration and checkout pages, and send email consent requests.
- Collect consents with the privacy policy
- Manage privacy policy documentation
- Send consent requests for customers with and without consents
- Track privacy policy related activity in the actions log
- Approve or deny requests to delete users' accounts
Extension Configuration
To configure the extension, please, go to System → Configuration → Amasty Extensions → GDPR.
General
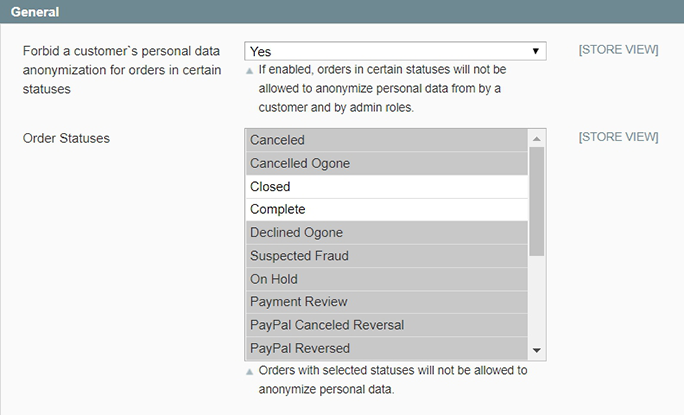
Forbid a customer's personal data anonymization for orders in certain statuses — enable this option to forbid the anonymization process for certain order statuses;
Order Statuses — select order statuses to forbid the anonymization action when the order is in certain statuses.
Enable or Disable the Privacy Settings Section
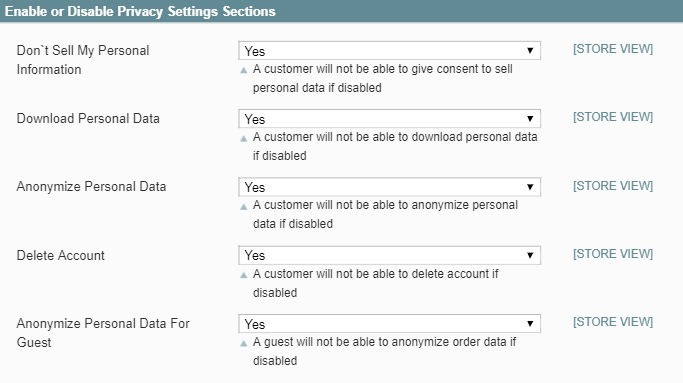
In the Enable or Disable the Privacy Settings Section you can adjust which privacy settings should be available to customers.
Don`t Sell My Personal Information - if disabled, a customer will not be able to give consent to sell personal data.
The feature is developed to help store owners comply with the CCPA requirements.
Download Personal Data - set to Yes to allow users to download all their data in CSV spreadsheet.
Anonymize Personal Data - set this option to Yes to enable users to anonymize their data.
Delete Account - set to Yes to allow registered customers to create a request to delete their profile via a personal account.
Anonymize Personal Data for Guest Users - set to Yes to enable order data anonymization for Guest users.
Anonymization Notifications
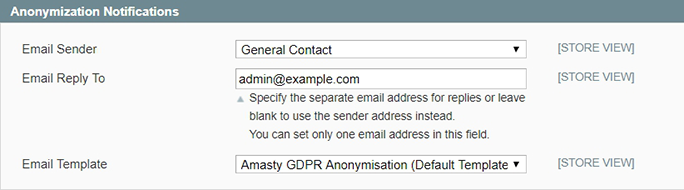
Email Sender — specify the email sender for the anonymization notifications.
Email Reply To — fill in the email address where all replies will be sent, or leave blank to use the sender address by the default.
Email Template — select the appropriate email template.
Delete Account Request Notifications
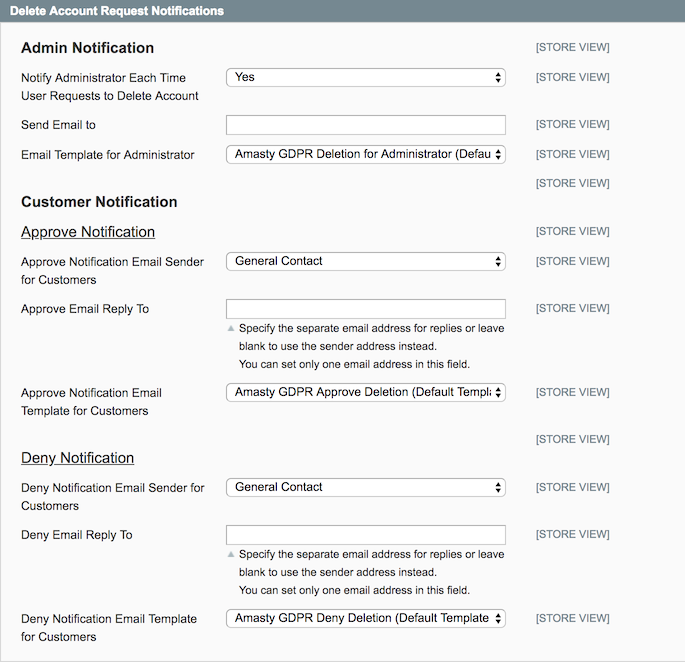
Notify Administrator Each Time User Requests to Delete Account — enable this option by setting it to Yes to notify the admin via email, when a new request to delete an account is created.
Send Email To — select the administrator user to send the notification to.
Email Template for Administrator — select the email template that will be used for Admin's notifications.
Approve Notification Email Sender for Сustomers — specify the email sender.
Approve Email Reply To — fill in the email address where all replies will be sent, or leave blank to use the sender address by the default.
Approve Notification Email Template for Сustomers — select the suitable email template.
Deny Notification Email Sender for Сustomers — specify the email sender.
Deny Email Reply To — fill in the email address where all replies will be sent, or leave blank to use the sender address by the default.
Deny Notification Email Template for Сustomers — select the appropriate email template.
Consent Request Notification
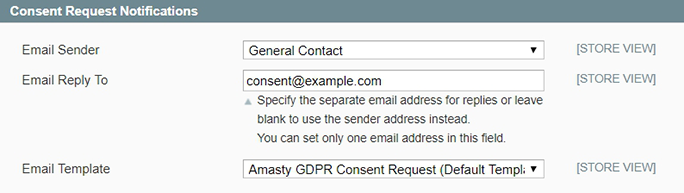
Email Sender — specify the email sender.
Email Reply To — fill in the email address where all replies will be sent, or leave blank to use the sender address by the default.
Email Template — select the suitable email template.
Privacy Checkbox
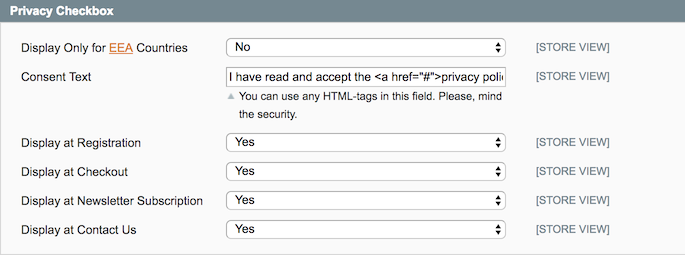
Display Only for EEA Countries — enable this options to display a privacy policy consent checkbox only for users from the European Union countries. When the field is enabled, you can multi-select the needed countries manually.
To make this option functional, the Geo IP Data module should be configured.
Consent Text — specify the consent text that will be displayed after the checkbox. You can use the HTML to add links or other custom info.
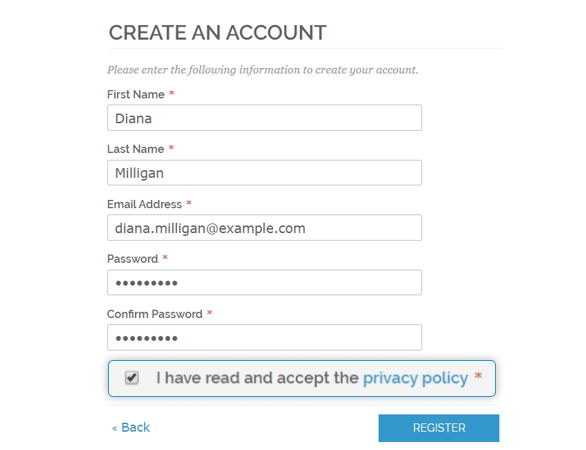
Display at Registration — set to Yes to add a privacy policy consent checkbox to the registration page.
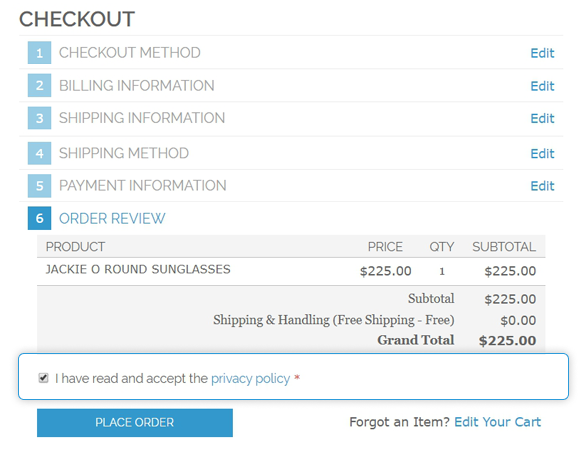
Display at Checkout — Yes to enable a privacy policy consent checkbox to the checkout page.
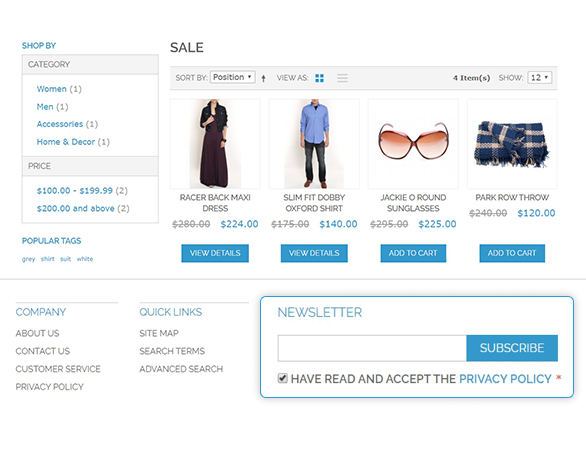
Display at Newsletter Subscription — change to Yes to enable a privacy policy consent checkbox to the subscription form;
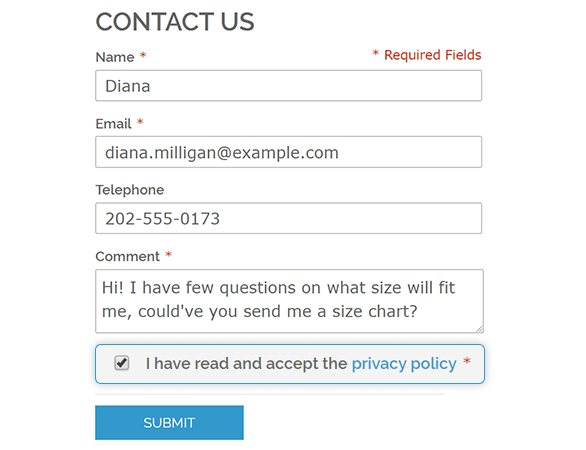
Display at Contact Us — set to Yes to add a privacy policy consent checkbox to the contact us page.
The GDPR extension is fully compatible with the Amasty One Step Checkout module.
Cookie Policy
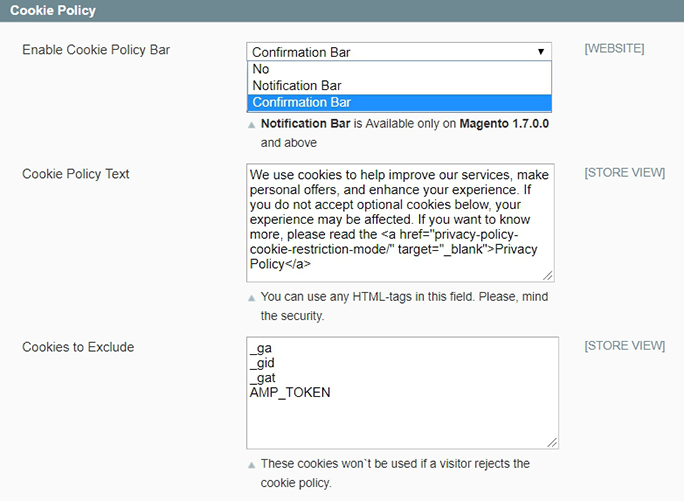
Enable Cookie Policy Bar — choose Yes to enable the cookie policy bar for users on the frontend pages:
- Notification Bar — utilize this bar type to inform customers about the cookie policy in your store;
- Confirmation Bar — utilize this bar type to allow customers to accept or deny the cookie policy;
Cookie Policy Text — specify the cookie policy text or provide a link to the separate cookie policy page.
Cookies to Exclude — specify cookies to exclude when a customer rejects the cookie policy. This option is designed to work with the Confirmation Bar style of Cookie Policy Bar.
Cookie Policy Bar Customization
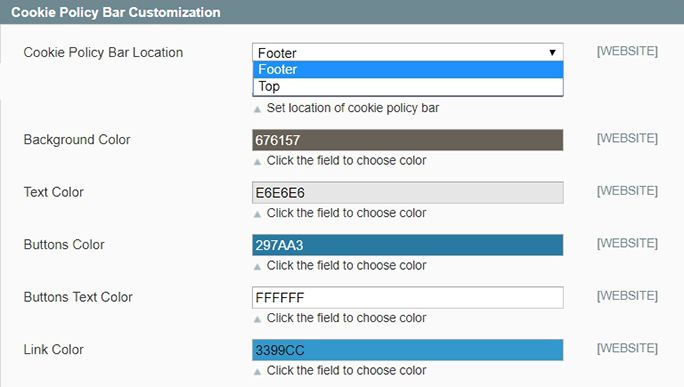
Cookie Policy Bar Location - Place a cookies consent pop-up at the top (Top) or button (Footer) of the page.
A sample of a cookies consent pop-up at the bottom of the page:
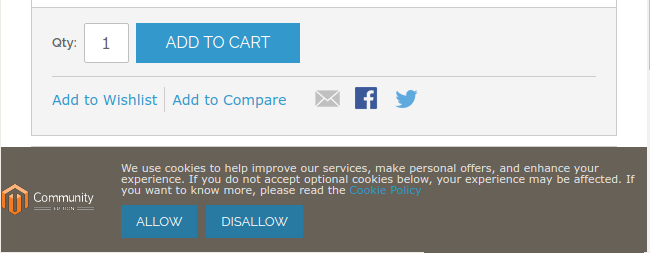
In the section below, you can adjust various cookie bar colours to your needs or store design theme. Set custom colours for:
- Pop-up background;
- Cookie Policy notification text;
- Allow/Disallow buttons;
- Links.
Action Log
To see the record of all GDPR-related actions customers have taken, please, go to Customers → GDPR → Action Log.
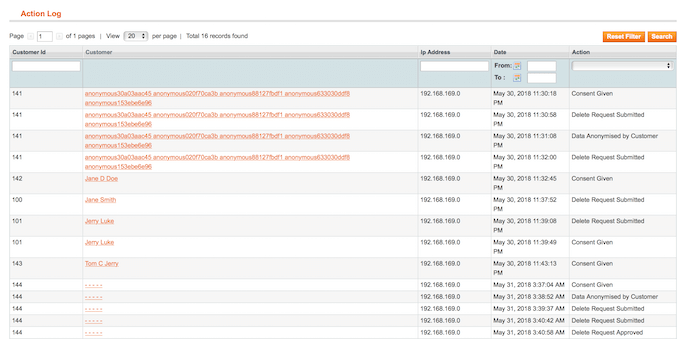
On the grid, you can see all actions performed by store users regarding privacy policy consents and the GDPR-related account management. Such actions include: giving the consent, data anonymization, delete requests, etc. It is highly helpful, as the module also tracks the IP address and date and time of action to help you timely catch fraudulent activities.
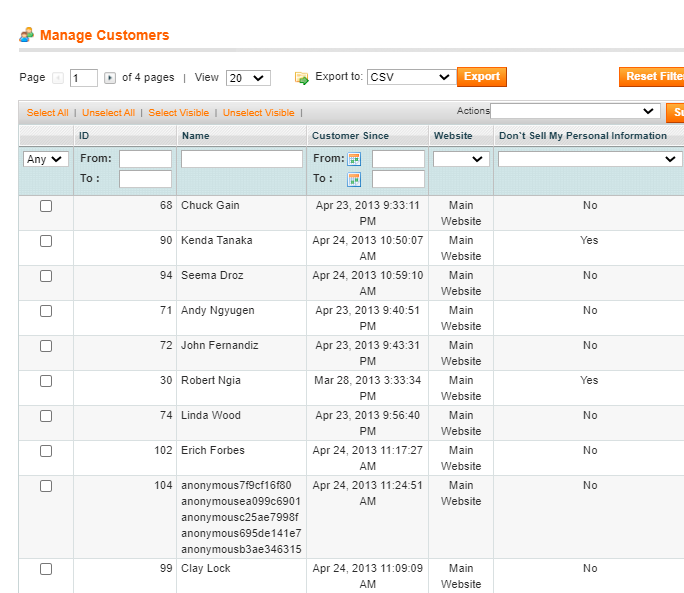
Manage Customers (CCPA)
On the Manage Customers grid you can view and filter all customers by their consent to sell personal info or not. The extra 'Don`t Sell My Personal Information' column is added to the grid by the extension.
Customer Consents Grids
To see the list of all customers that gave their consent, navigate to Customers → GDPR → Customers With Consent.

On this grid, you can see all existing customers who agreed to the privacy policy and the version of the policy for which the consent was received.
Via Actions dropdown menu, you can email Consent Request to the selected customers. In that case, they will receive an email request to agree to the latest privacy policy version.
Next, proceed to Customers → GDPR → Customers Without Consent.
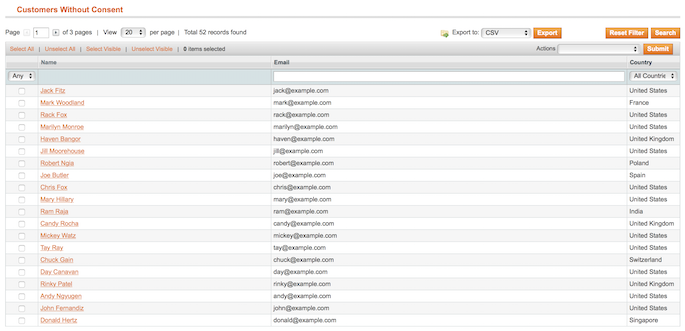
On this grid, you can see the list of customers who didn't agree to the provided privacy policy or never given consent.
Using the Actions dropdown menu you can email consent request to the selected customers. In that case, they will receive an email request to agree to the latest privacy policy version.
Customer Consents Email Queue
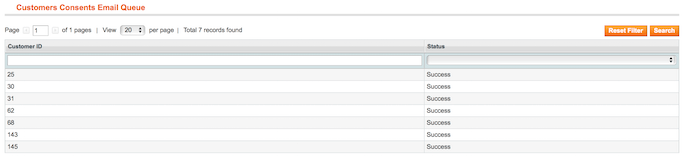
You can take a look at the current progress of the email sending by navigating to Customers → GDPR → Customer Consents Email Queue.
Delete Requests Management

When a customer sends a request for account removal, the request appears on the special grid. Please, go to Customers → GDPR → Delete Requests.
On the grid, you can see all incoming requests. You can approve or deny any request:
- Mark the requests you want to reply;
- Choose the appropriate option from the Actions dropdown menu;
- Hit the Submit button.
Privacy Policy Document Management
To manage the privacy policy documentation, please, go to Customers → GDPR → Privacy Policy.
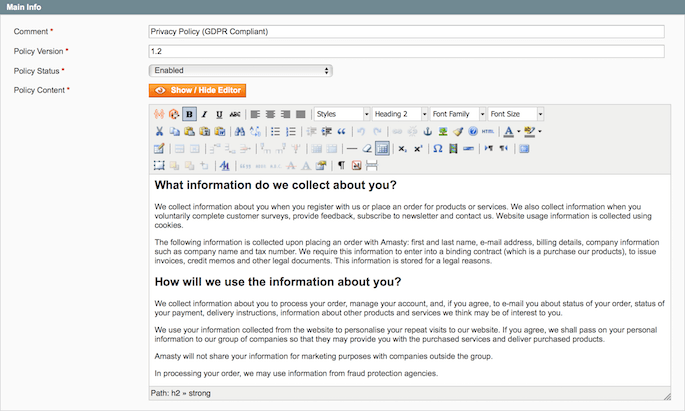
Hit the Add New button to create a new privacy policy document.
Comment — specify the privacy policy title;
Policy Version — set the privacy policy version;
Policy Status — change the privacy policy status;
Policy Content — fill in the privacy policy text.
Use the Show / Hide Editor button to enable the WYSIWYG editor.
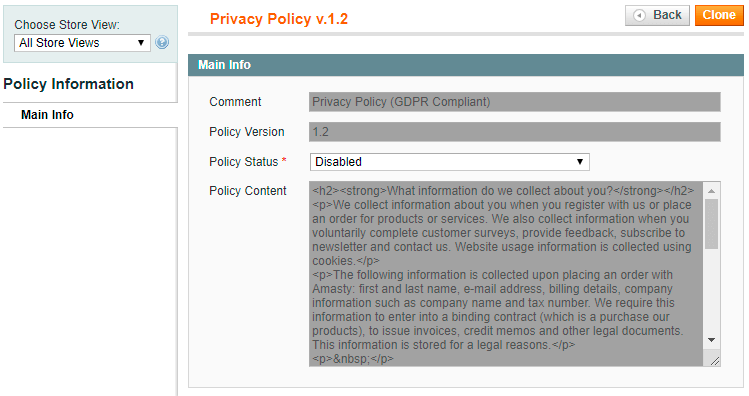
To create the policy in another language, please use the Choose Store View dropdown menu. Select the required store view and unflag the Use Default Value check box to specify the unique policy for the chosen store view.
When the privacy policy document is ready, hit the Save button to return to the grid.

On the grid you can manage the existing privacy policy documents: create, update, clone and delete them.
When you need to duplicate the existing disabled privacy policy document and edit it, click the Clone button. Now, you can edit and save the document.
Geo IP Data Configuration
To install the GeoIP database, go to System → Configuration → Amasty Extensions → GeoIP Data.
Databases are required for the correct work of the GDPR module. Also, you need to install php bcmath or gmp extension on your server.
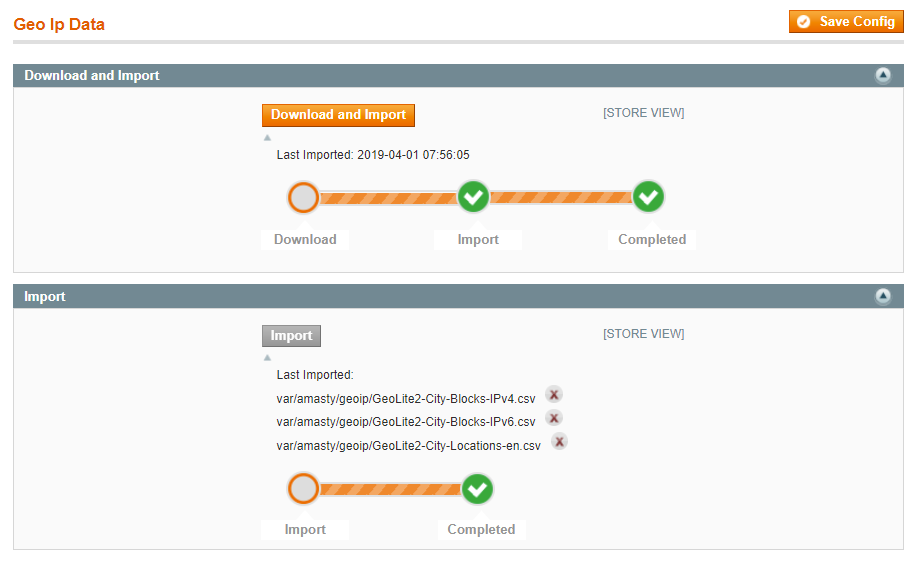
You can get the databases automatically or import your own data.
Hit the Download and Import button to make the extension download the updated CSV dump file and import it into your database automatically.
To import the files from your own source, use the Import option. Path to the files should look like this (the part 'var/amasty' should be replaced with your folders’ names):
var/amasty/geoip/GeoLite2-City-Blocks-IPv4.csv
var/amasty/geoip/GeoLite2-City-Blocks-IPv6.csv
var/amasty/geoip/GeoLite2-City-Locations-en.csv
In the Import section, the Import button is greyed out by default. It will be available right after you upload the CSV files. The red error notification will switch to green success notification when the import is completed.
Frontend Functionality Overview
With the GDPR extension for Magento, one can add privacy policy consent checkbox to the registration and checkout pages (see this section for details).
This is how the Privacy Policy checkbox looks at the checkout page.
Also, the Privacy Policy checkbox can be added to the Contact Us form:
To help you collect consents while subscribing to a newsletter, a Privacy Policy checkbox can be added. It looks like this:
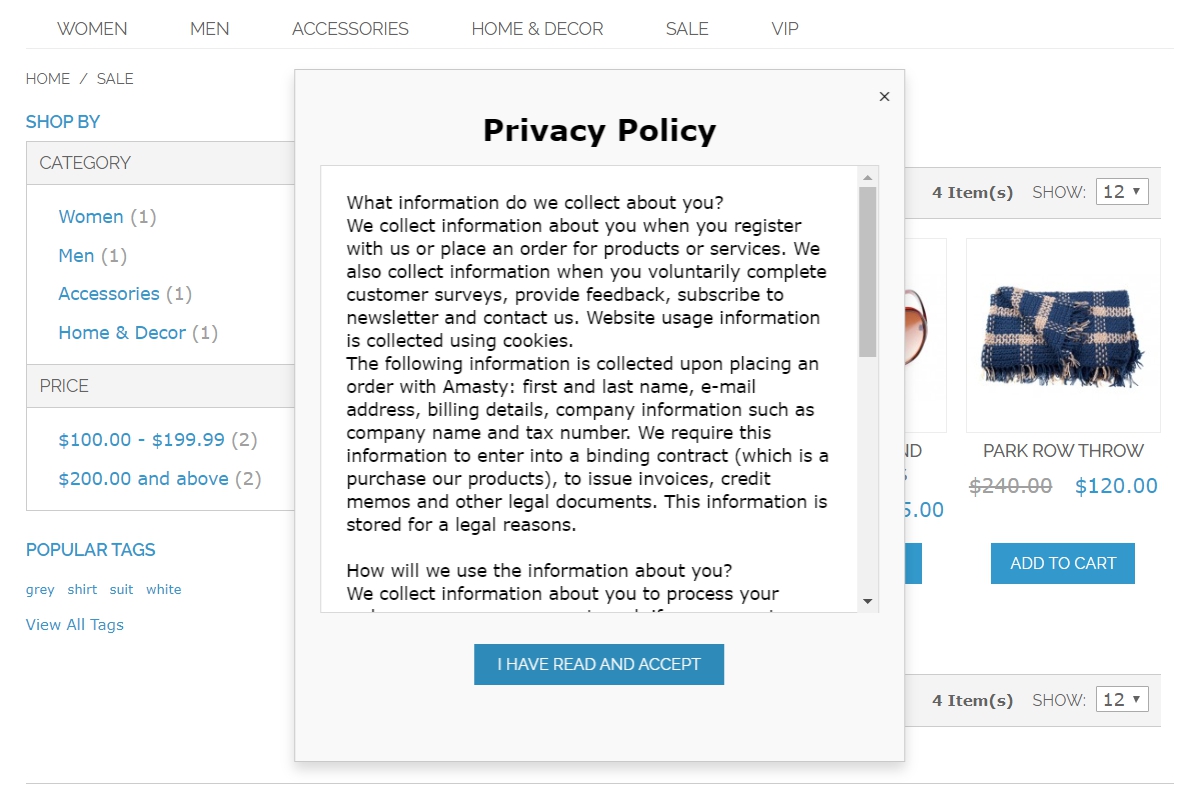
This is how the privacy policy document looks for store visitors:
In the customer's account the new tab called Privacy Settings is added:
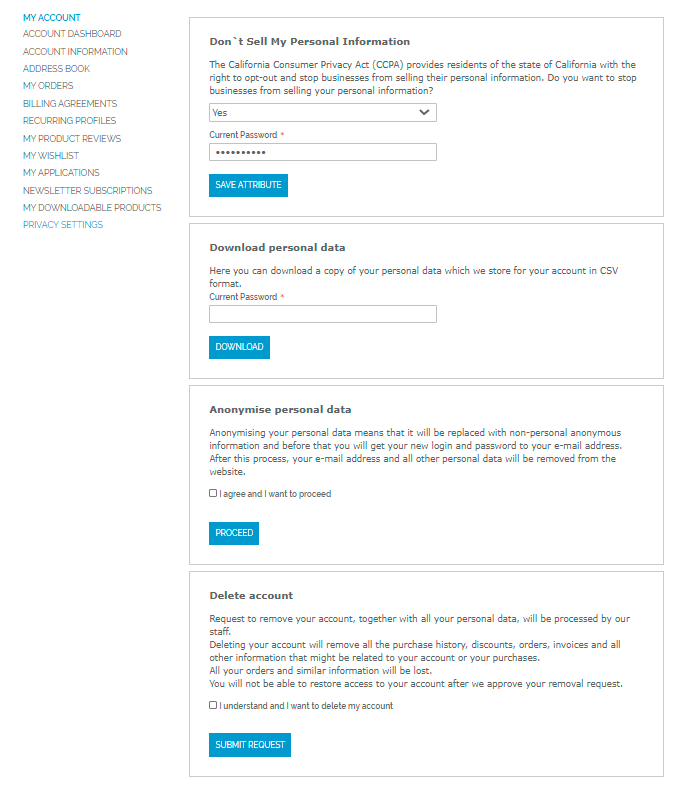
From this page, customers can:
- Forbid to sell personal information;
- Download all their personal data in the CSV format;
- Anonymize their personal information;
- Request for account removal.
After customers select any option, they will be required to enter the account password to prove the identity. Such an option is designed to prevent account deletion or anonymization by accident.
magento_1/gdpr.txt · Last modified: 2020/06/02 11:07 by tihomirova