
Sidebar
magento_2:customer-group-auto-assign
Table of Contents
See the way theCustomer Group Auto Assign for Magento 2 extension works.
Guide for Customer Group Auto Assign for Magento 2
Change customer groups automatically with Customer Group Auto Assign extension for Magento 2. Use simple group switching rules to cut operating expenses and save time.
- Manage customer groups based on custom rules
- Use simple rules based on customer and order attributes
- Schedule the rules processing frequency with integrated Cron functionality
- Define rules processing order via prioritization
- Easily manage all group-switching rules in one place
- NEW | Show customer group status in the customer's account
- WCAG compliance (for Luma Theme)
Magento 2 Customer Group Auto Assign extension is compatible with Hyvä themes. You can find the amasty/module-customer-group-auto-assign-hyva package for installing in composer suggest (Note: the compatibility is available as a part of an active product subscription or support subscription).
General Settings
To configure the General settings of the extension, please go to Stores → Configuration → Amasty Extensions → Customer Group Assign.
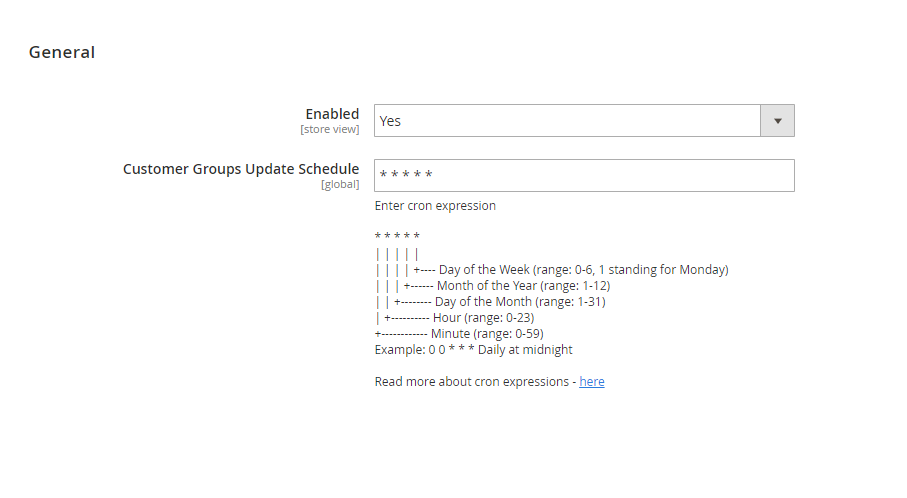
In this tab you can activate/deactivate the module and set the schedule to timely change customer groups as the integrated Cron functionality allows to switch groups automatically.
Enabled - set to Yes to enable the module.
Customer Groups Update Schedule - specify rule processing frequency in a Crontab format.
Read more about cron expressions here.
Rules Grid
To create custom rules and manage customer groups automatically, go to Customers → Amasty Customer Group Auto Assign → Rules.
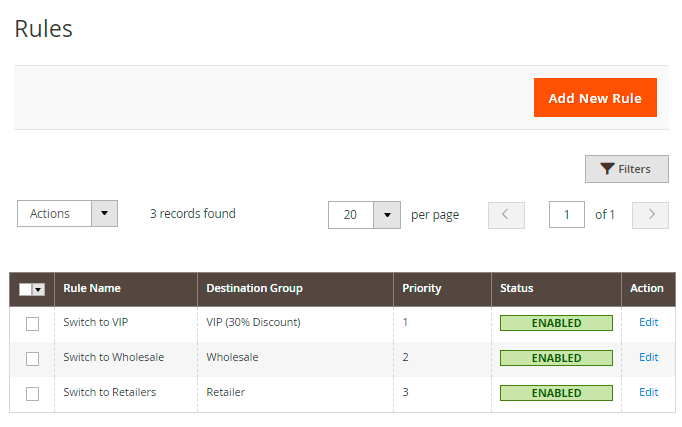
Easily operate all group-switching rules on a handy grid. See Rule Name, Destination Group, Priority and Status in one place.
To change rule configuration, click Edit in the Action column.
Delete the rules separately or in bulk via Actions dropdown menu.
To set up a new custom rule, hit the Add New Rule button.
Rule Creating
See how to set up customer group rules in our video guide!

General Settings
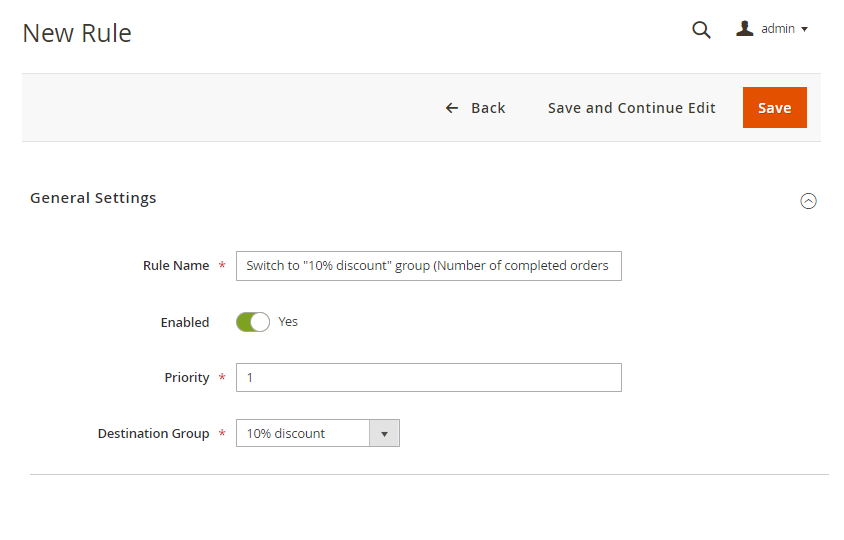
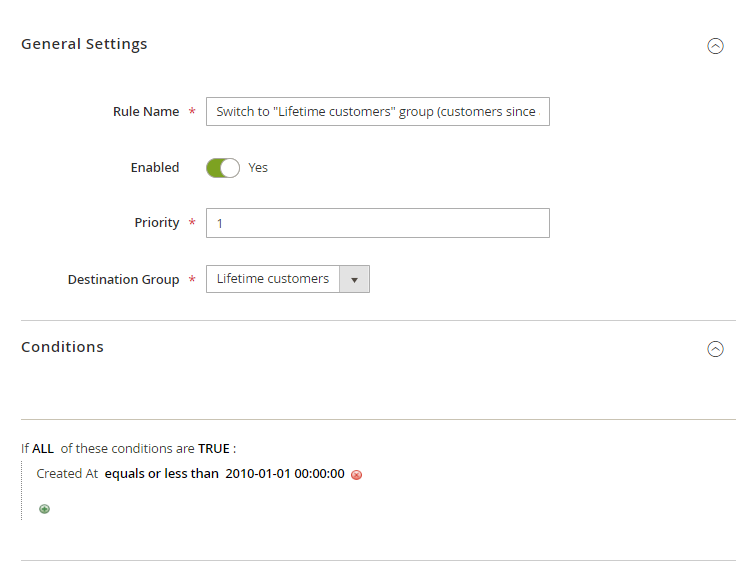
Rule Name - specify the title for the rule that will be displayed on the backend.
Enabled - set to Yes to activate the rule.
Priority - define the priority of rule execution. The lowest number is executed first.
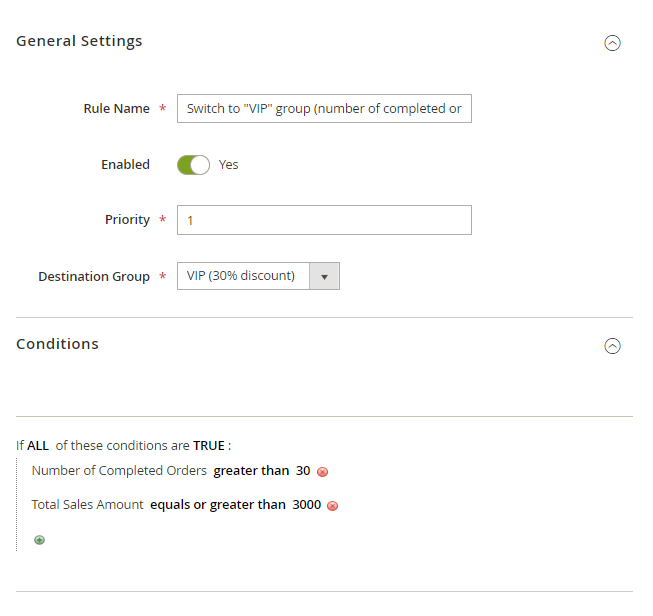
Destination Group - choose the customer group to which the customers will be assigned if they meet the necessary conditions.
To view all existing customer groups, go to Customers → Customer Groups.
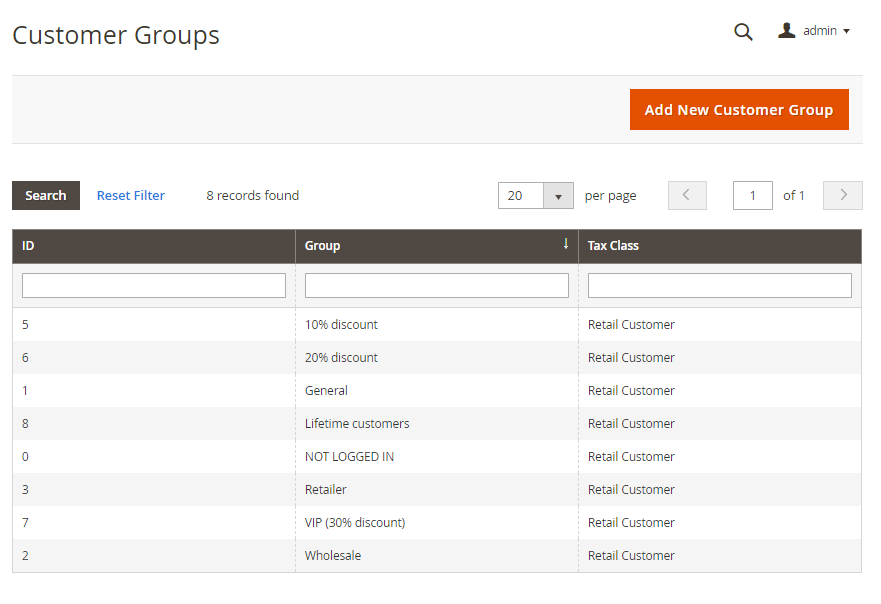
Edit the necessary group by simply clicking it or create a new one via Add New Customer Group button.
Conditions
In this tab configure group-switching rule conditions based on customer or order attributes.
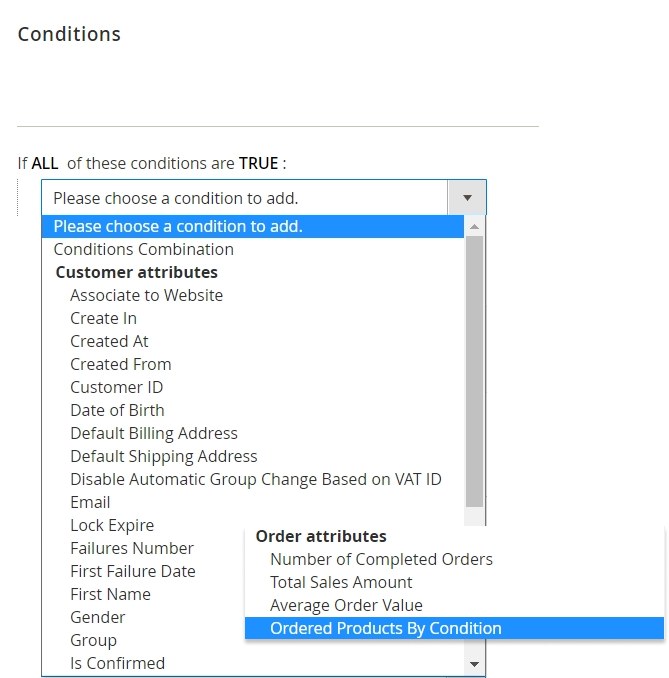
With the condition tree, you are able to create as many conditions and their combinations as you want by clicking the green icon and choosing the necessary attribute from the dropdown menu.
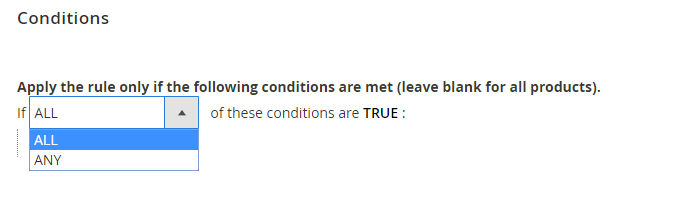
In case you want to set several independent conditions and you need any of them for the rule to be applied, change ‘All’ value to ‘Any’.
Two main groups of attributes are acceptable: customer attributes and order attributes.
- The list of customer attributes includes customer and account information, shipping and billing address details, personal data and etc.
For example, you can group customers by city, region or country. With the extension it is also possible to automatically move your clients registered for a particular time to a separate group and provide them with some special discounts or offers.
- Order attributes include the average order value, the number of completed orders, total sales amount, and ordered products by condition.
For example, you can move customers whose total sales amount exceeds $3 000 and the number of completed orders is greater than 30 to the “VIP” group offering 30% discount for all future orders.
Click the Save button.
To avoid common mistakes while setting the conditions, check this post.
NEW | Customer Group Settings
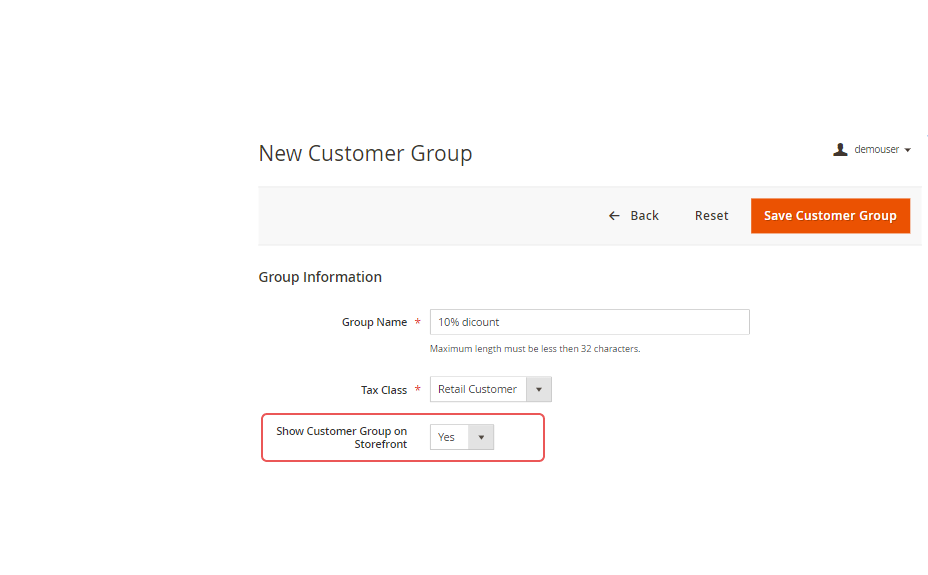
Group Name - specify the group name based on your sales strategies and loyalty programs.
Tax Class - specify the tax class.
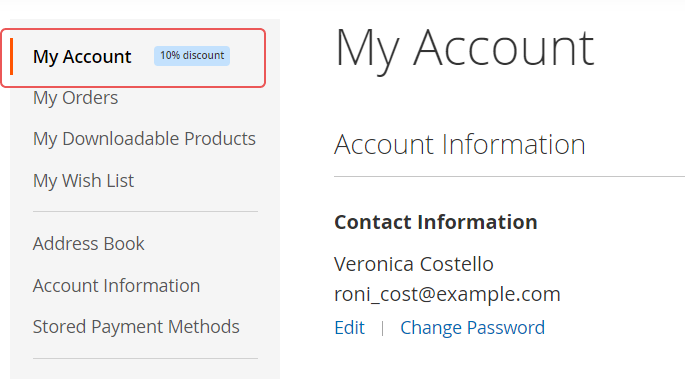
Show Customer Group on Storefront - enable the option to display customer group status in the customer account:
See Amasty Special Promotions Pro for Magento 2 extension to increase your store average order value.
Find out how to install the Customer Group Auto Assign for Magento 2 via Composer.
magento_2/customer-group-auto-assign.txt · Last modified: 2025/06/09 12:42 by kkondrateva