User Tools
Site Tools
Trace: • Guide for Custom Form for Magento 2 • Guide for Advanced Permissions for Magento 2 • FAQ & Product Questions • Guide for Age Verification for Magento 2 • Guide for Advanced Search for Magento 2 • Guide for CMS Upgrade Scripts for Magento 2 • Guide for Improved Sorting for Magento 2 • Guide for Elastic Search for Magento 2 • Guide for Advanced Permissions • Composer User Guide
Sidebar
magento_2:composer_user_guide
Table of Contents
Composer User Guide
What is Composer?
Composer is a popular package manager for PHP. Many platforms use composer, including Magento 2. Within Magento 2, Composer allows managing libraries, Magento and third-party modules.
Why is it better to use Composer?
Composer offers automatic management of modules:
- Packages are installed automatically with one command and there is no need to manually upload them;
- Composer automatically installs the dependency modules and libraries required for the main module;
- Composer is capable of updating multiple modules in one run;
- With composer, it is possible to install a specific version of the module.
Important: Since January 14, 2025, all Amasty extensions will only be available for installation via Composer. Direct downloads from a customer account will no longer be supported.
This change is being implemented to provide:
- Simplified installation process: Composer simplifies managing versions and dependencies of installed products, making updates, downgrades, and new installations more efficient.
- Better compliance and security: Using Composer ensures extensions are used in accordance with our license agreement, safeguarding both your projects and our intellectual property.
How does it work?
Composer installs, updates and removes modules once a specific command has been run. It scans the composer.json file and manages modules according to the set dependencies.
How to start using Composer for Amasty extensions?
To download and install Magento modules, the vendor repository is required. The repository is a Composer path to the storage with Amasty extensions. Without the repository, Composer won’t be able to locate and download the requested package.
The Amasty repository can be added with the next command:
composer config repositories.amasty composer <path>
Where <path> indicates the repository for a specific Magento edition:
https://composer.amasty.com/community/ - for community extensions.
https://composer.amasty.com/enterprise/ - for enterprise extensions.
Where to generate access keys and find Composer names?
Amasty repository is a private one. To access the purchased modules, access keys are required. The customer will be asked for a login (Public Key) and password (Private Key) when trying to install the package from the Amasty Composer repository.
To obtain the keys, you must complete the License Registration process. Please ensure you’ve created the project and assigned all your extensions to the appropriate domains you’re working with to comply with our license agreement.
Follow the steps in this guide to manage your licenses effectively.
Learn more about the License Checker here.
Access keys can be found and generated in the Customer Account on Amasty.com → Account → License Registration. Navigate to My Production Projects and click the View button:

Here you can copy Public Key and Private Key for Composer use:

Composer Access Keys in projects provide access to Composer only for the modules assigned to the project. Therefore, it is important to ensure that all licenses are assigned to the appropriate projects.
It is possible to manually save the keys in the repository, so there is no need to get authorized every time. Find the Magento root directory and indicate:
composer config --auth http-basic.composer.amasty.com $COMPOSER_AMASTY_USERNAME $COMPOSER_AMASTY_PASSWORD
Where $COMPOSER_AMASTY_USERNAME is the Public Key and $COMPOSER_AMASTY_PASSWORD is the Private Key.
Otherwise, when the customer will be asked for access keys for the first time, they need to agree to save the credentials by printing “yes”:
After the authorization is successfully finished, installation and update of modules can be started.
The list of the purchased extensions and their composer names are available at the Customer account at Amasty.com → Account → Products. Composer names of extensions can be found at the Composer packages section:

Composer commands and their usage
Composer allows to run various operations with extension packages:
Checking available extensions and their versions
The next command will show all available for download Amasty modules:
composer show -a amasty/*
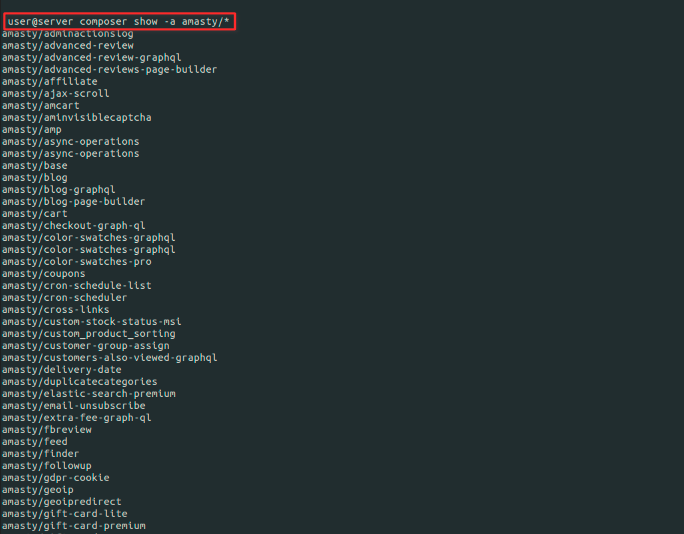
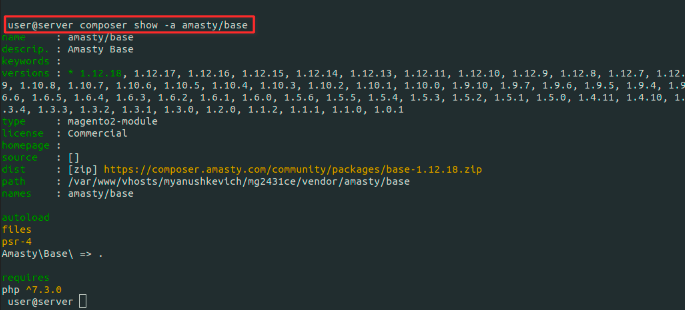
To check what module versions are available, a variation of the command should be used:
composer show -a amasty/module-name
Extension installation
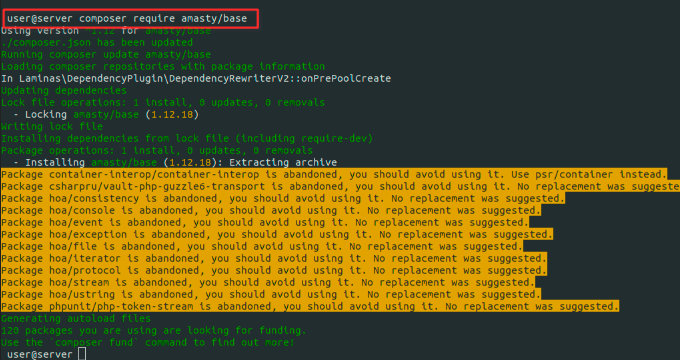
To install the module, the following command should be used:
composer require amasty/module-name
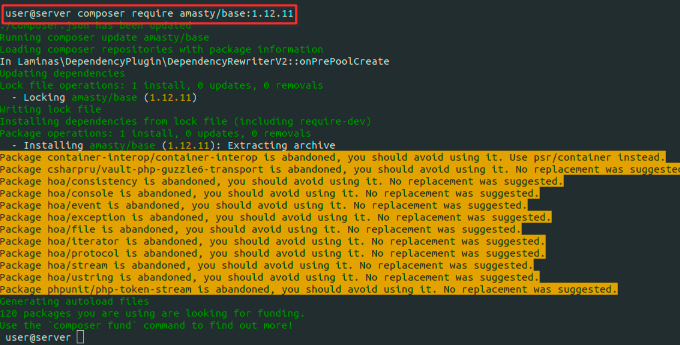
It is possible to install a specific version of the module with this command:
composer require amasty/module-name:1.2.3
One of the significant composer advantages is that it allows installing multiple extensions with one run. Extensions should be listed with a space:
composer require amasty/module-name-a amasty/module-name-b amasty/module-name-c
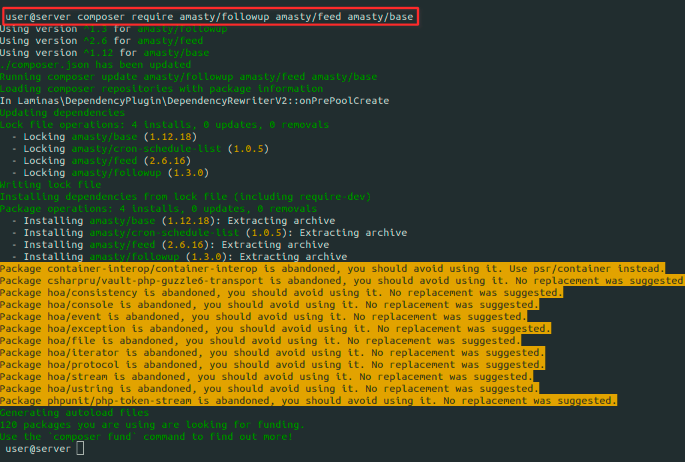
To activate the extension, the commands below should be executed:
php bin/magento setup:upgrade
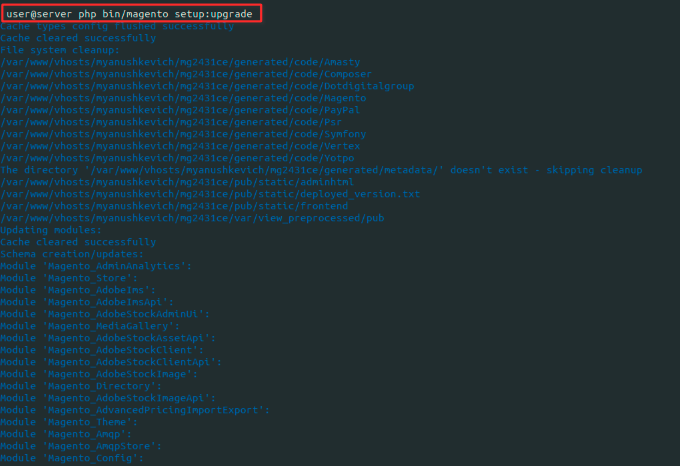
If Magento is in Production mode, the following commands should also be run:
php bin/magento setup:di:compile
php bin/magento setup:static-content:deploy (your locale)

Extension Update
The extension update process is the same as the module installation process. The following command will run the update for a specified extension:
composer update amasty/module-name
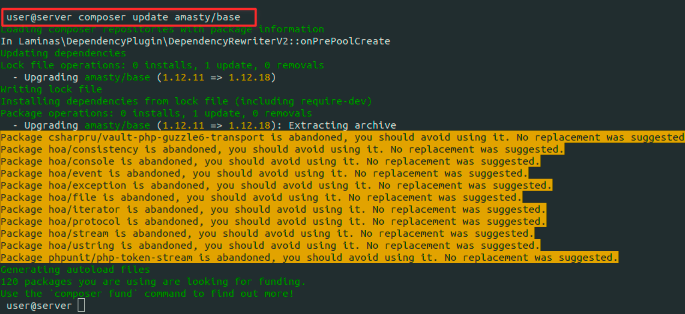
It is also possible to update multiple extensions with one command:
composer update amasty/module-name-a amasty/module-name-b amasty/module-name-c
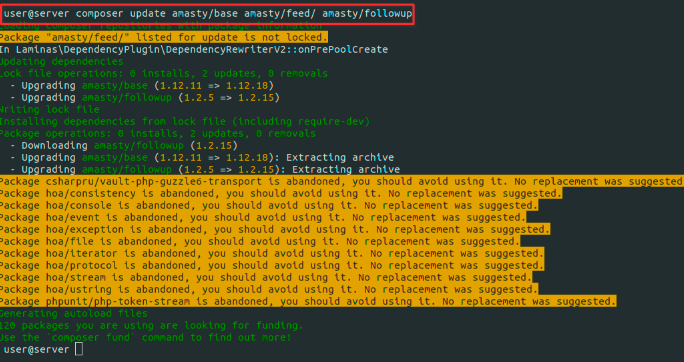
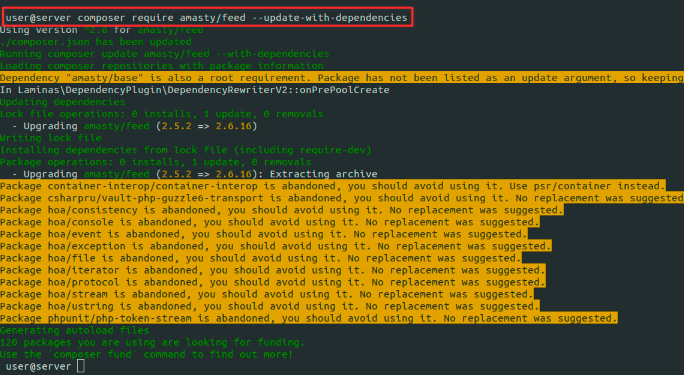
The “update” command updates only the last version number: e.g. 1.2.x (only x will be updated). To update the version from 1.x.x to 1.x.x the following command has to be executed:
composer require amasty/module-name --update-with-dependencies (or -w)
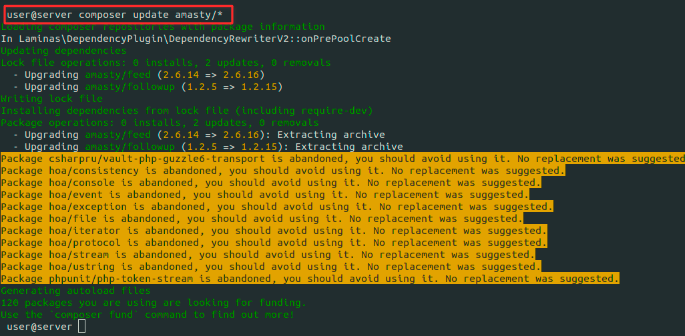
Composer allows updating all extensions of one vendor. To update all installed Amasty extensions, the command below can be used:
composer update amasty/*
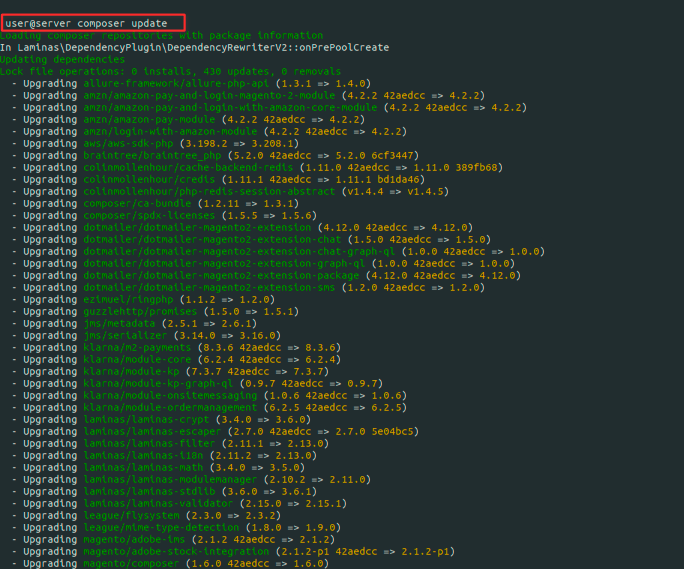
Along with vendor extensions update, Сomposer can update all modules installed on Magento with the next command:
composer update
After the extension update, the same commands as after the extension installation should be run:
php bin/magento setup:upgrade
php bin/magento setup:di:compile
php bin/magento setup:static-content:deploy (your locale)
Extension Deleting
The command below will delete the specified extension:
composer remove amasty/module-name
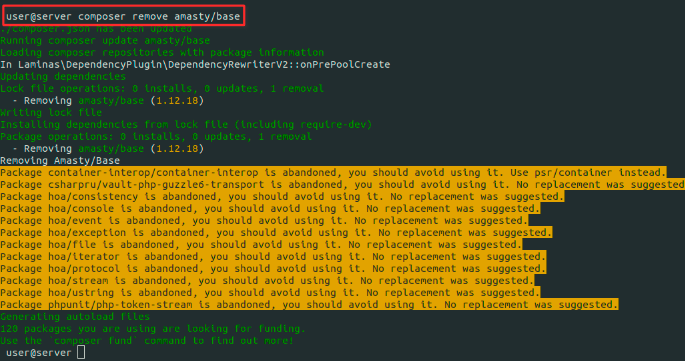
Instead of the composer_name the corresponding module name which is indicated in the Customer Account must be specified.
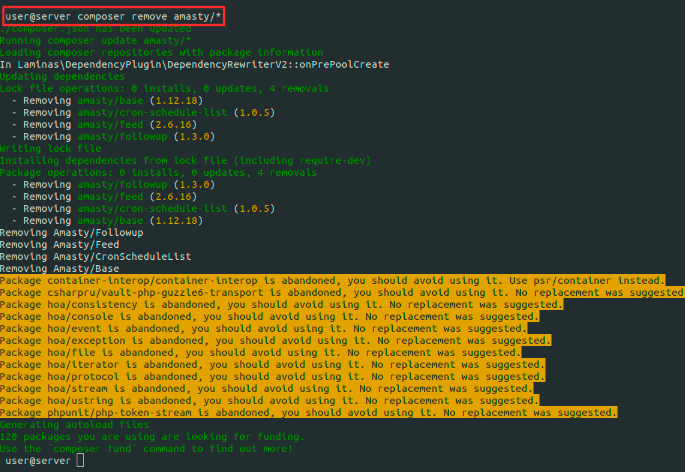
Composer provides the functionality of removing all extensions of one vendor. To remove all Amasty extensions, the command below can be used:
composer remove amasty/*
Suggested Packages
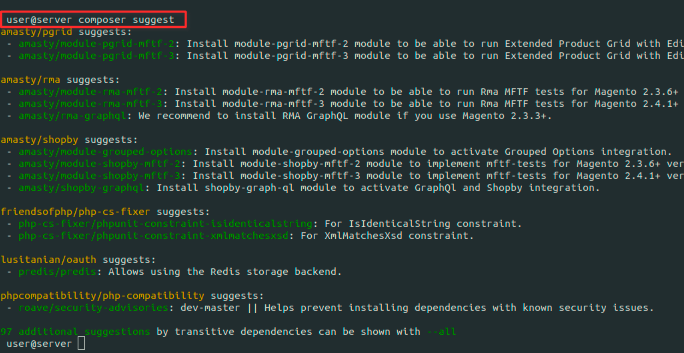
Many extensions have additional modules that come with the main extension but they are not mandatory for the correct work of the major extension and, therefore, marked as “suggested”. Such extensions either provide additional features that extend the main extension functionality. For example, GraphQL and MFTF additional modules can be found in the list of the suggested extensions. The next command will display all suggested modules:
composer suggest
Composer with multiple Amasty.com accounts and one Magento installation
There are seven Amasty repositories (for both Community and Enterprise editions):
They are completely identical, therefore it is possible to add several of them using different Amasty.com customer accounts.
For example:
composer config repositories.amasty_account1 composer https://composer1.amasty.com/community/ composer config repositories.amasty_account2 composer https://composer2.amasty.com/community/
The way mirror repositories are named, won’t affect their behaviour.
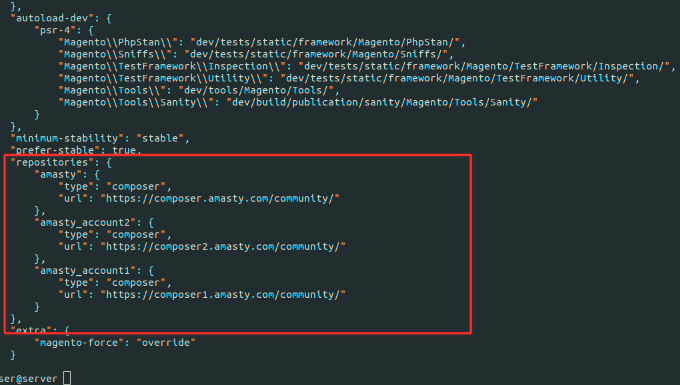
This way the customer can have two repositories added with different customer credentials. Using several Amasty repositories does not affect the way composer commands are executed. In other words, to install the Improved Layered Navigation extension, please use the same command as usual:
composer require amasty/shopby
magento_2/composer_user_guide.txt · Last modified: 2024/12/19 09:37 by tihomirova
